LoafLovers
Sourdough made simple — starters, same-day loaves, and fixes for every bake.
-
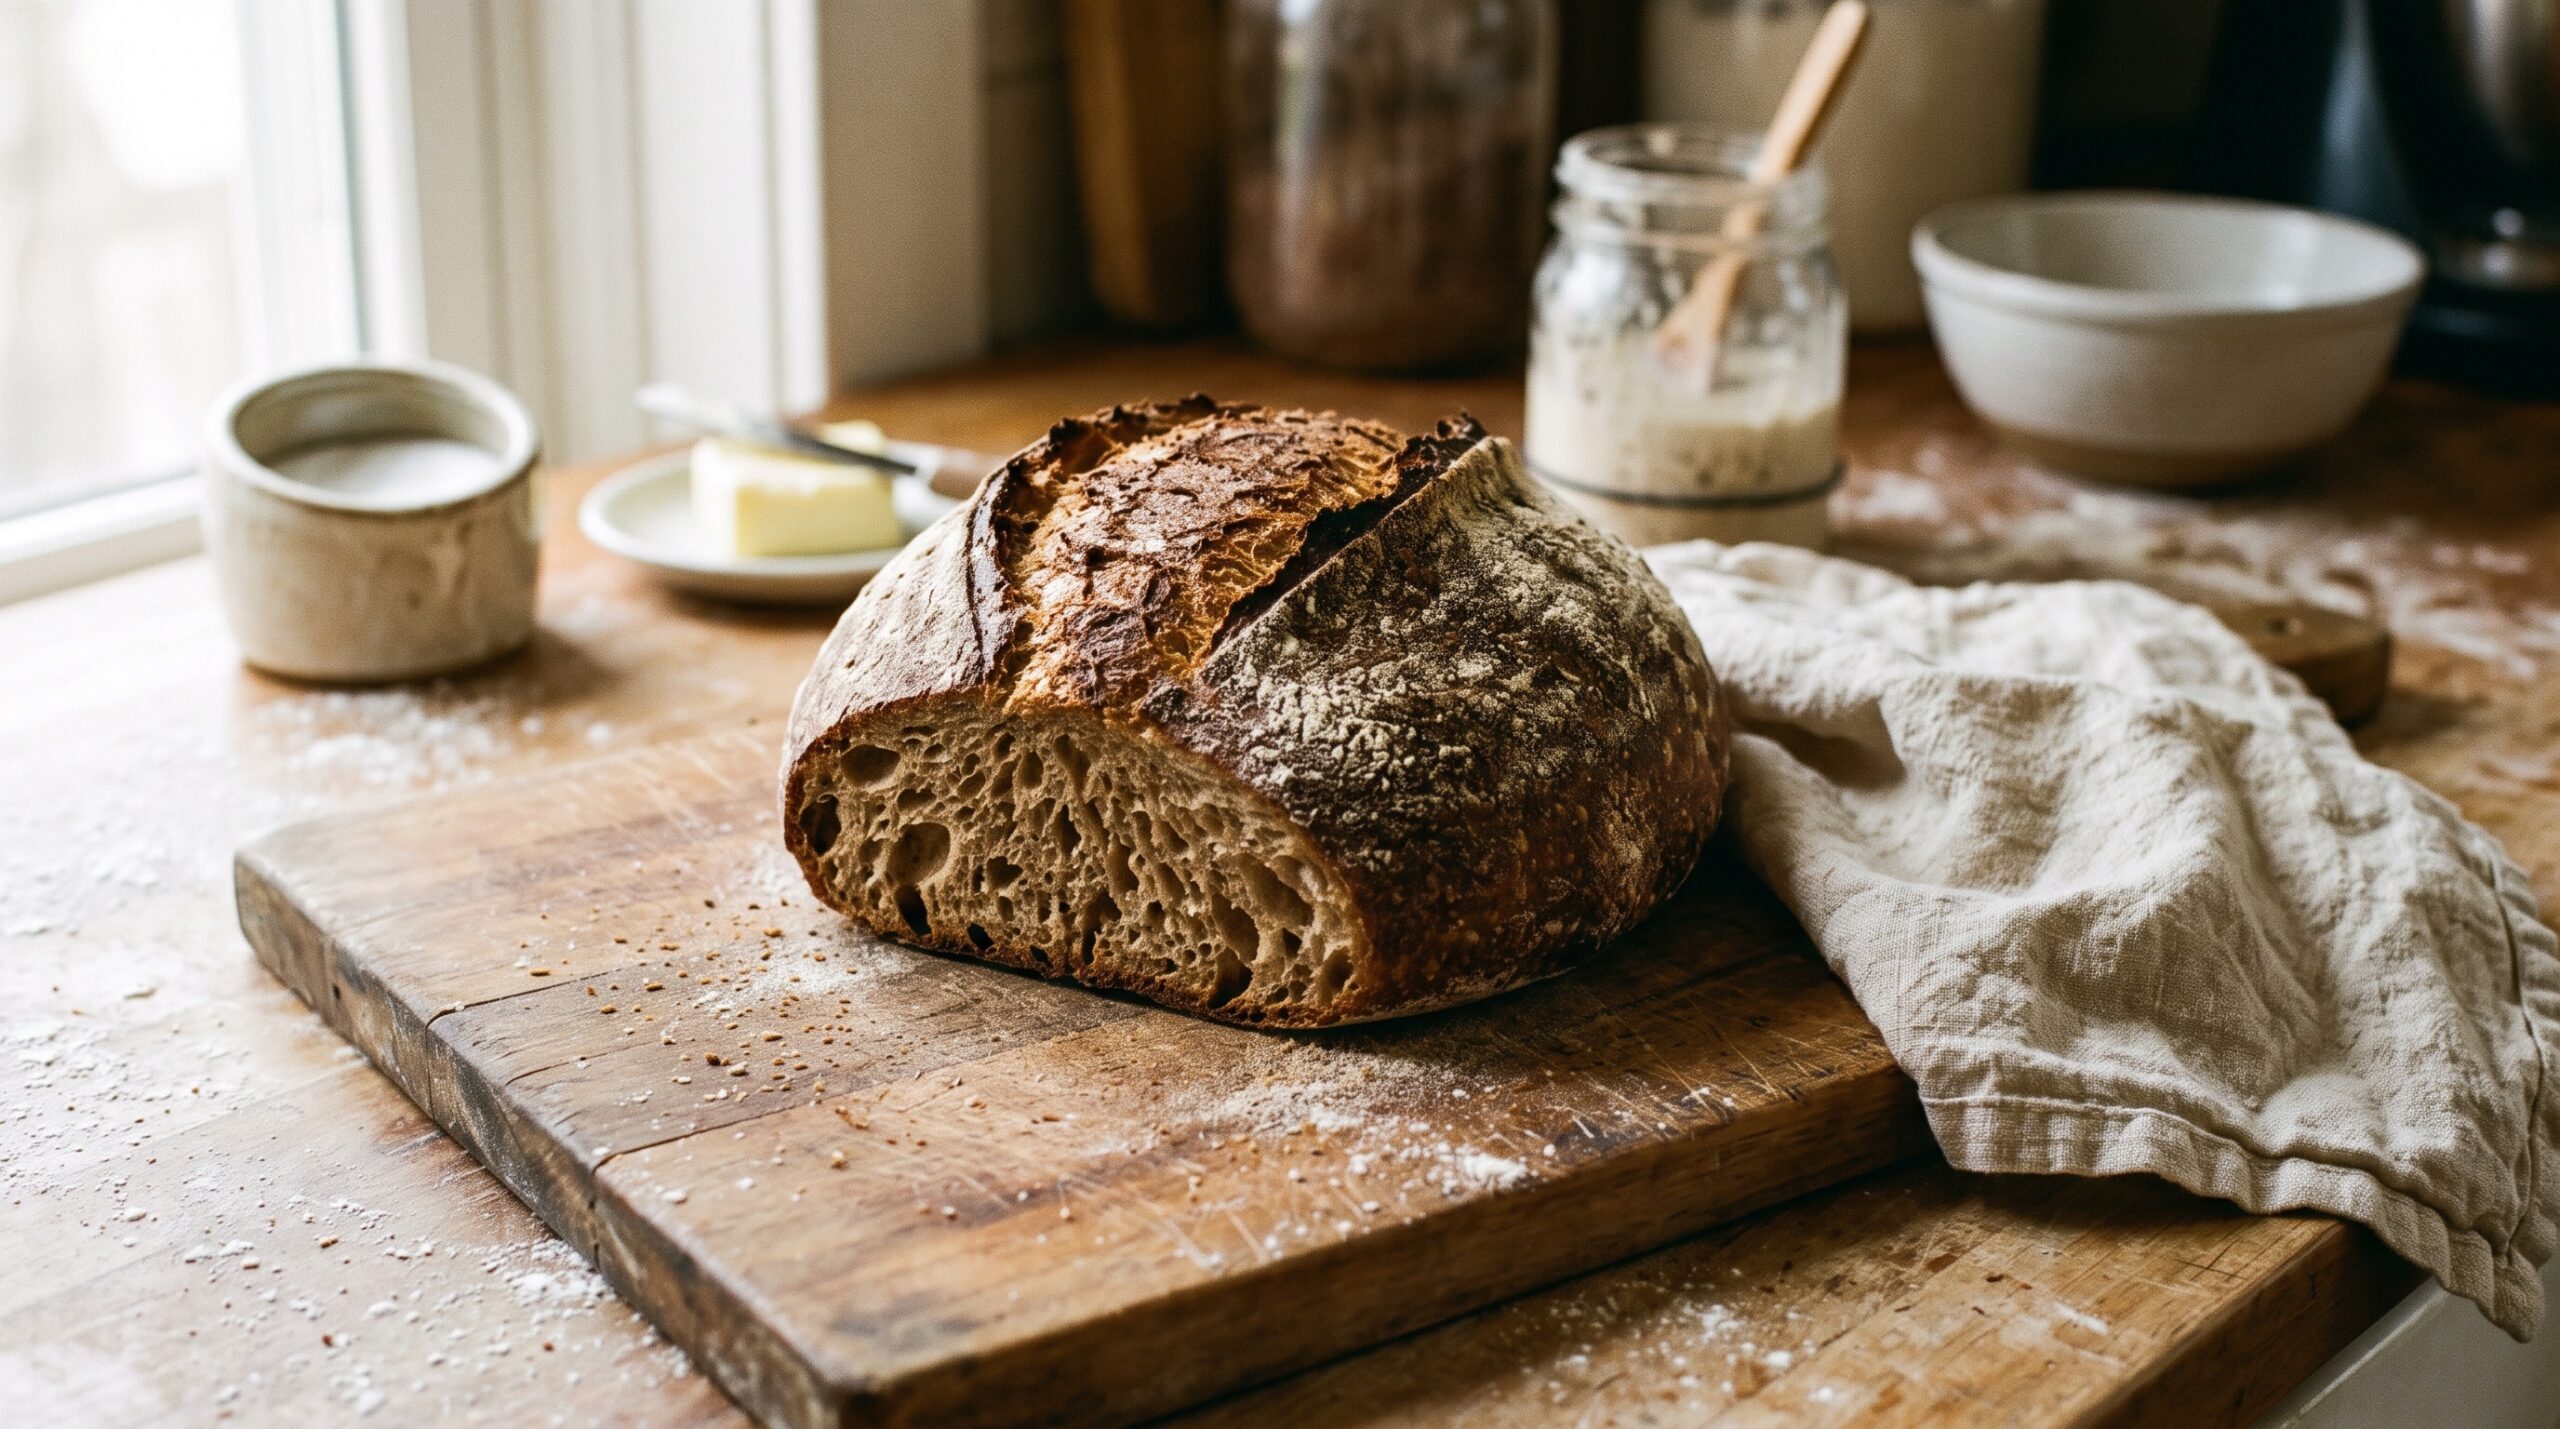
How to Store Sourdough Bread So It Stays Fresh (and Freezes Perfectly)
You worked hard on that loaf – do not let it go stale by day two. Here is exactly how to store sourdough on the counter, freeze it, and bring a firm loaf back to life. Read
-
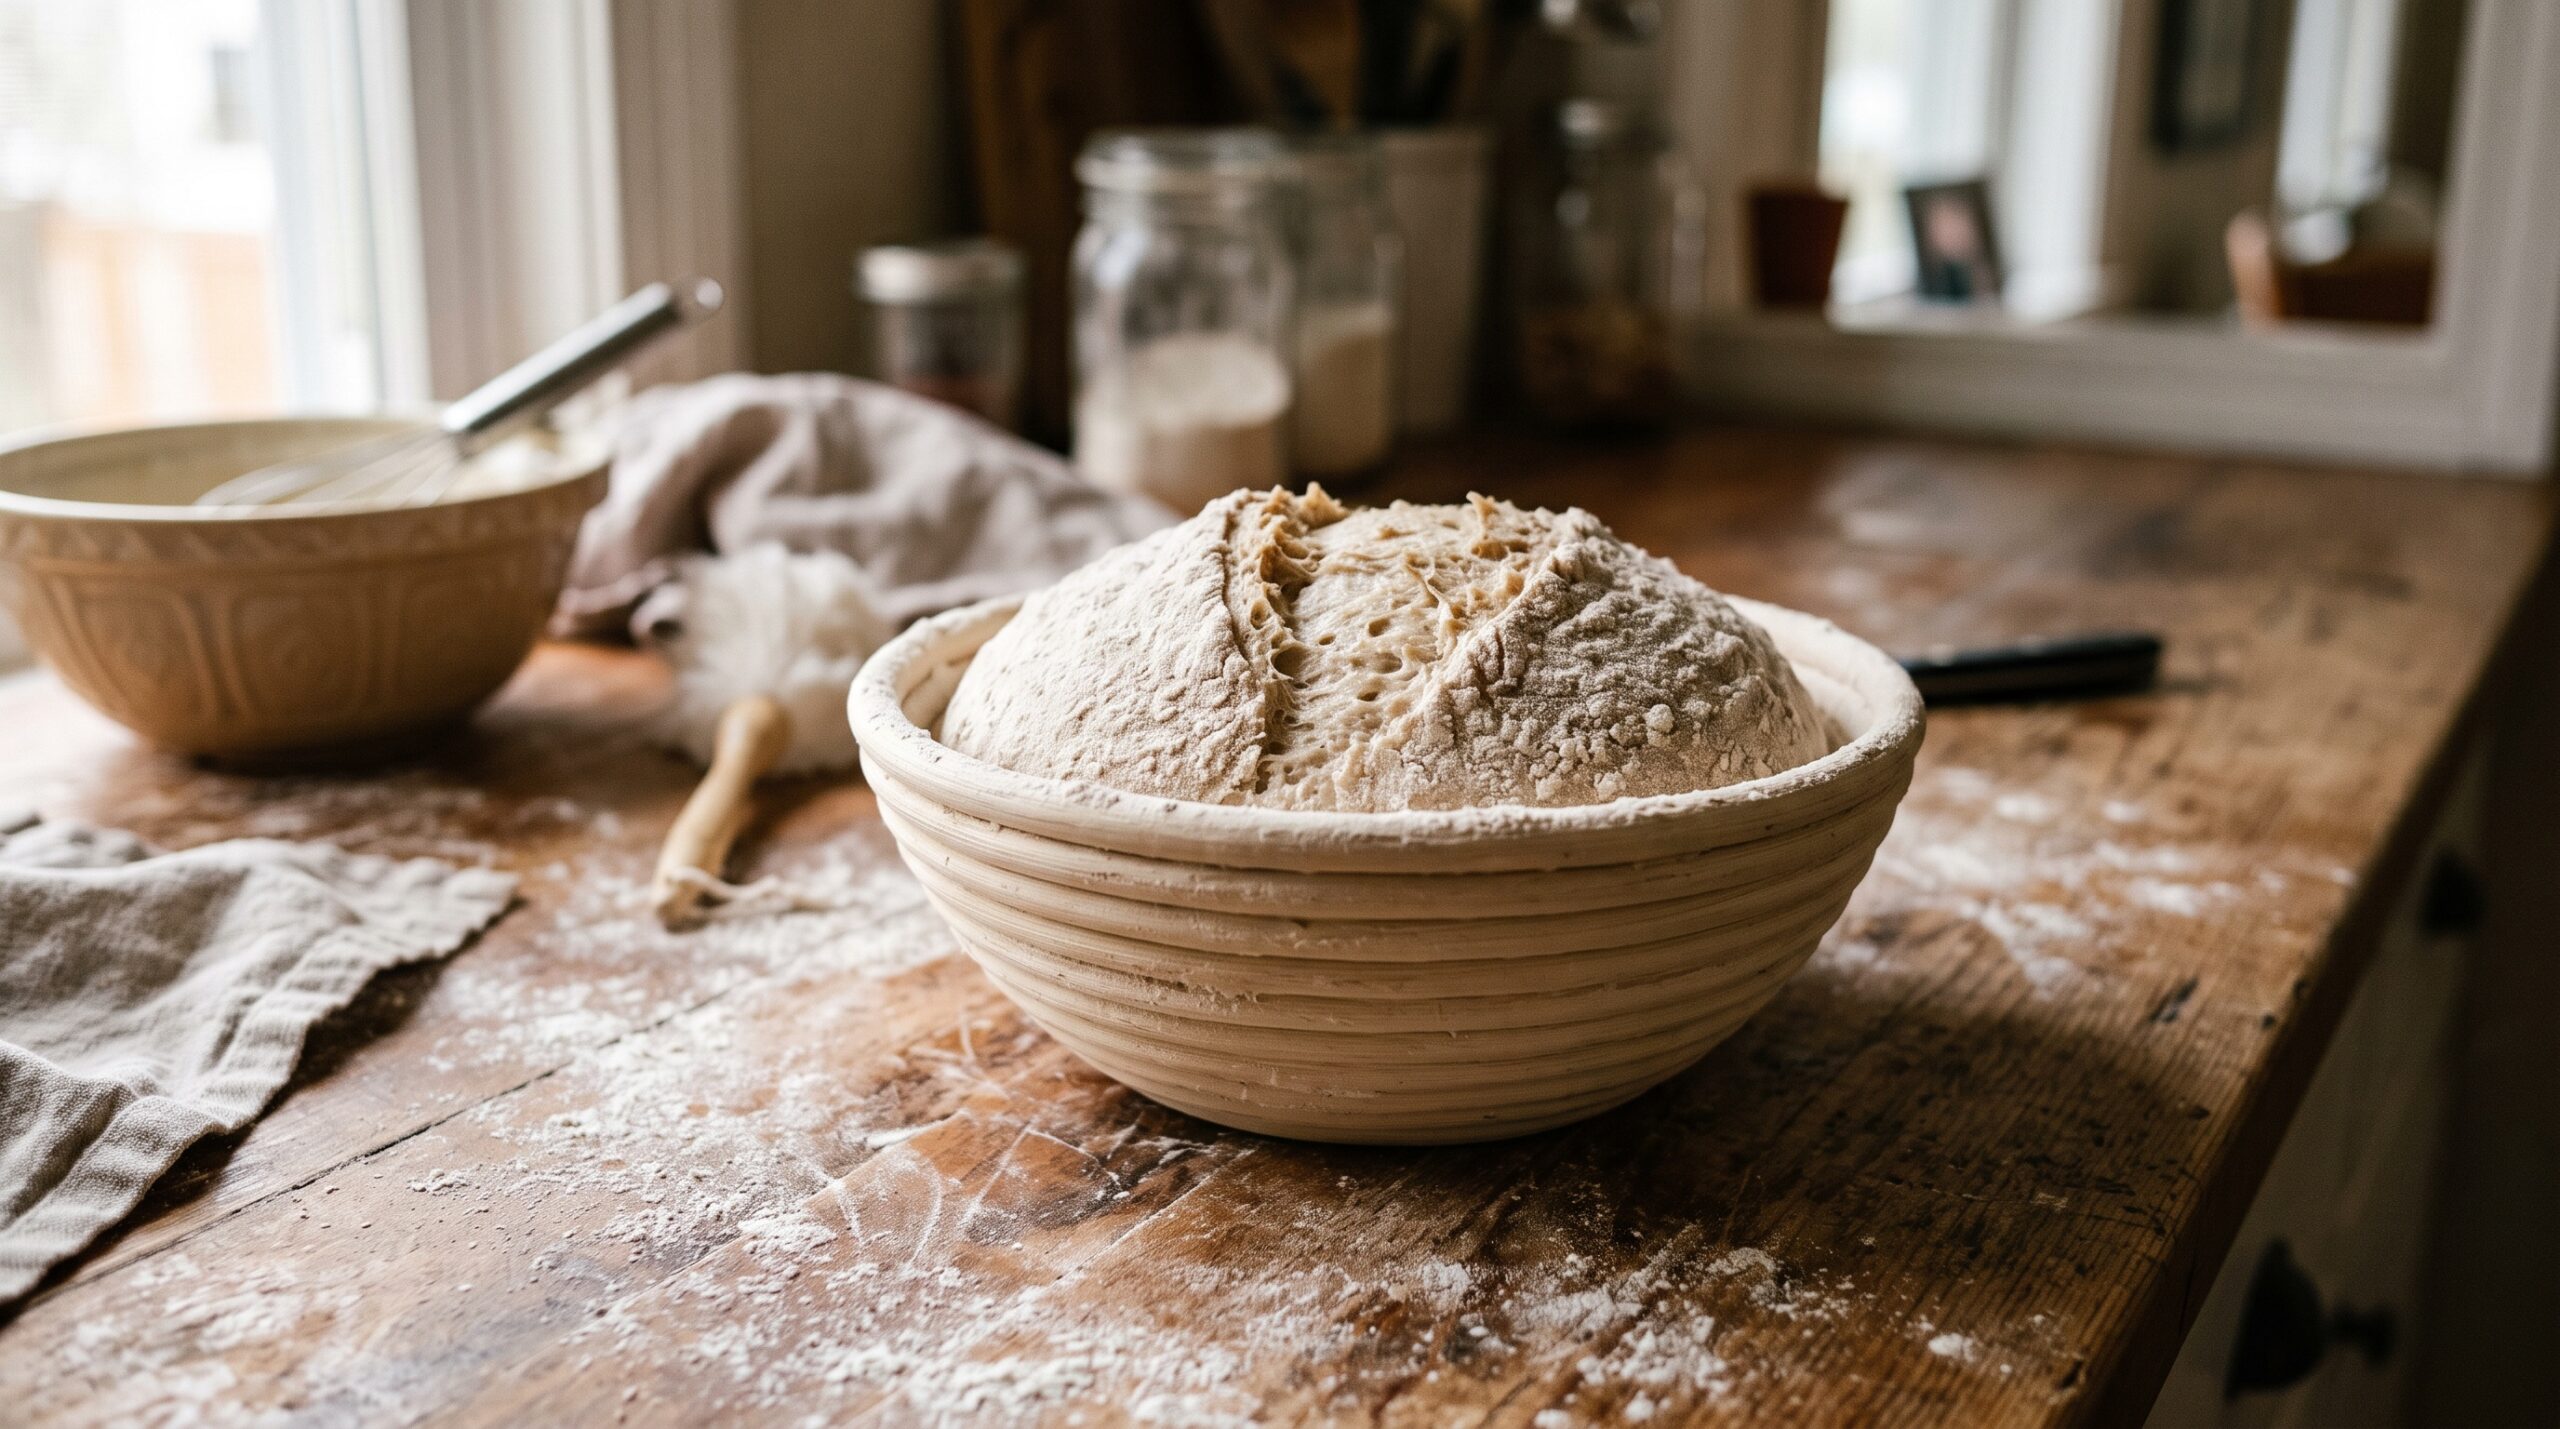
The Poke Test: How to Tell When Sourdough Is Ready to Bake
Stop guessing when to bake. The finger poke test reads your shaped loaf in ten seconds – here is how to do it right and what each result actually means. Read
-
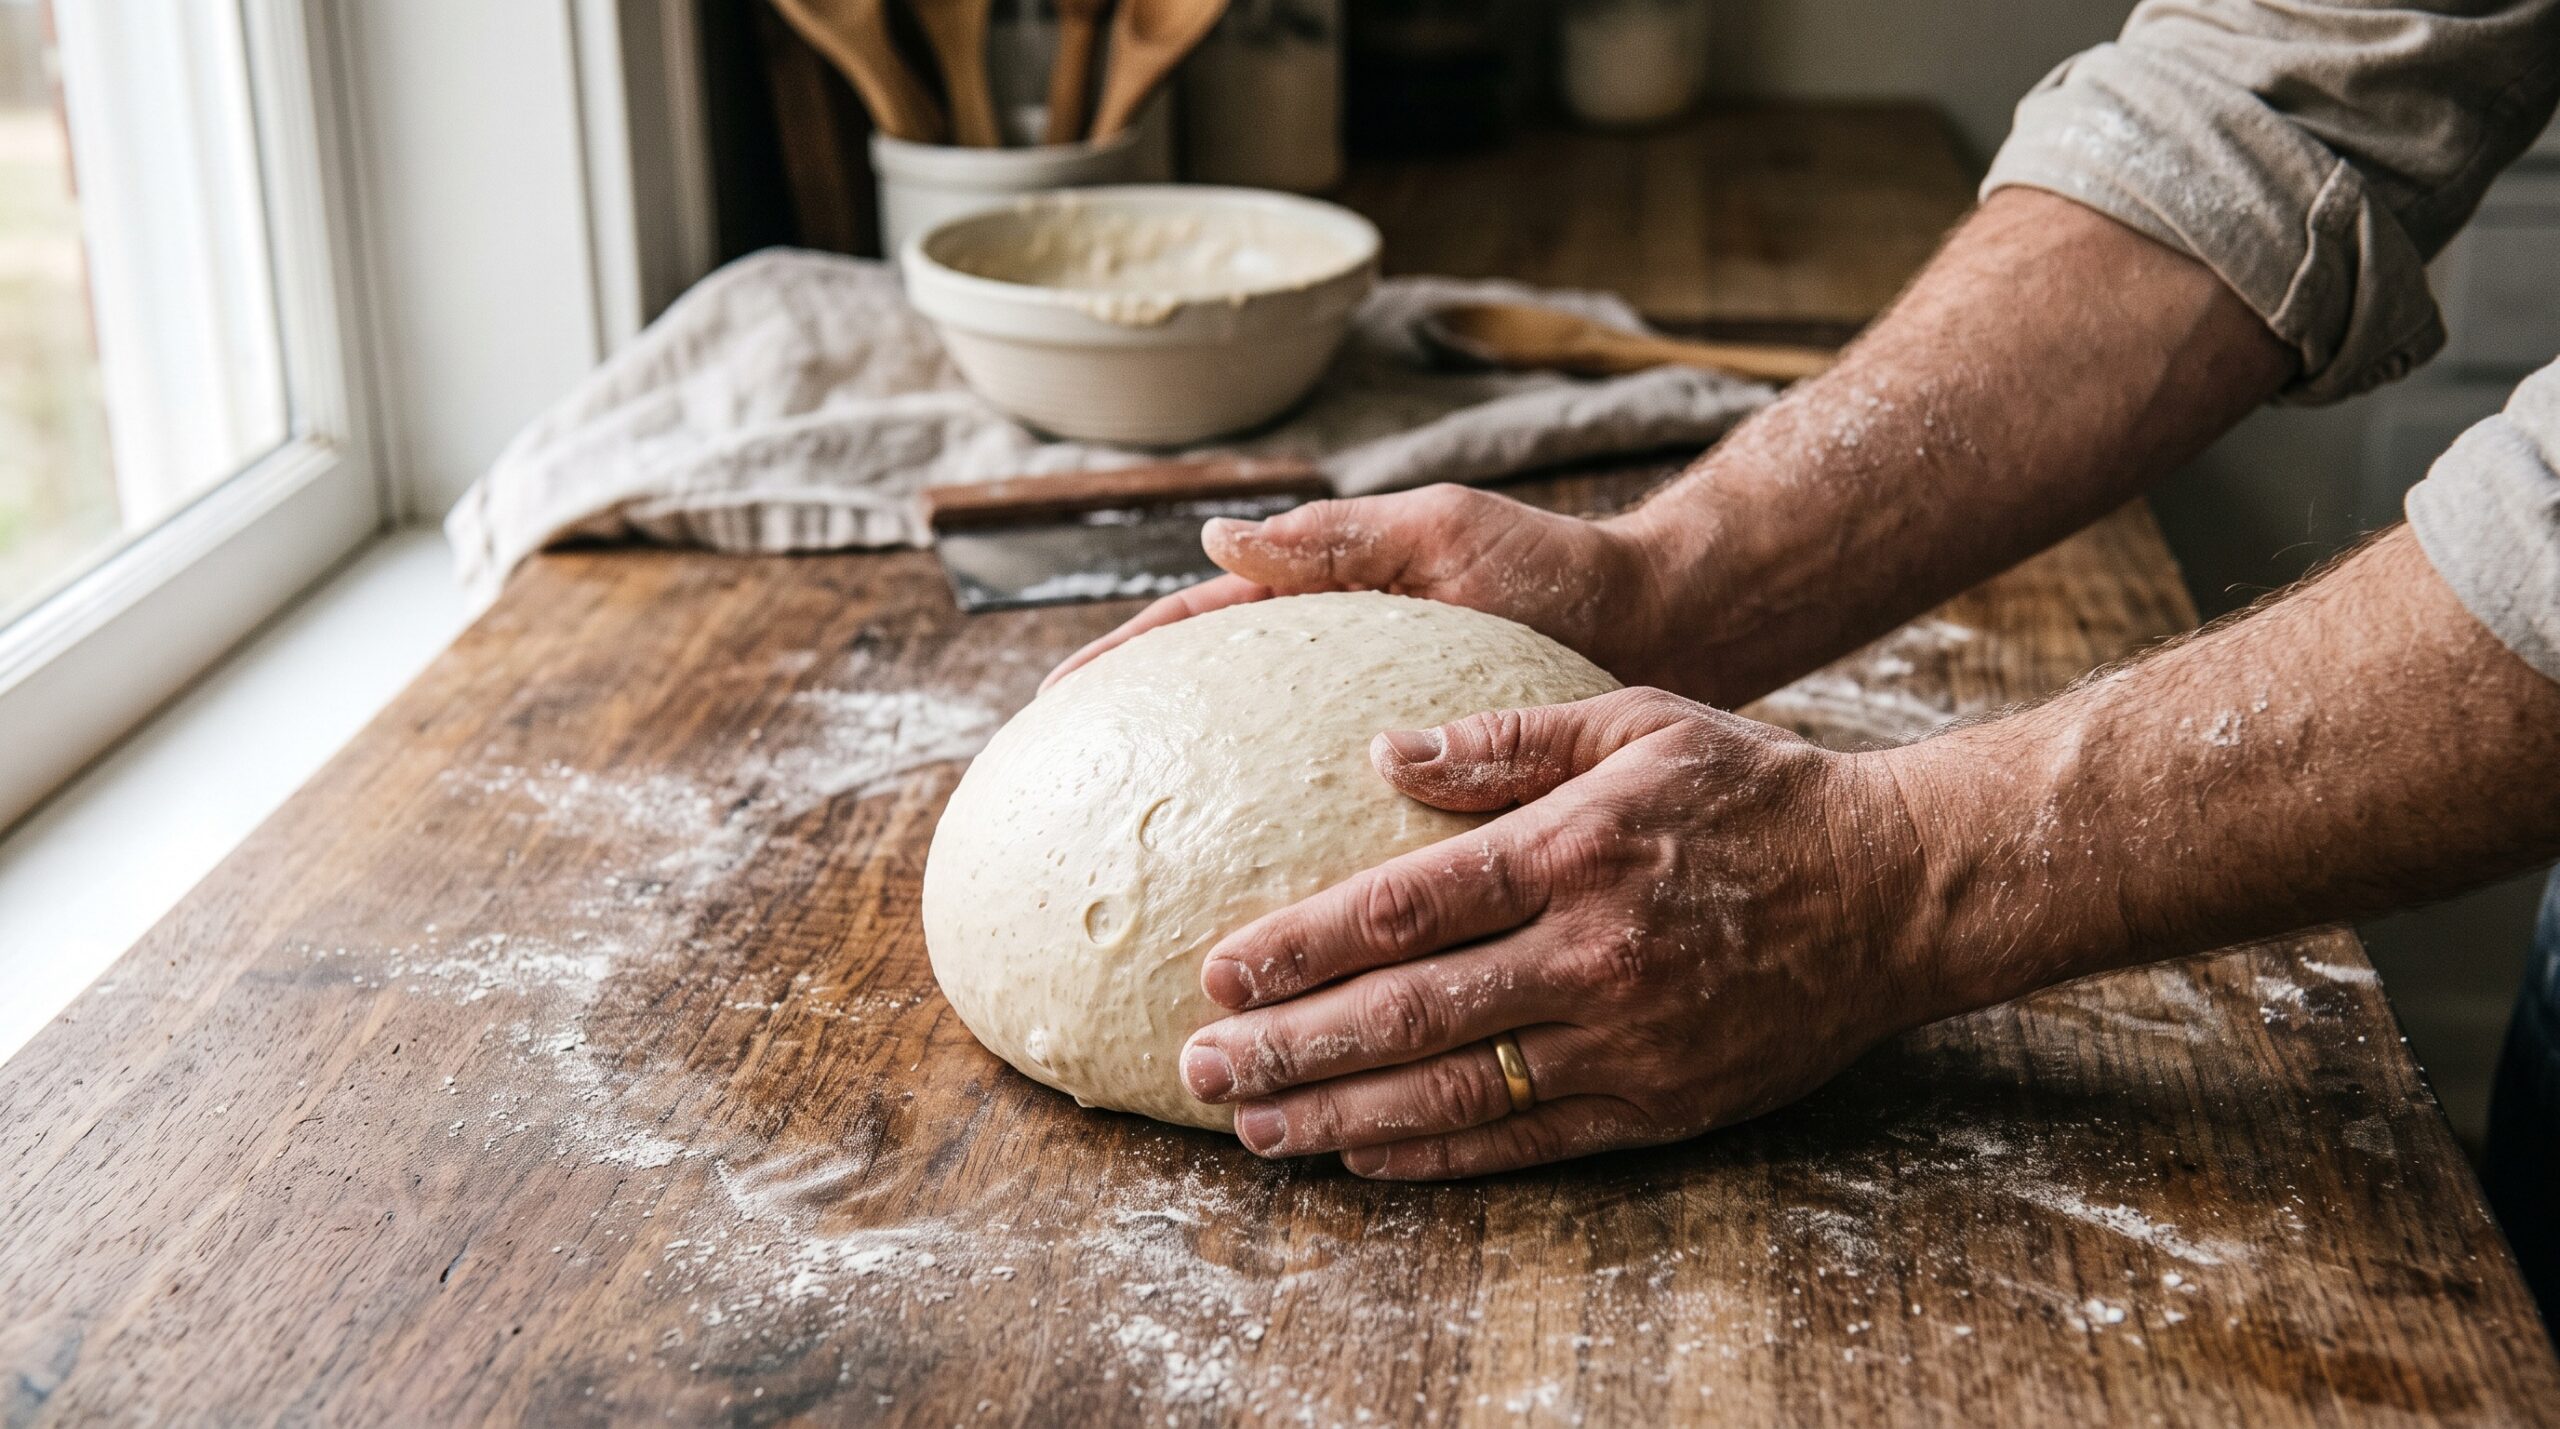
How to Shape a Sourdough Boule With Real Tension (So It Rises Up, Not Out)
If your loaves keep spreading into sad discs, the problem is usually shaping, not your starter. Here is how to build real surface tension into a boule so it holds its dome and rises up in the oven instead of out. Read
-

Sourdough Discard Banana Bread: Moist, Tangy, and No-Waste
A moist, tangy banana bread that finally puts your discard jar to work – no active starter, no special timing, just one bowl and overripe bananas. Read
-

Sourdough Discard Pizza Crust: Same-Day, No-Waste, and Better Than Delivery
That jar of discard in your fridge can be tonight’s dinner. Sourdough discard makes a fast, flavorful pizza crust that needs no active starter and no two-day wait. Here is exactly how to turn cast-off starter into a crisp, chewy crust, same-day or planned ahead. Read
-
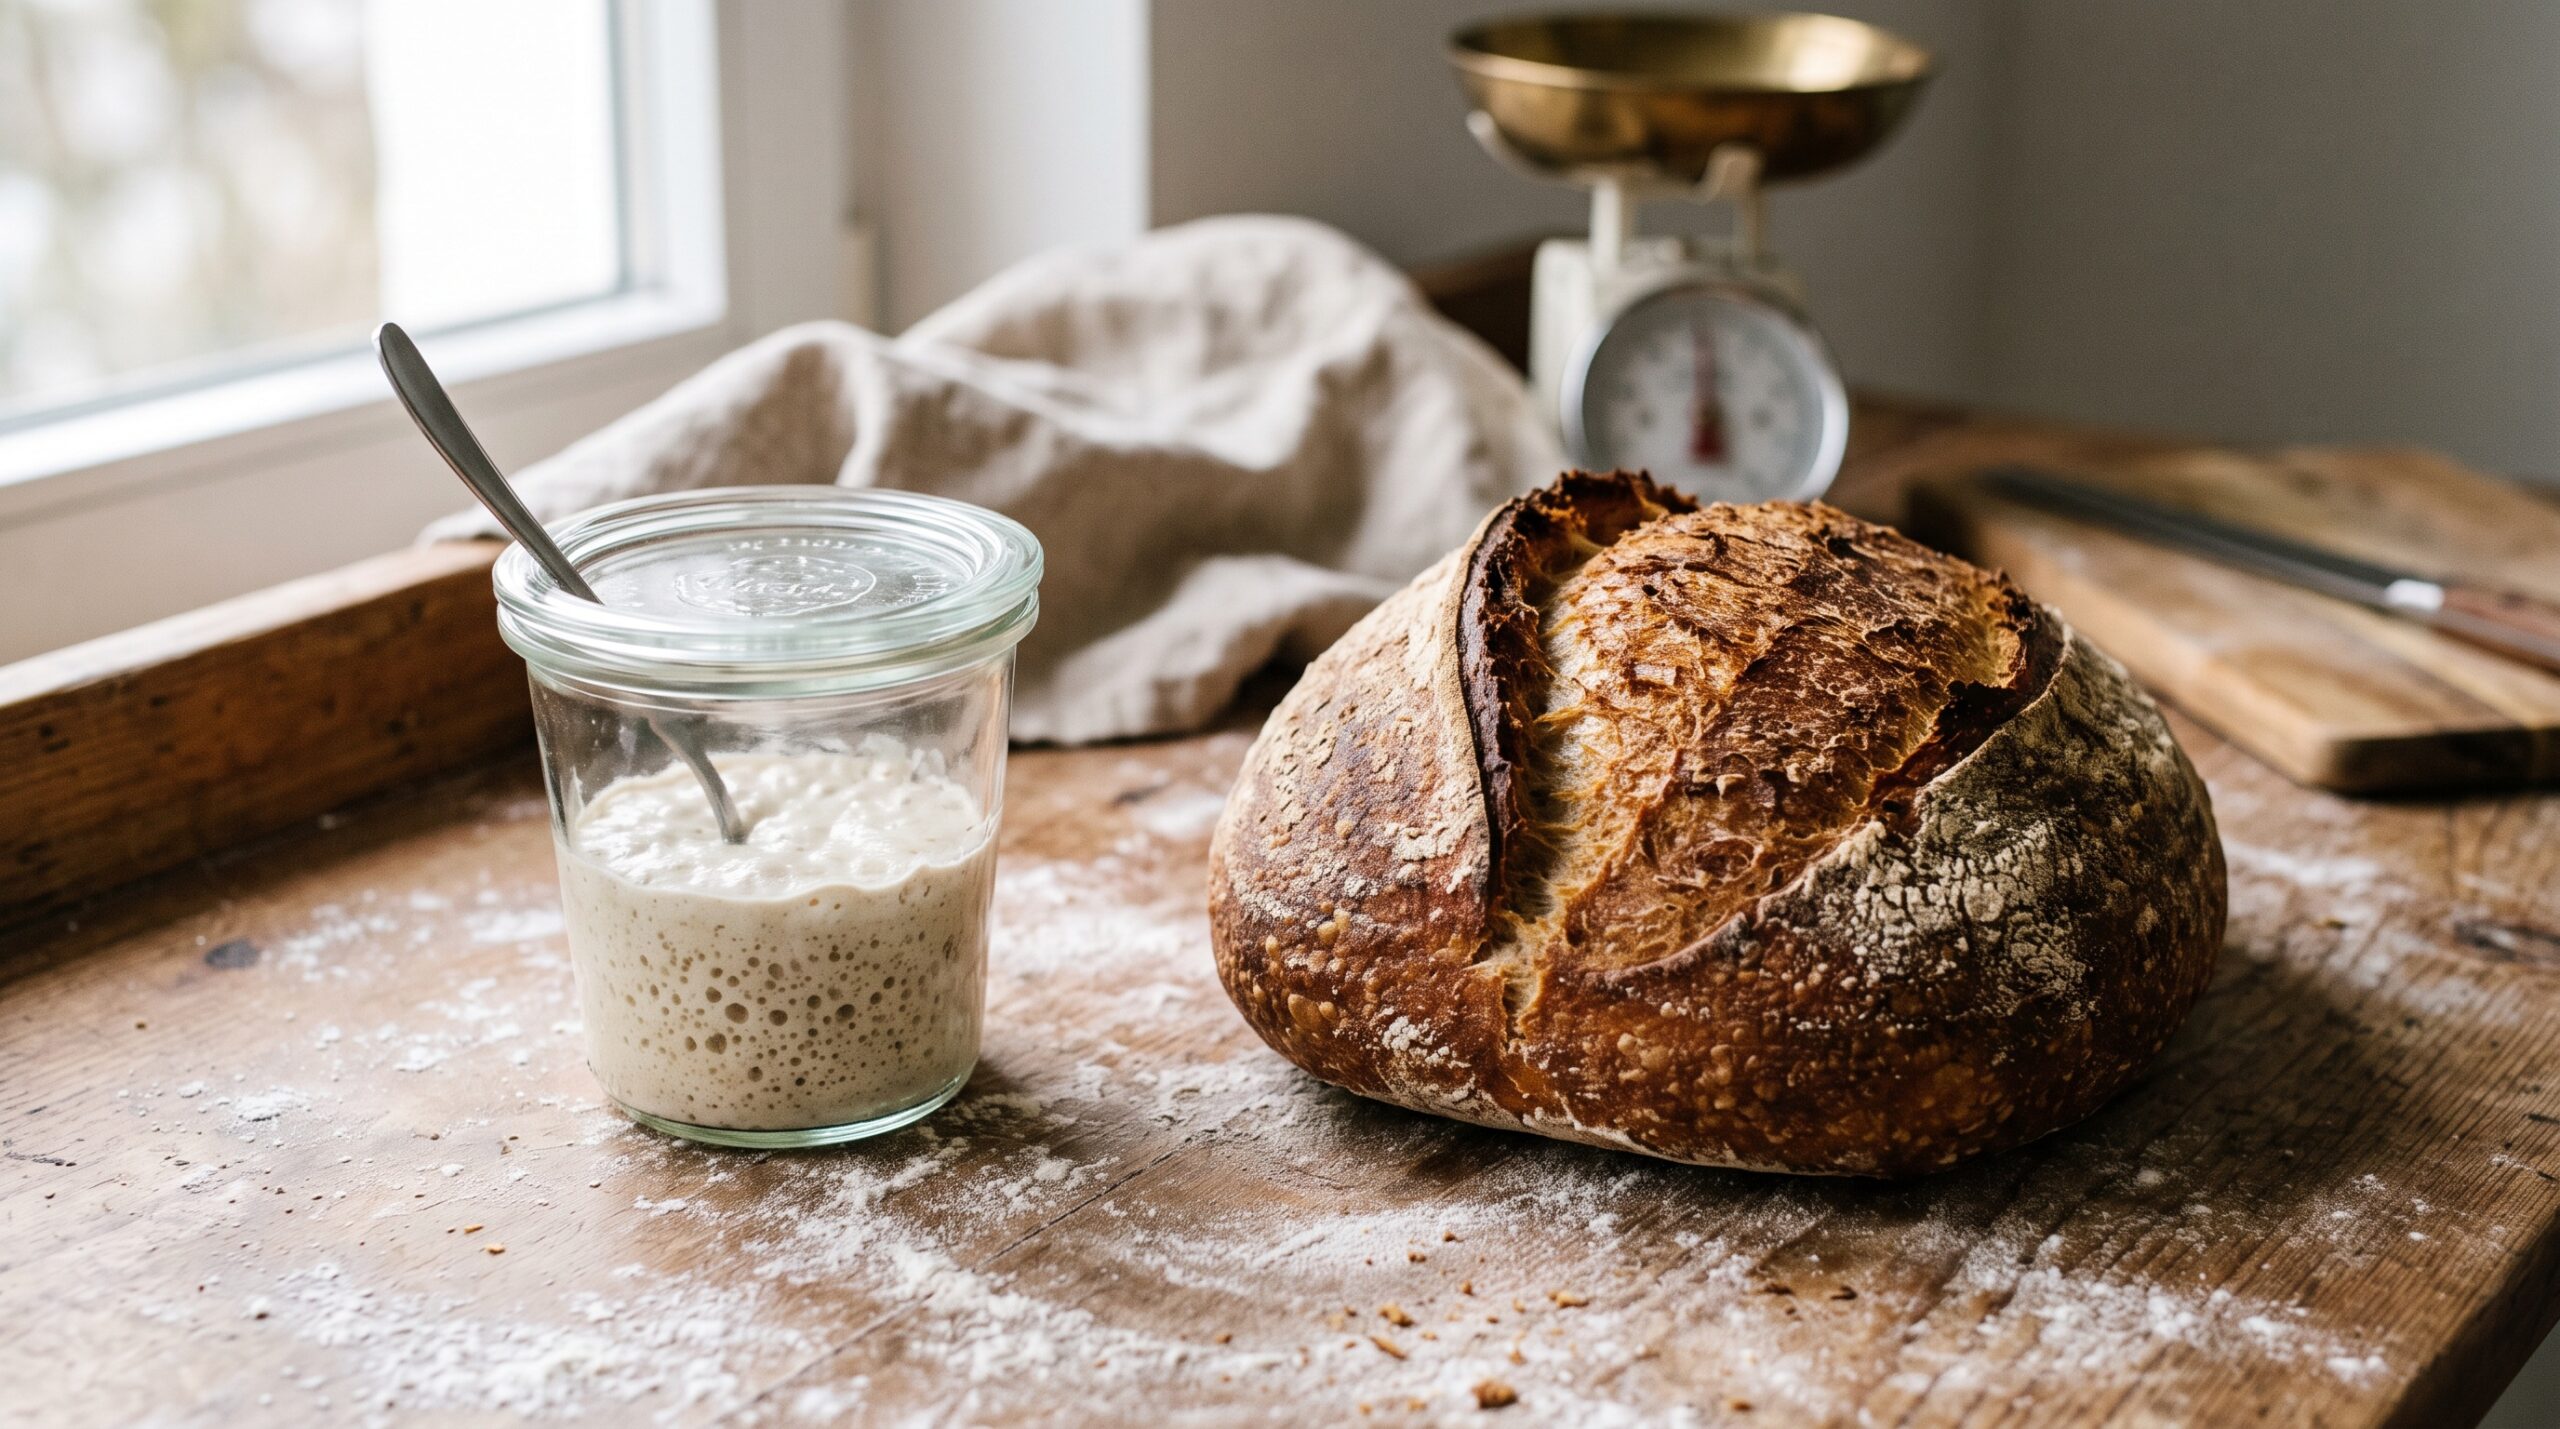
Small-Batch Sourdough: One Perfect Loaf Without a Giant Starter
You do not need a quart jar of bubbling starter and a mountain of discard to bake one good loaf. A small-batch approach keeps a tiny starter, feeds it only what you need, and wastes almost nothing. Here is exactly how to scale sourdough down without losing the loaf. Read
-
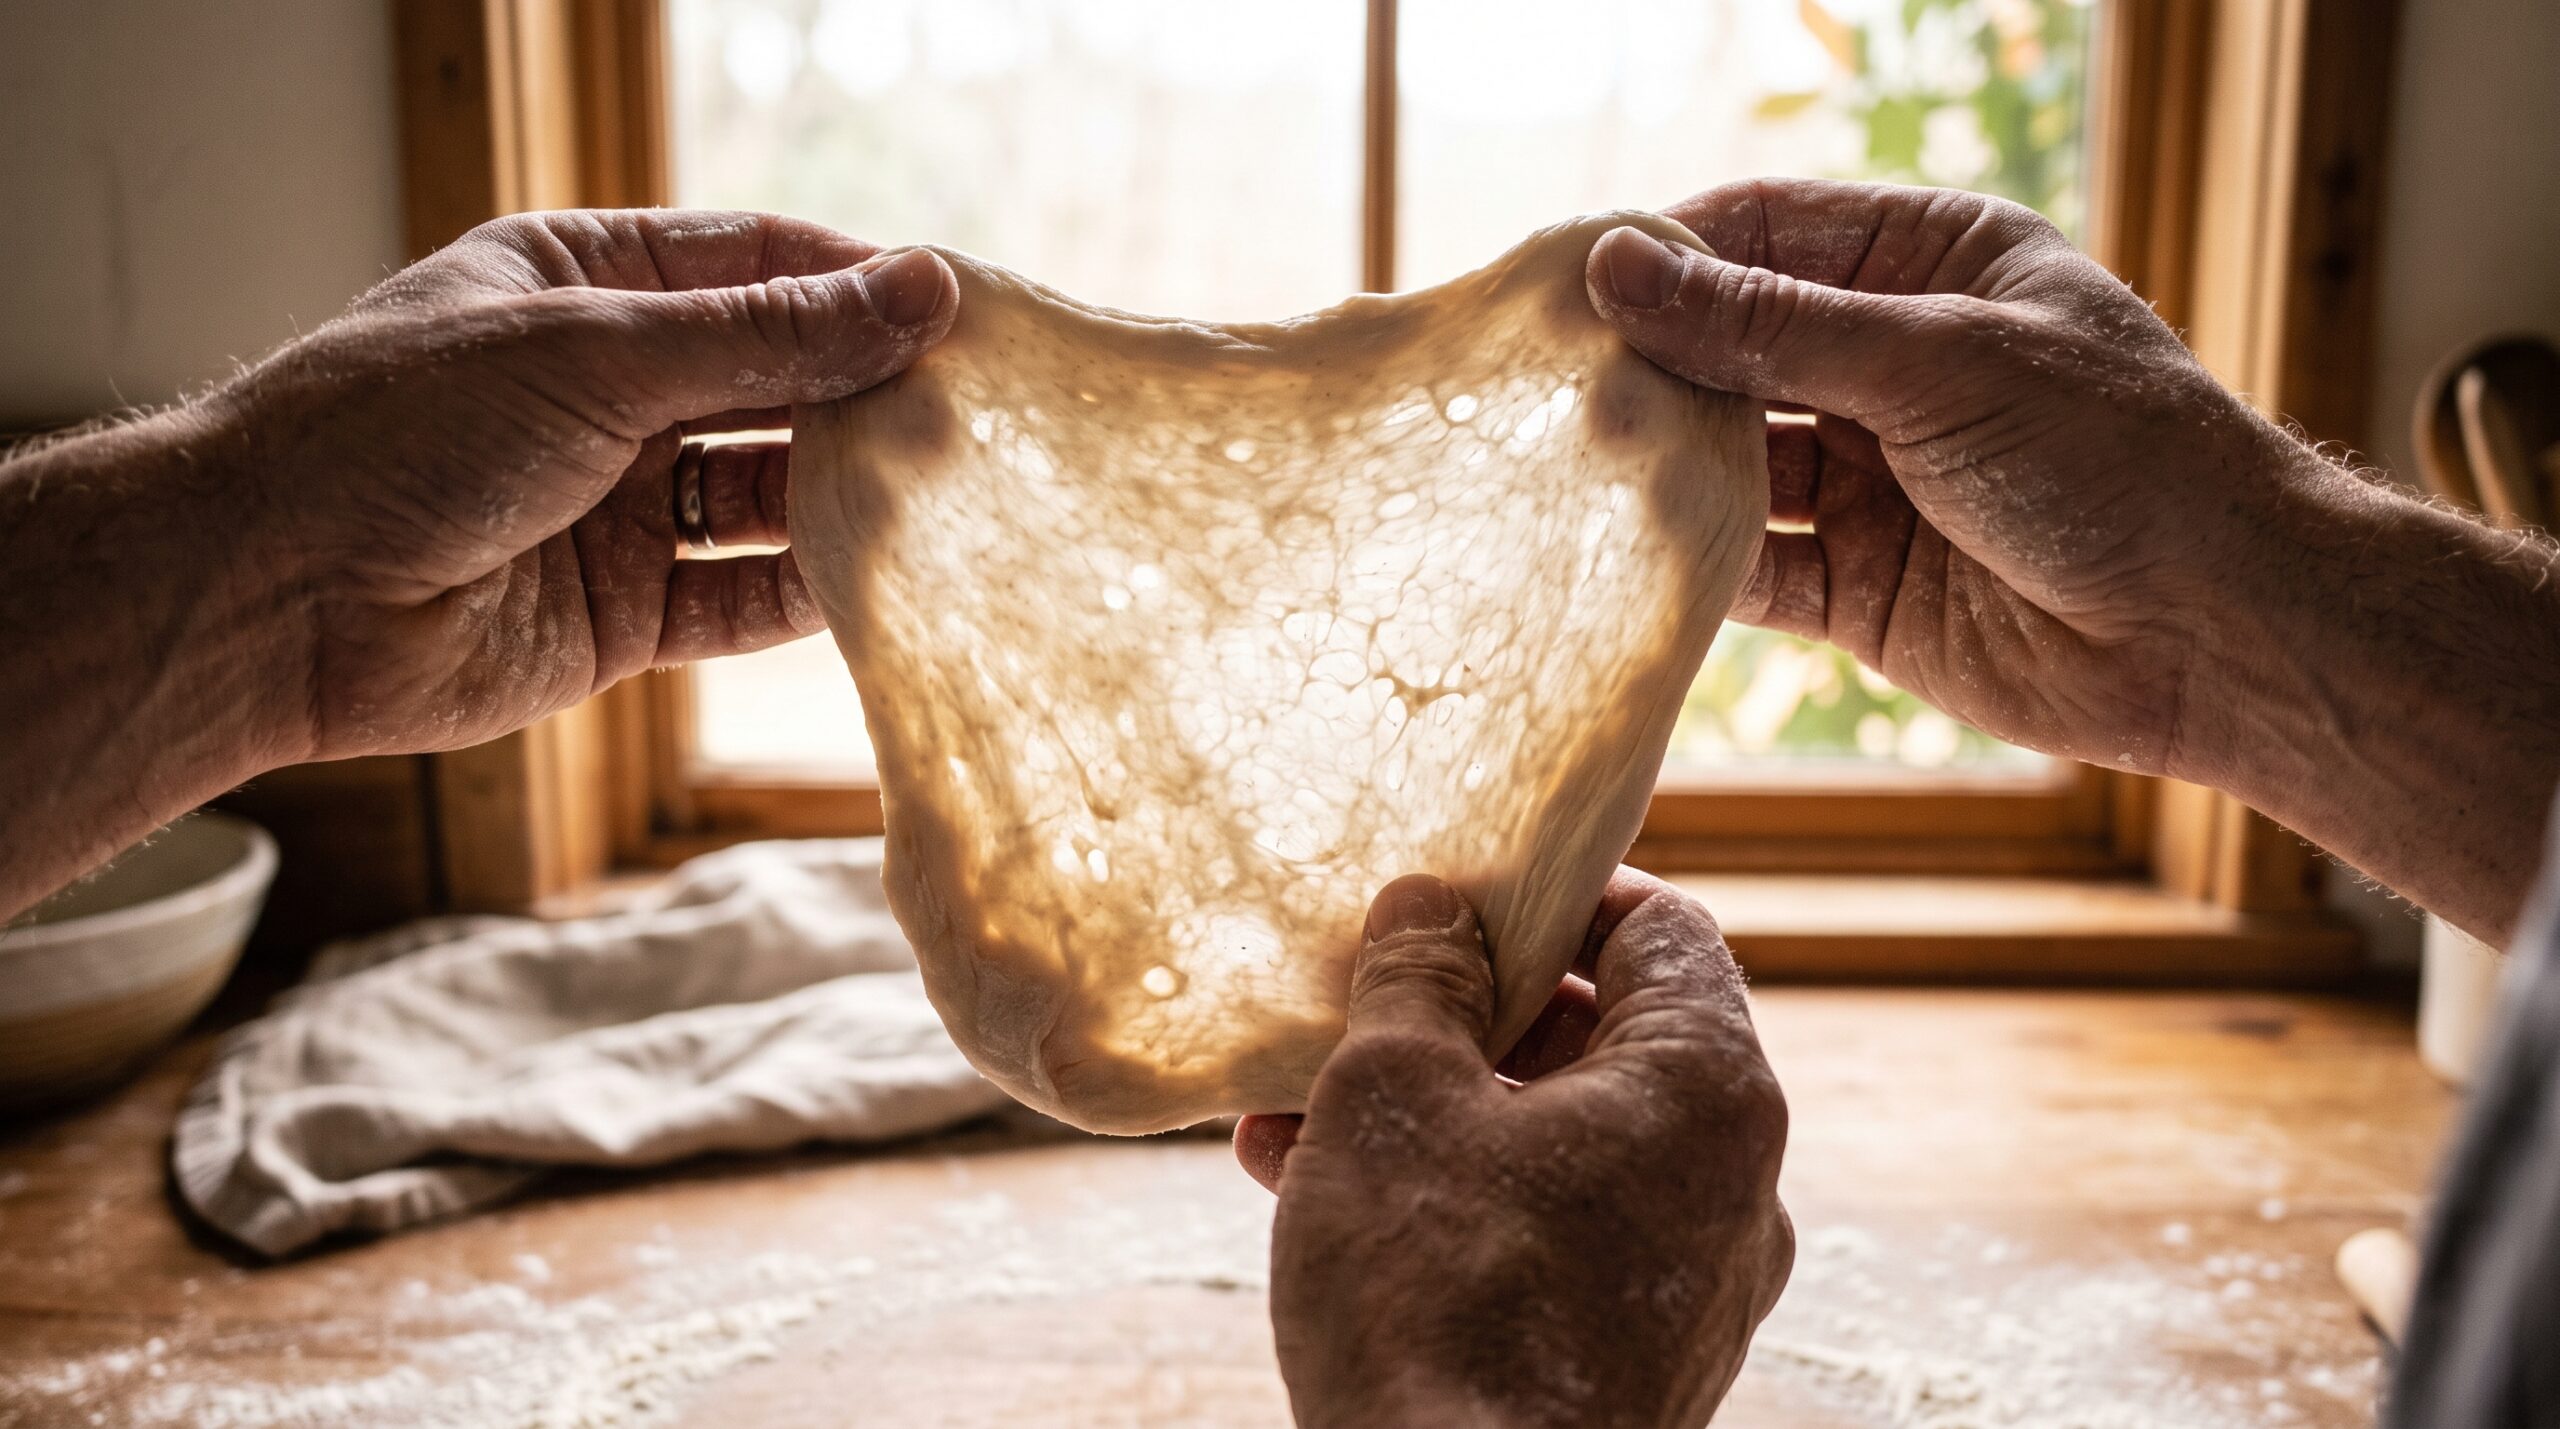
The Windowpane Test: How to Know Your Sourdough Gluten Is Developed
You stretch a scrap of dough and it either forms a thin, glowing membrane or tears apart. That is the windowpane test, and it answers one of the most common sourdough questions: is my gluten developed enough to bake? Here is exactly how to do it, how to read it, and how to fix a… Read
-
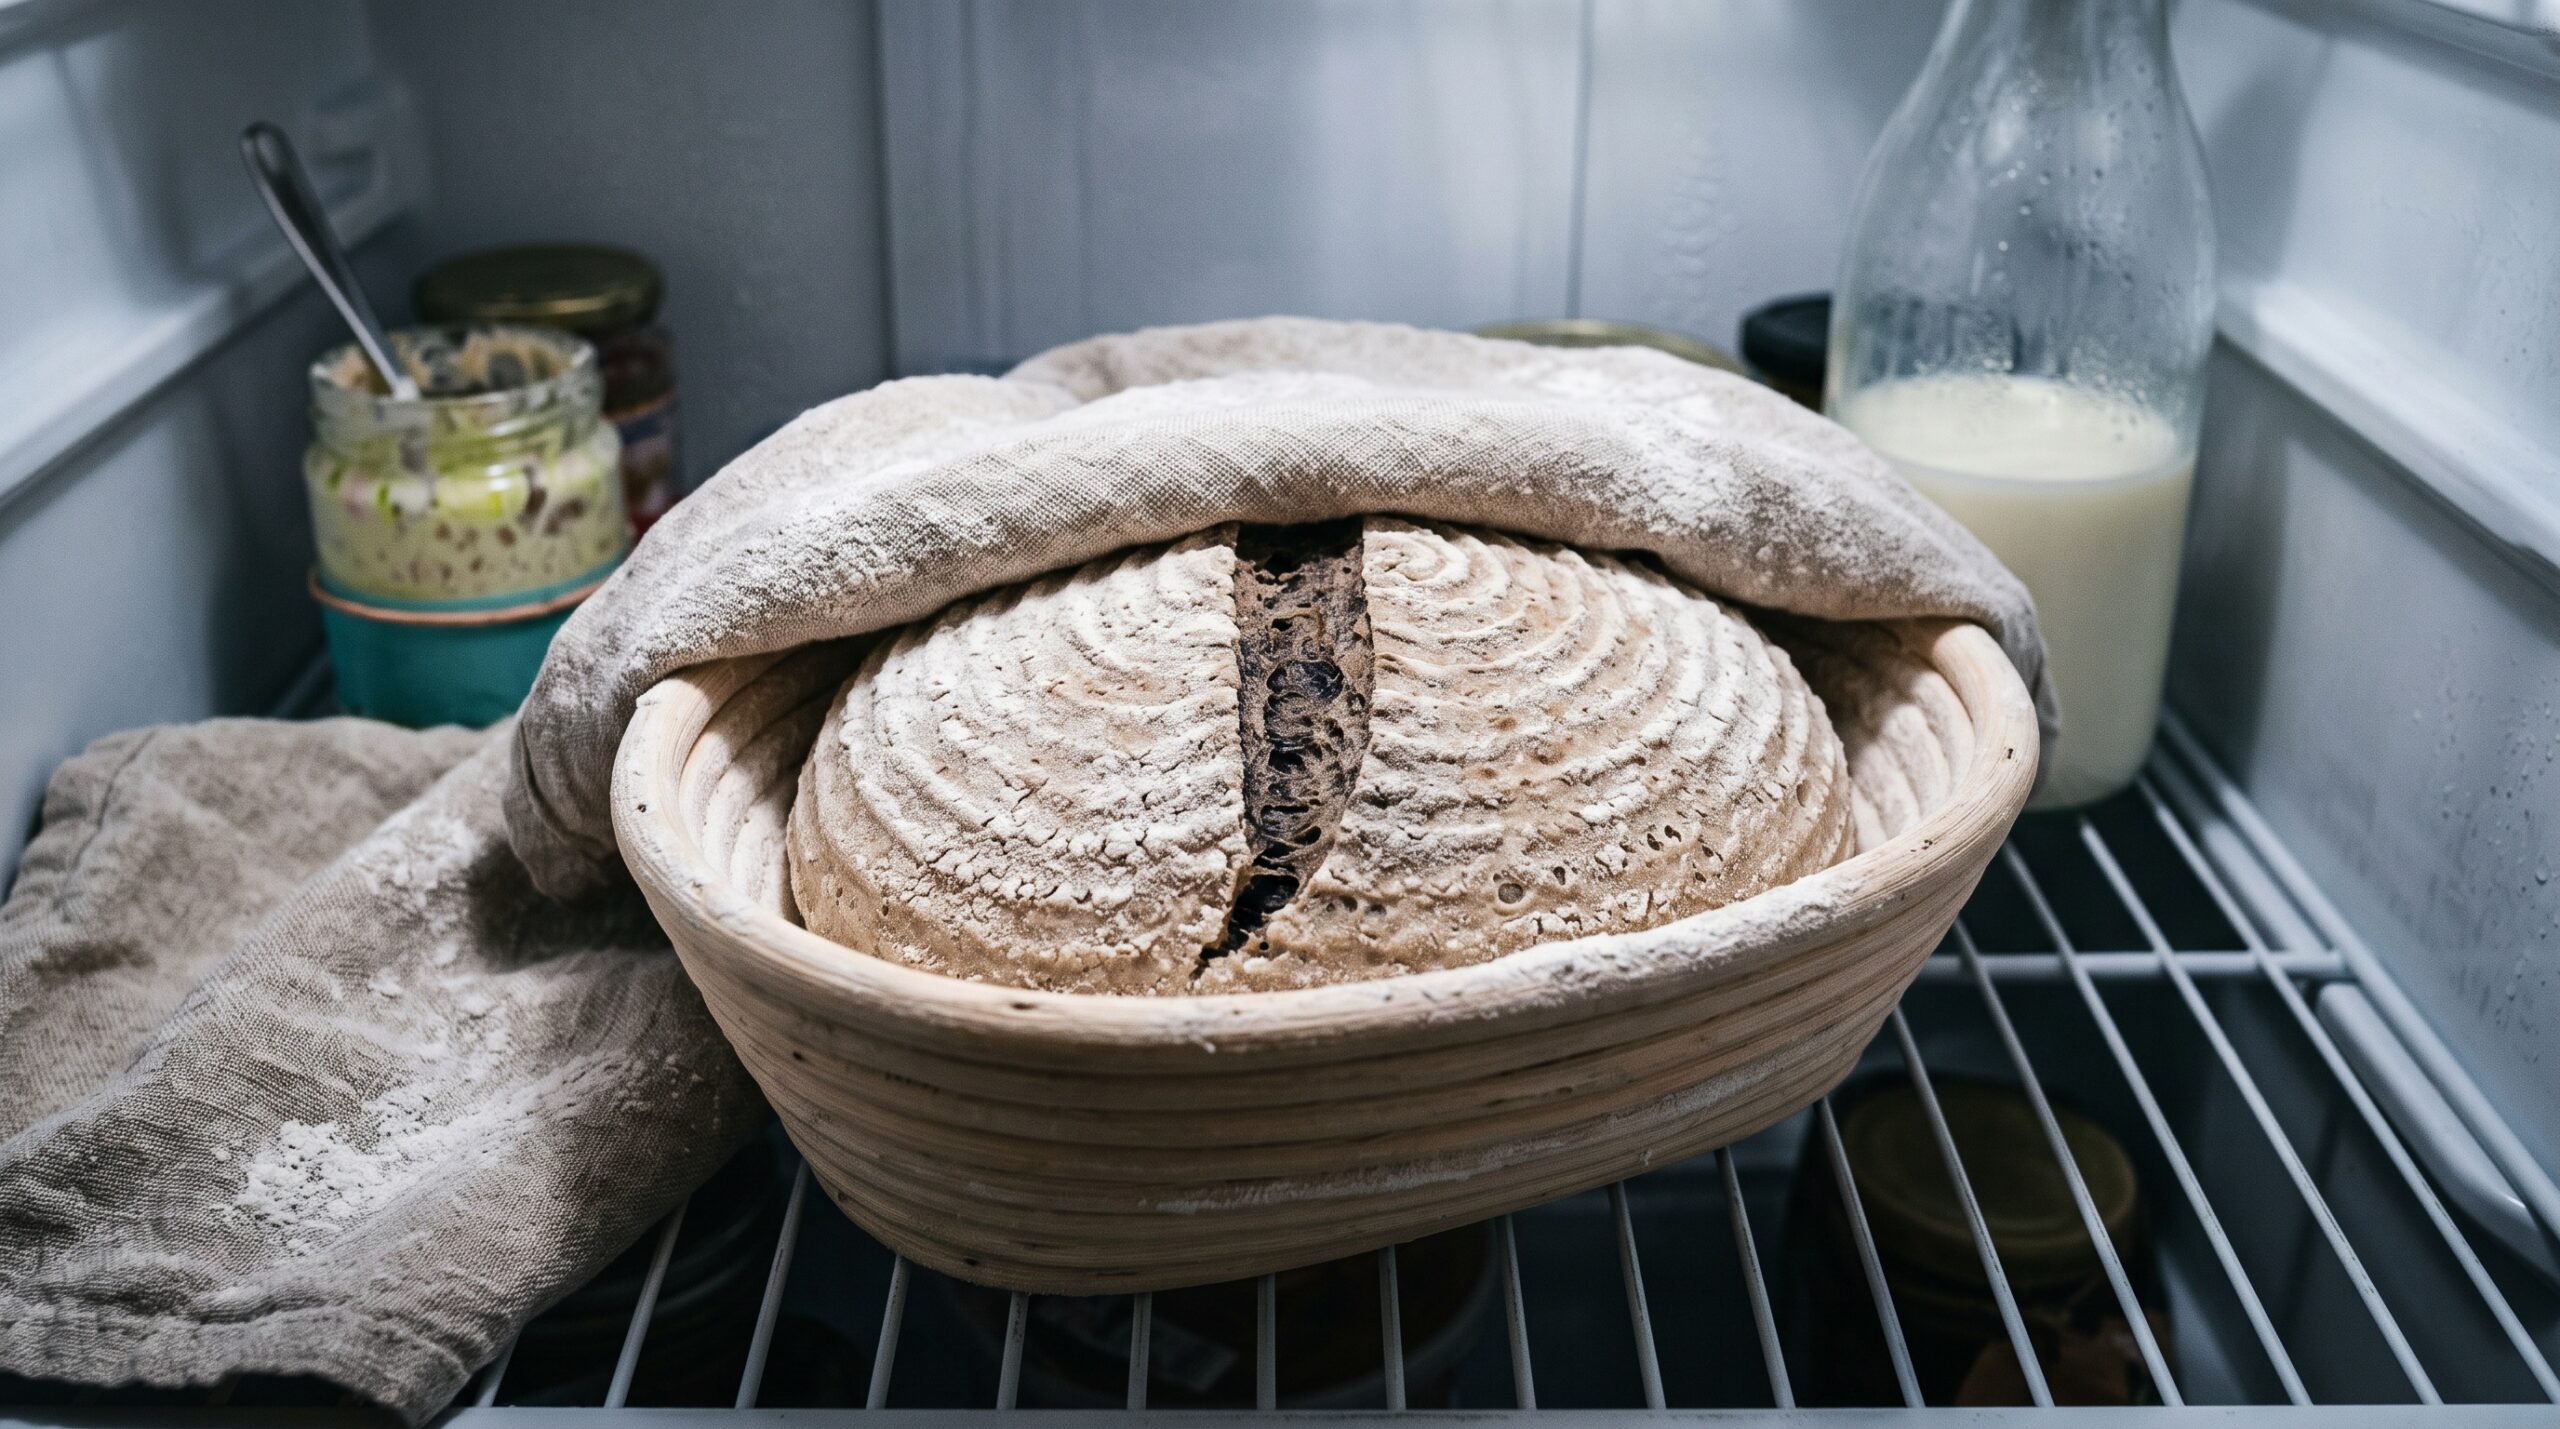
Cold Retard: How Long Can Sourdough Sit in the Fridge Before Baking?
You shaped your loaf, tucked it in the fridge, and then life happened. Twelve hours became thirty-six. Is it ruined? Here is exactly how long sourdough can cold retard, how to read whether it went too far, and how to bake it straight from the cold. Read
-
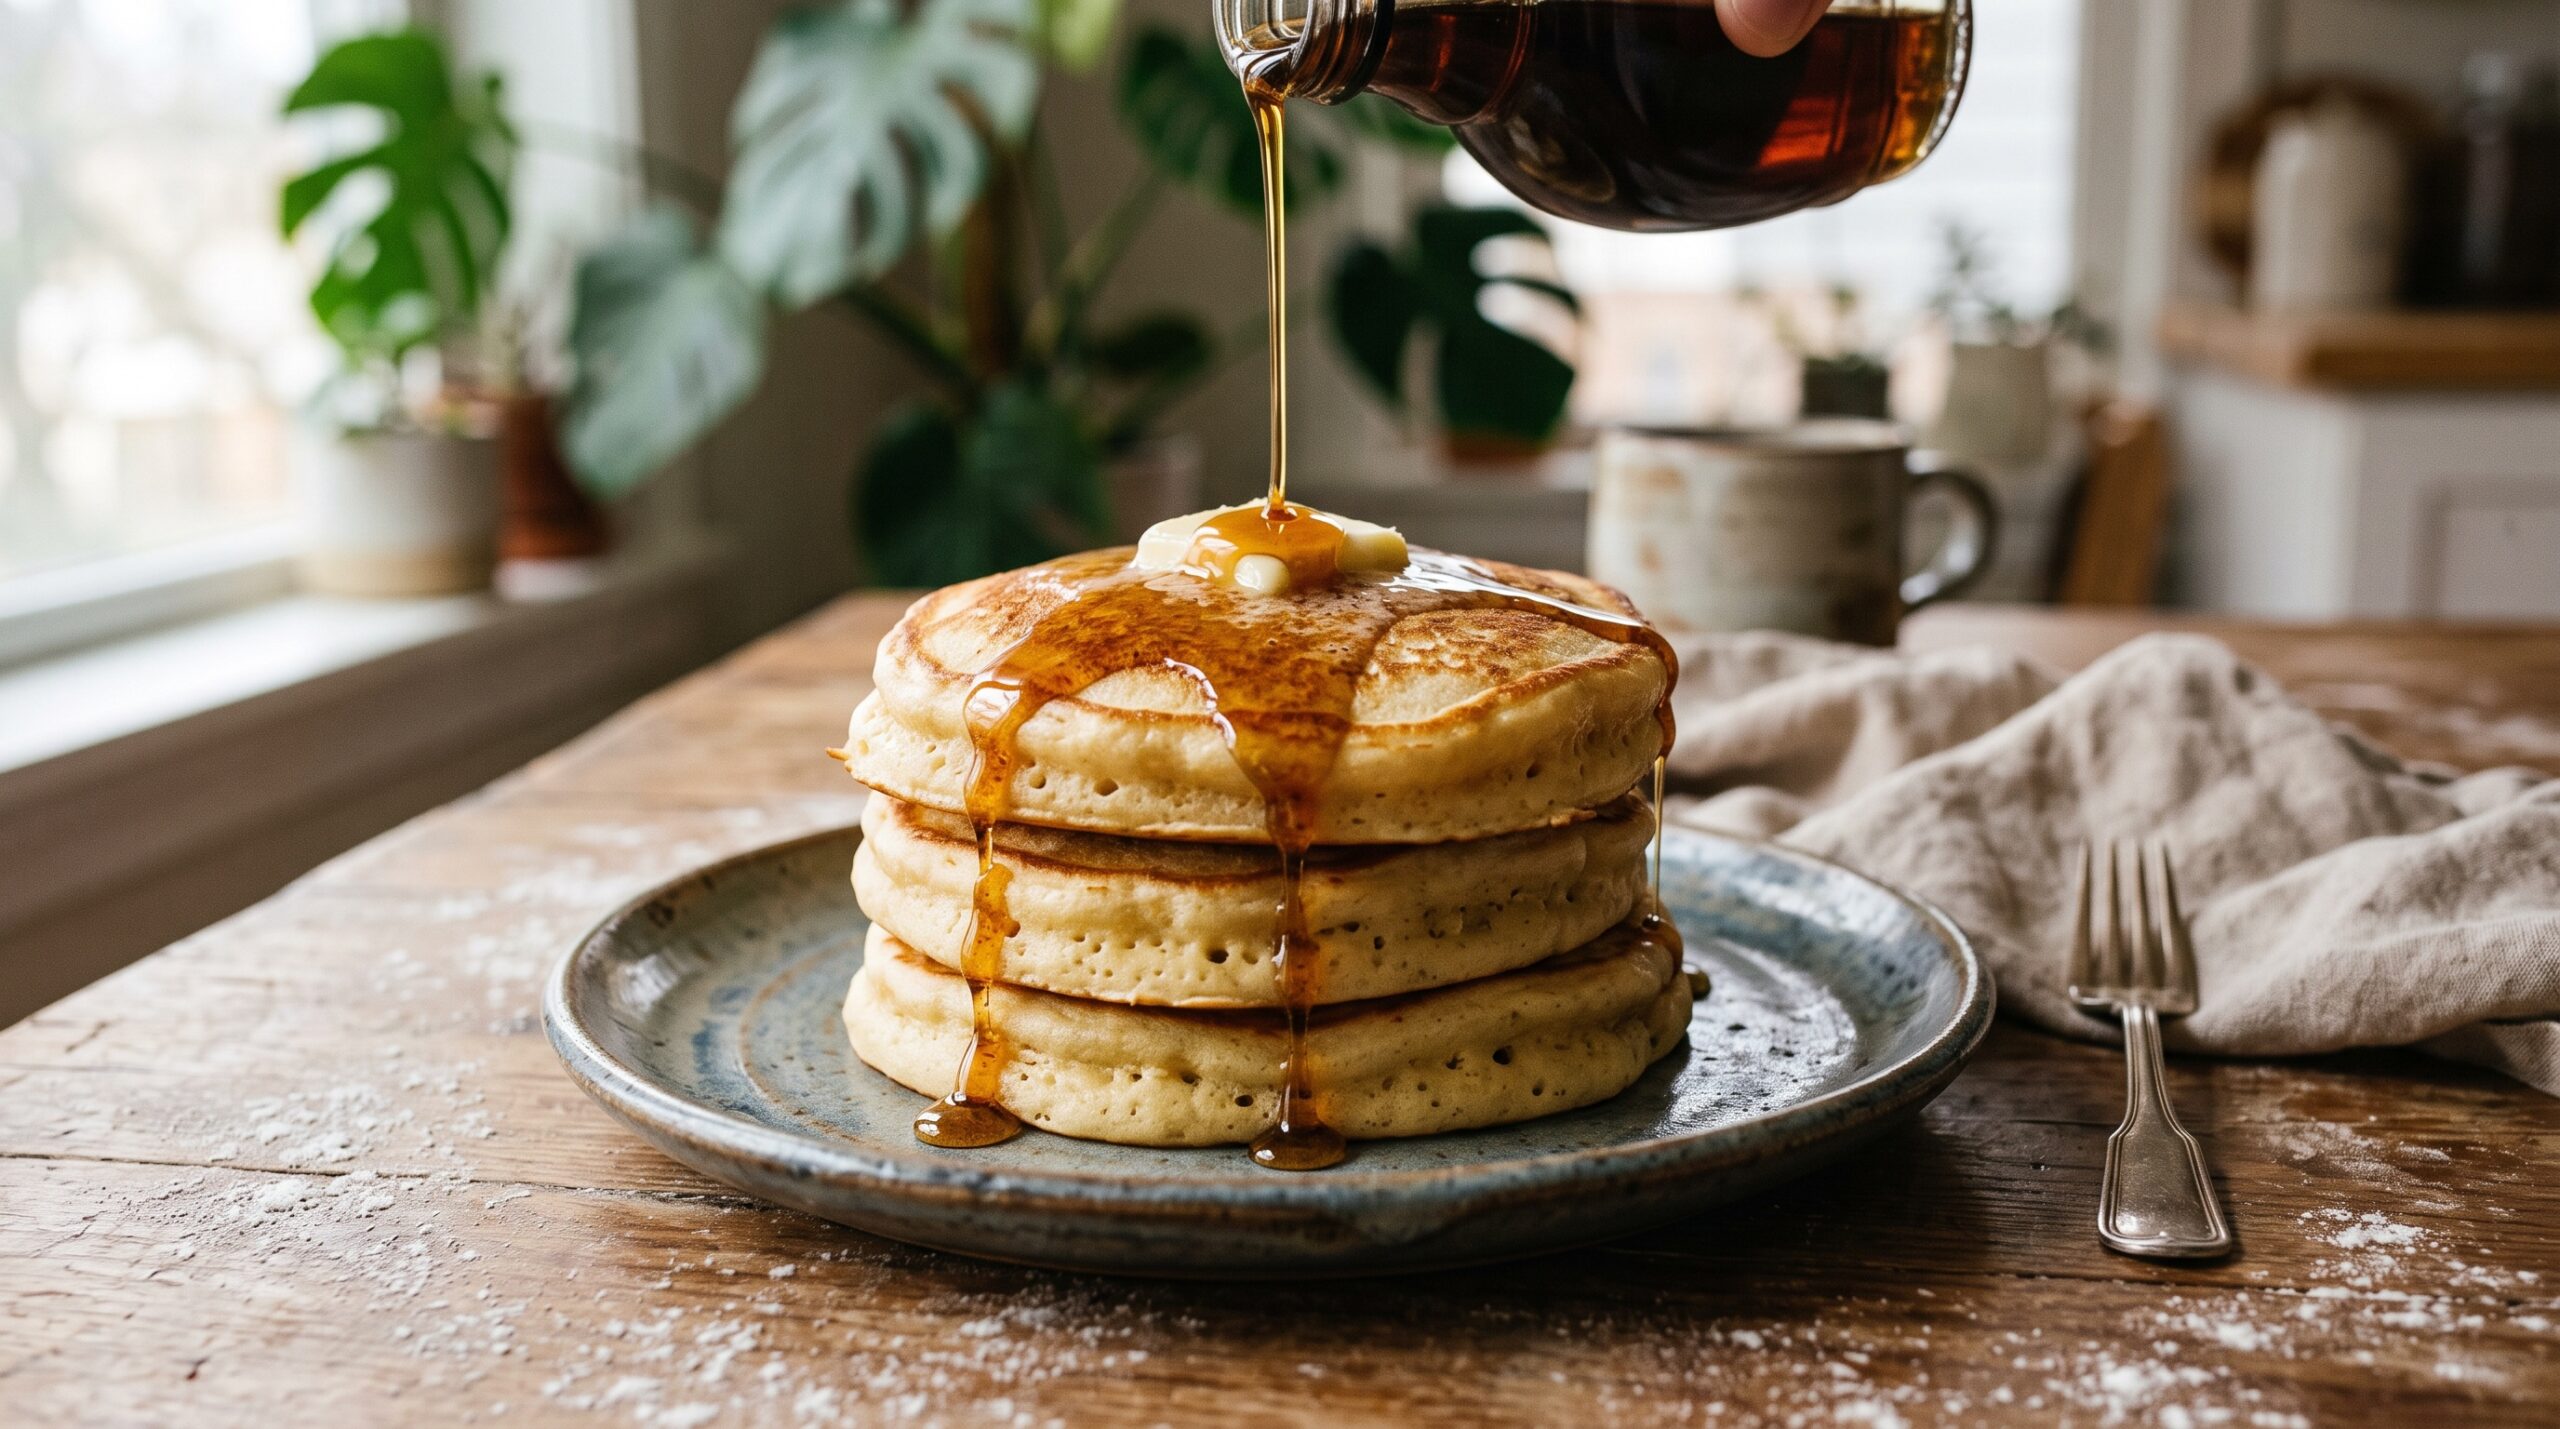
Sourdough Discard Pancakes: Fluffy, Tangy, and Ready in Minutes
That jar of sourdough discard is not garbage — it is the best pancake batter you are not making yet. Here is the fluffy, tangy, no-waste recipe, plus fixes for flat or rubbery results. Read
-
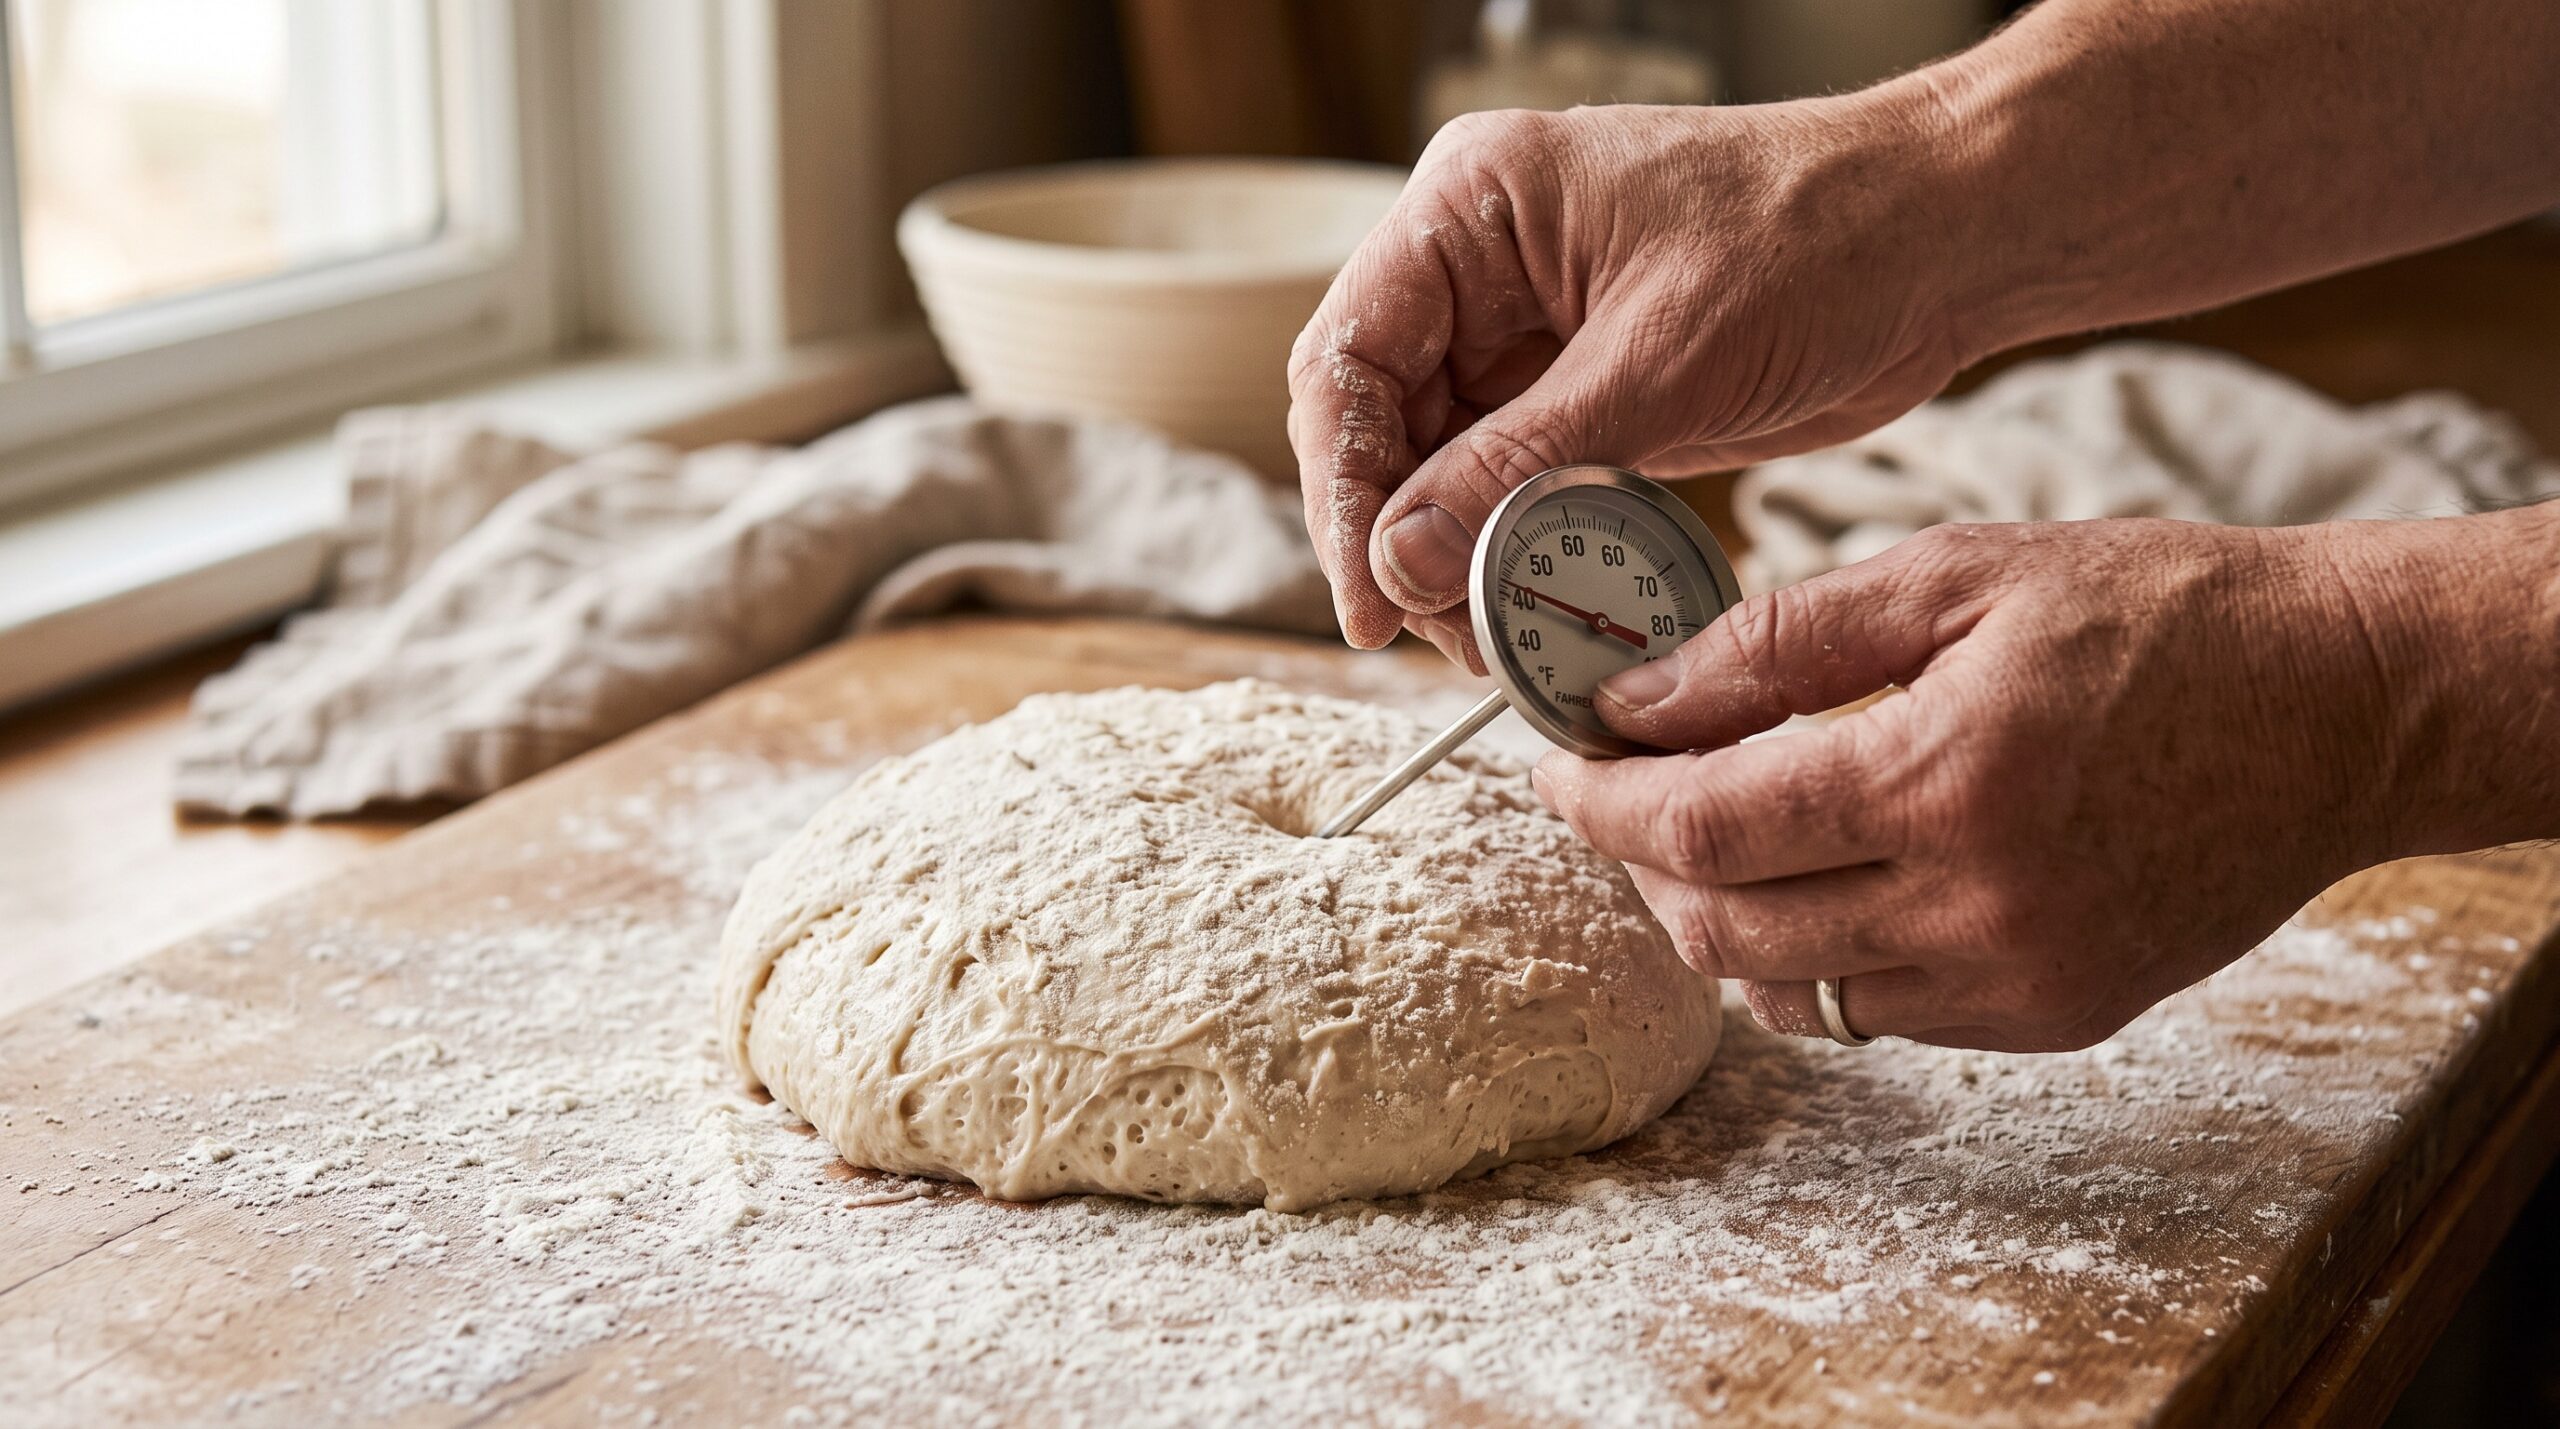
Sourdough Dough Temperature: The Number That Secretly Controls Your Whole Bake
If your loaves are unpredictable, the culprit is usually one number you have never measured: dough temperature. Here is how to control it with nothing but your tap. Read
-
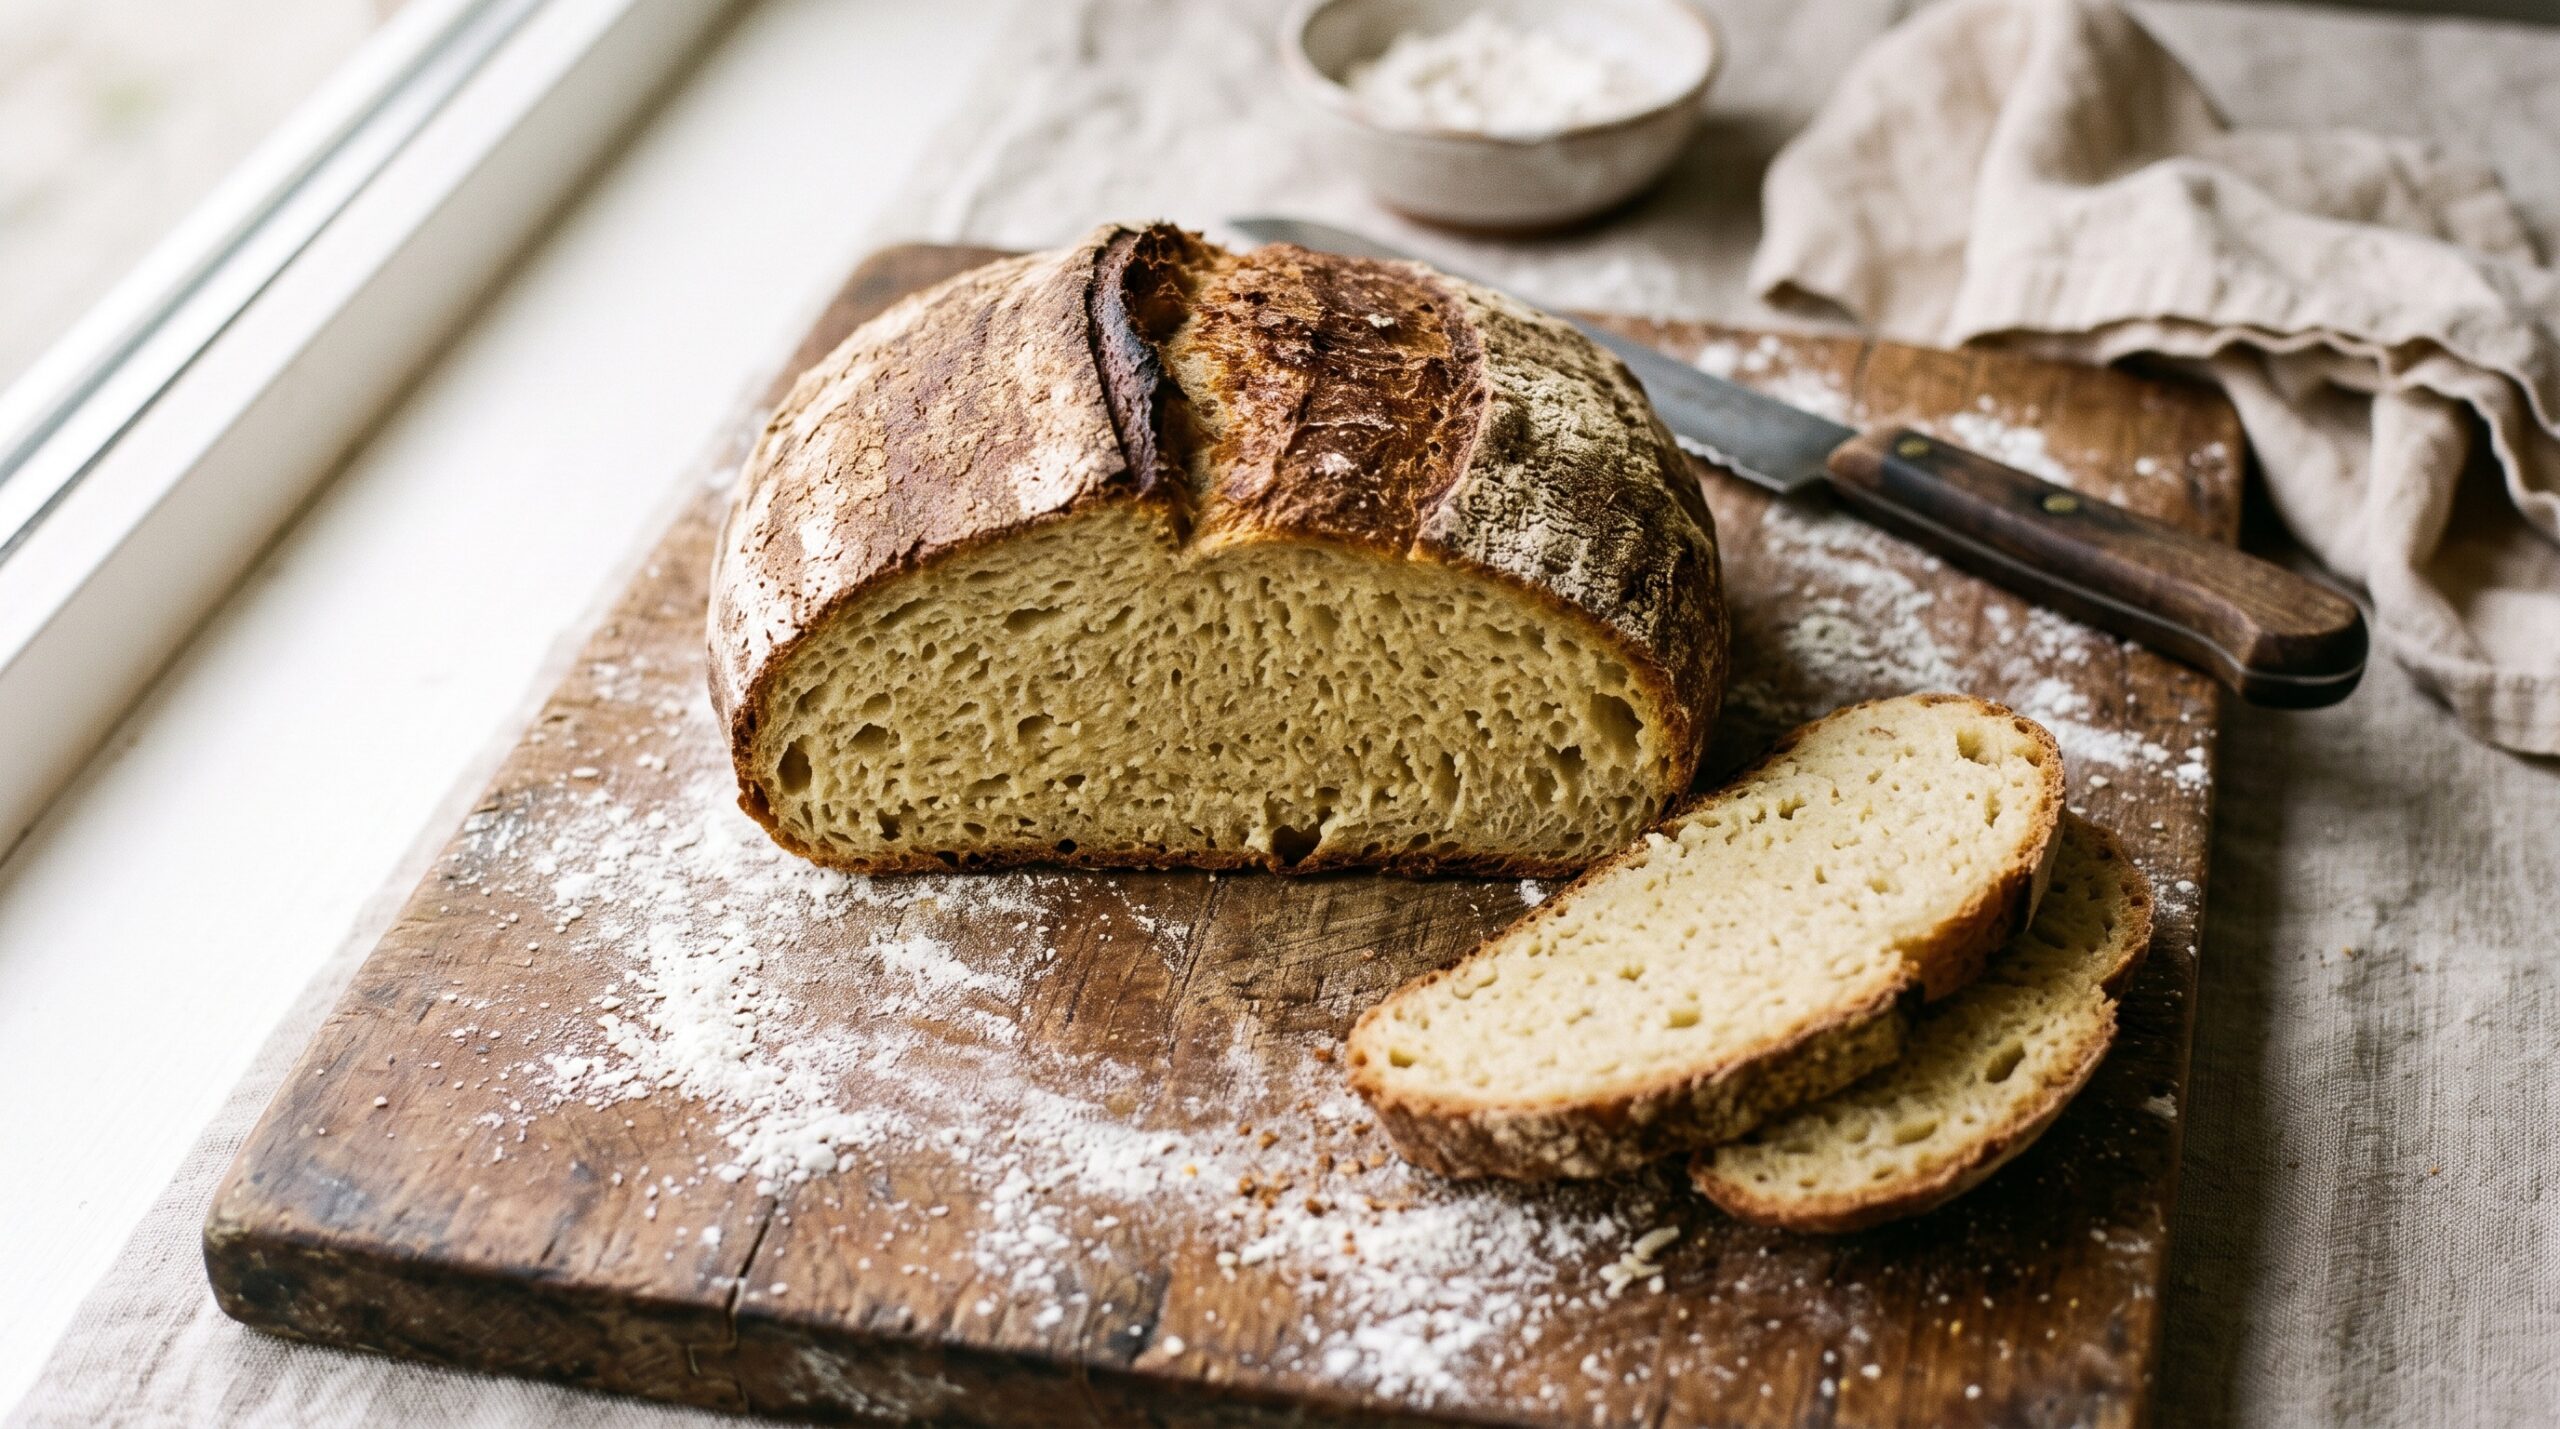
Why Is My Gluten-Free Sourdough Dense and Gummy? The Real Causes and How to Fix Each One
You did everything right, your gluten-free starter was lively, and the loaf still came out dense at the bottom, gummy in the middle, and squat all over. Gluten-free sourdough fails differently than wheat sourdough, so it needs a different diagnosis. Here is what actually causes that heavy, sticky crumb, and exactly how to fix each… Read
-
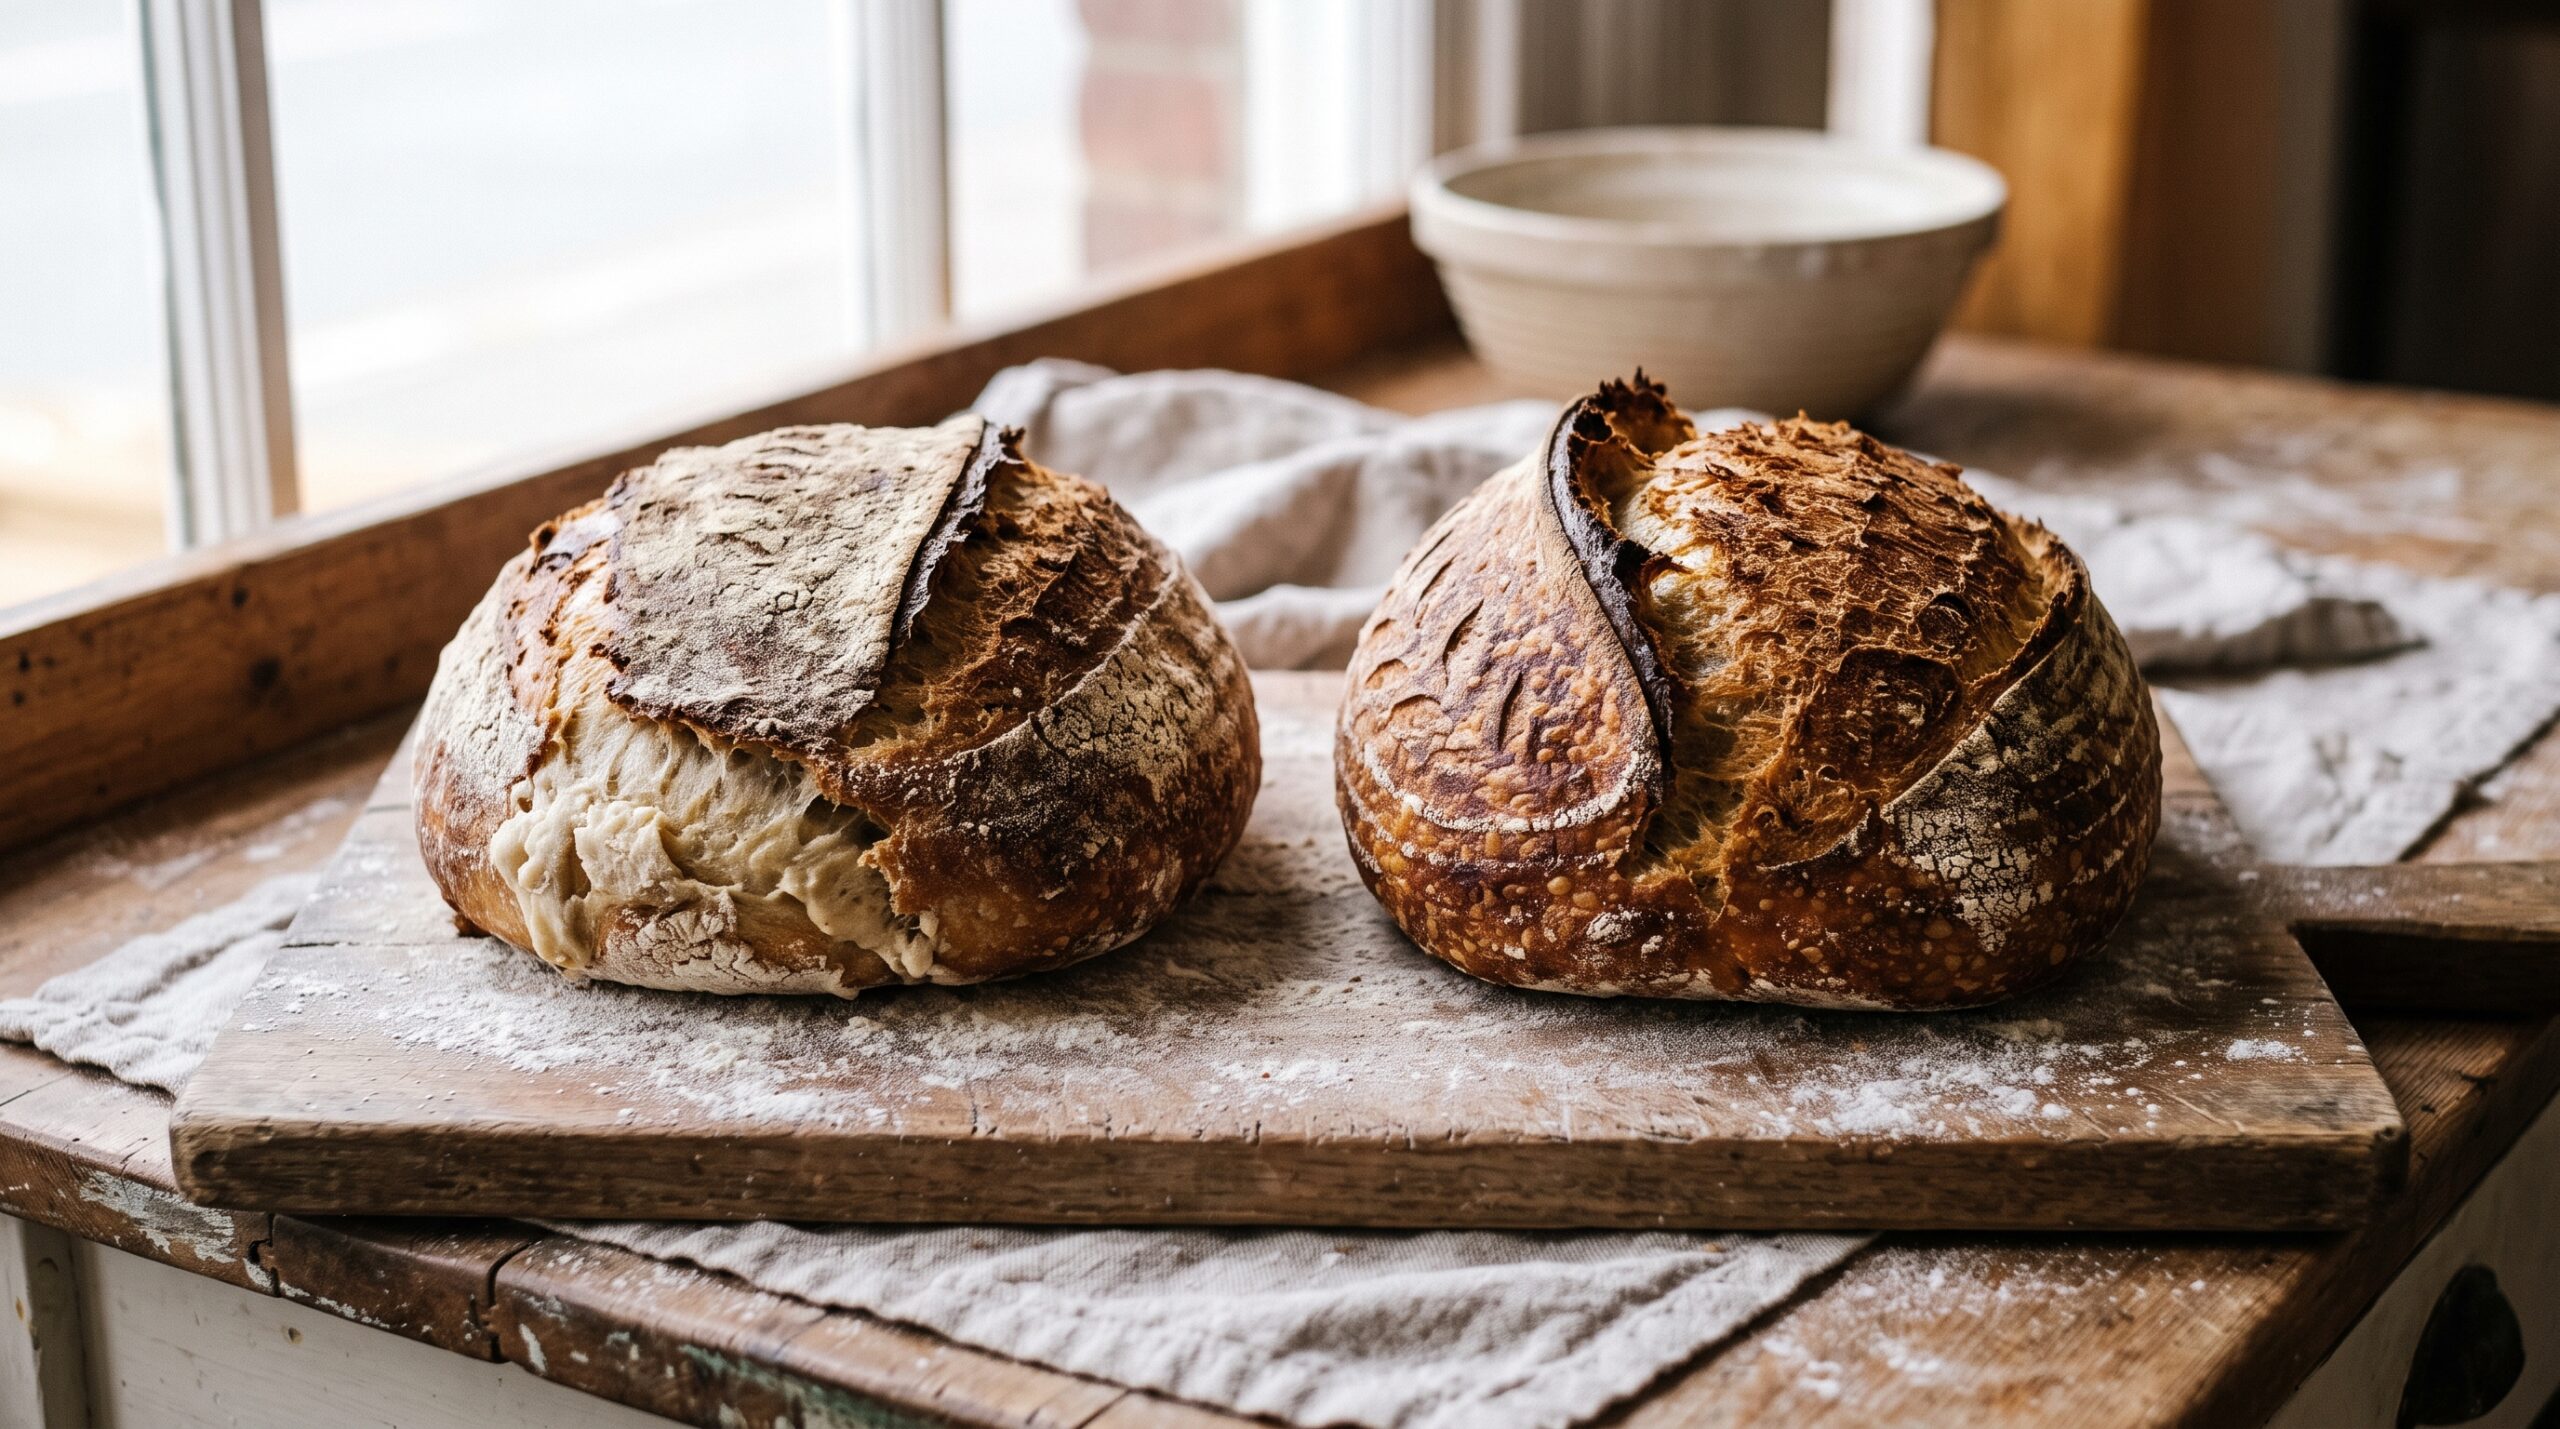
Sourdough Blowout: Why Your Loaf Bursts on the Side Instead of the Score
Your loaf rose beautifully, then split open along the side instead of the cut you made. That ragged blowout has a small number of fixable causes. Here is how to diagnose which one is yours and stop it happening again. Read
-
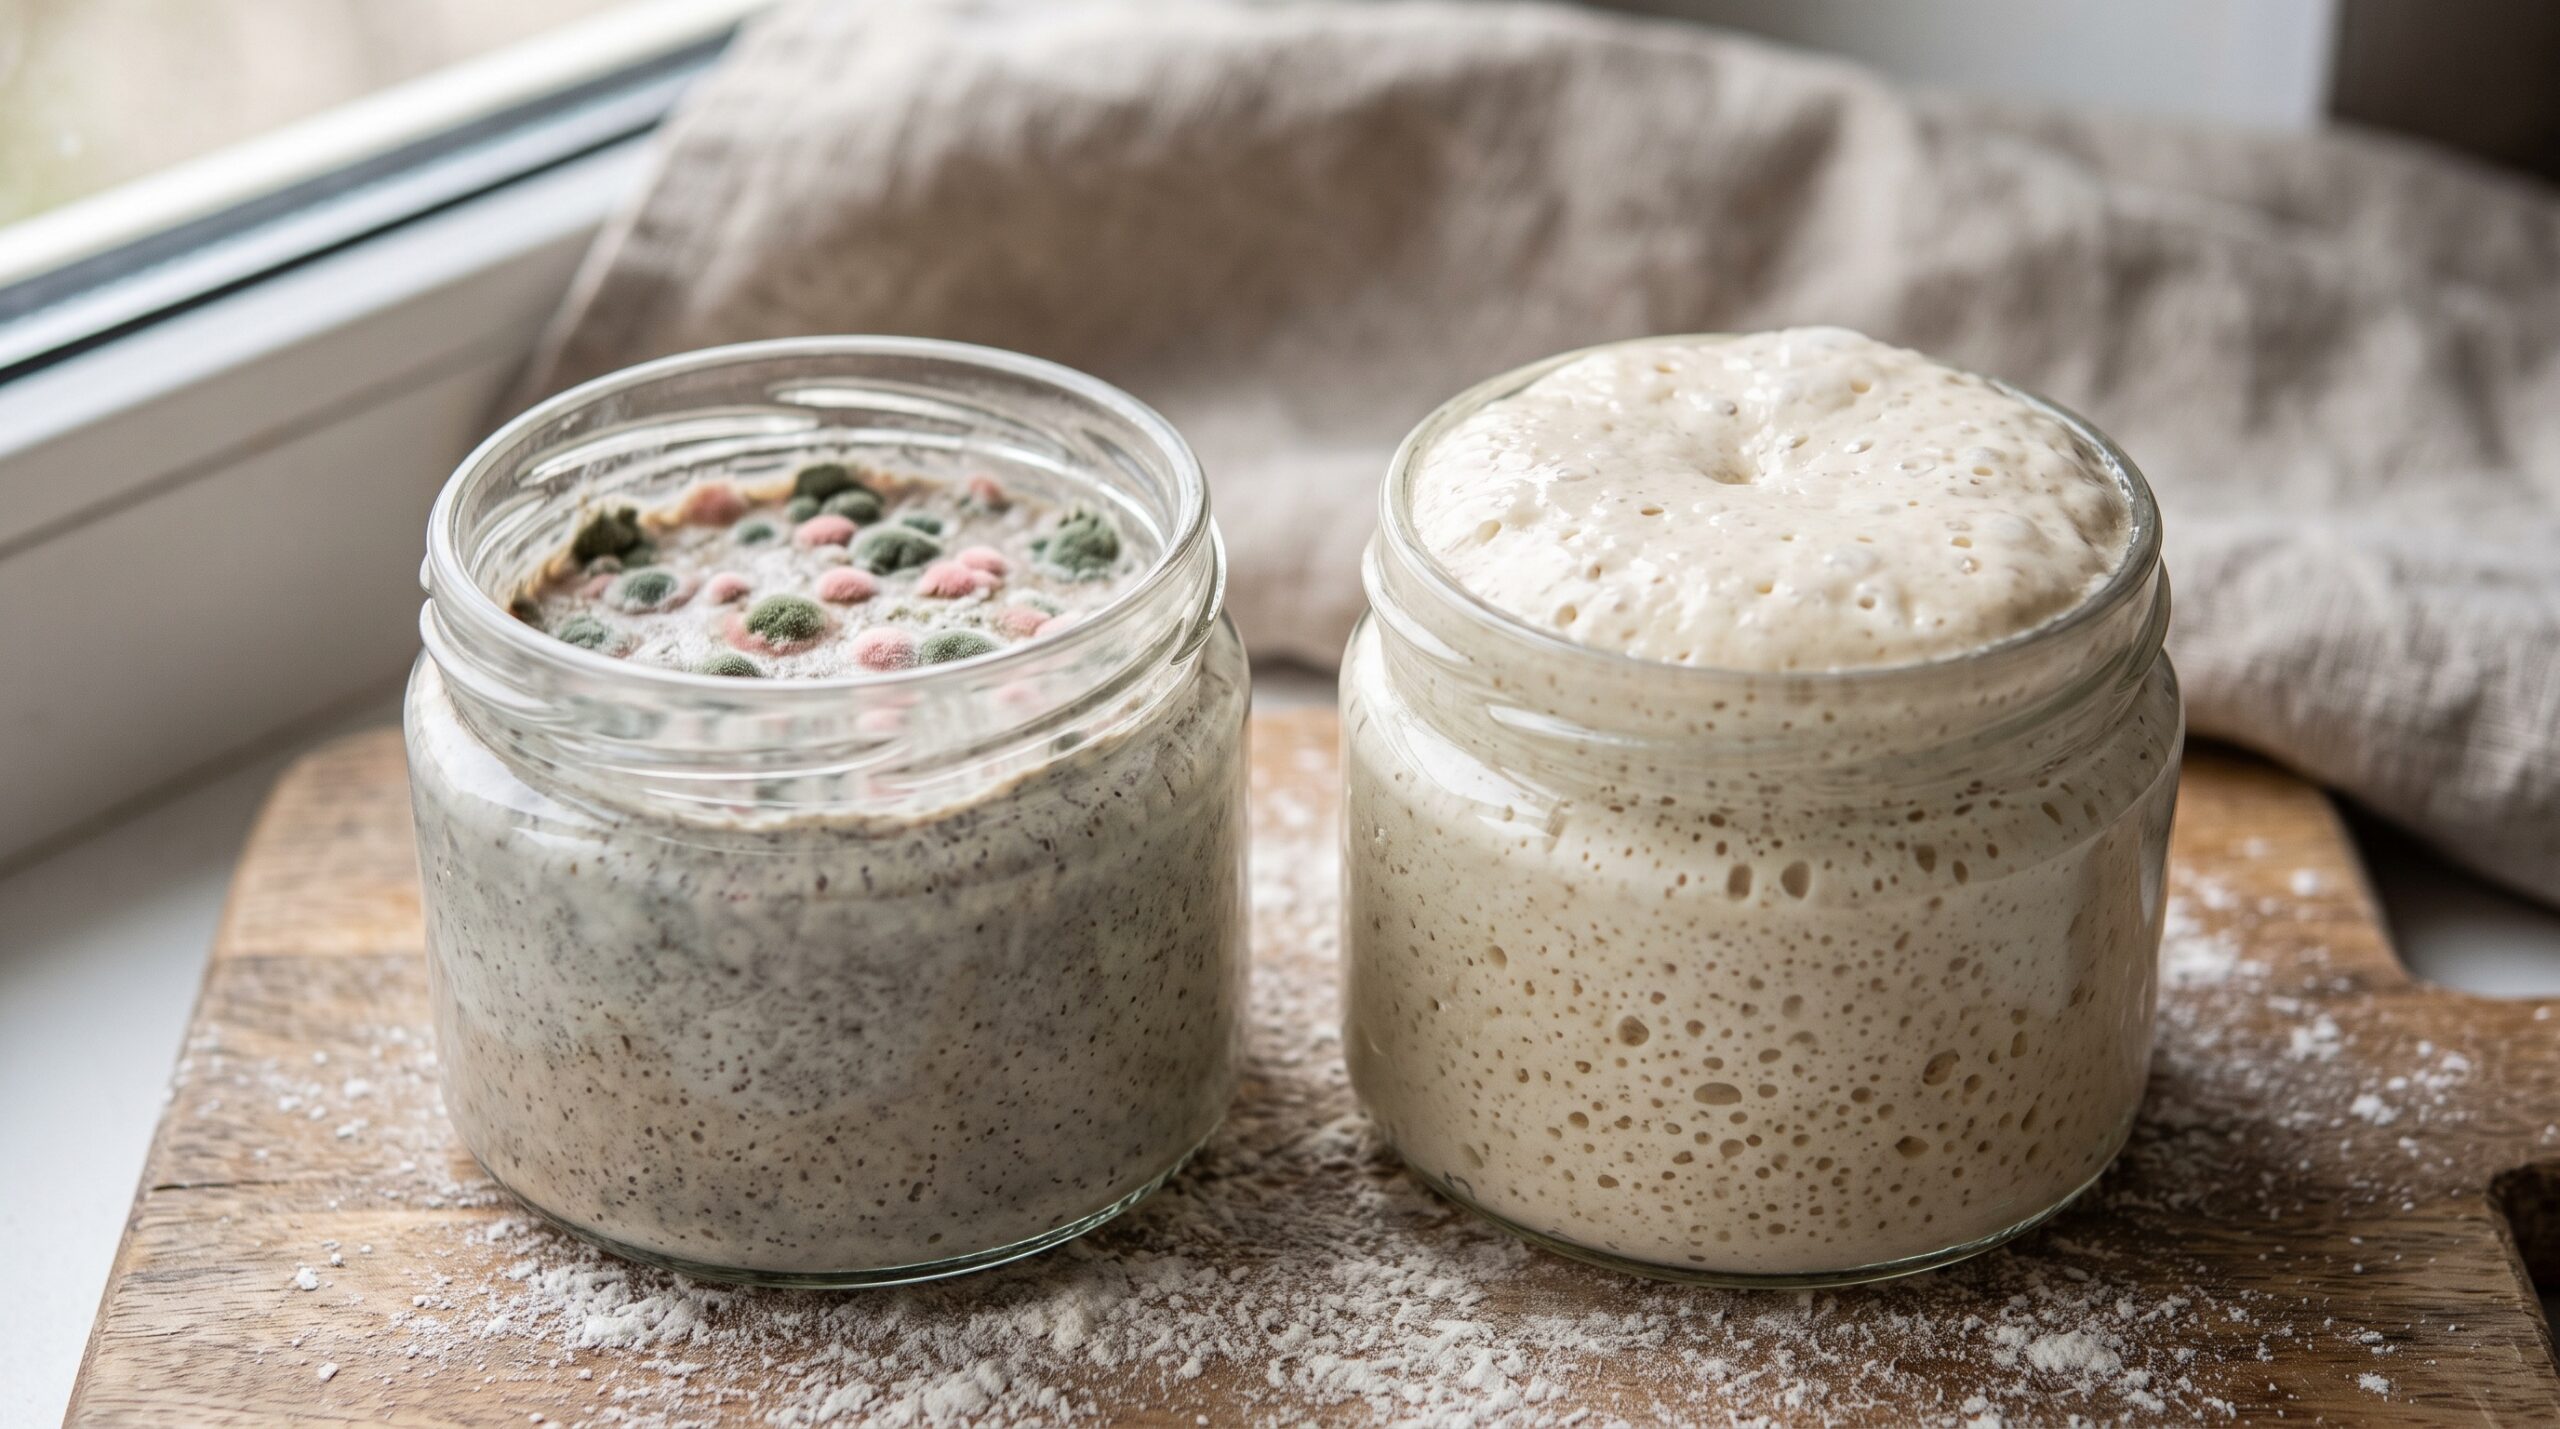
Mold on Your Sourdough Starter vs Kahm Yeast: How to Tell and When to Toss It
Fuzzy spots or a strange film on your starter? Most of the time it isn’t mold. Here’s how to tell real mold from harmless kahm yeast and hooch, and exactly when to toss the jar and start over. Read
-
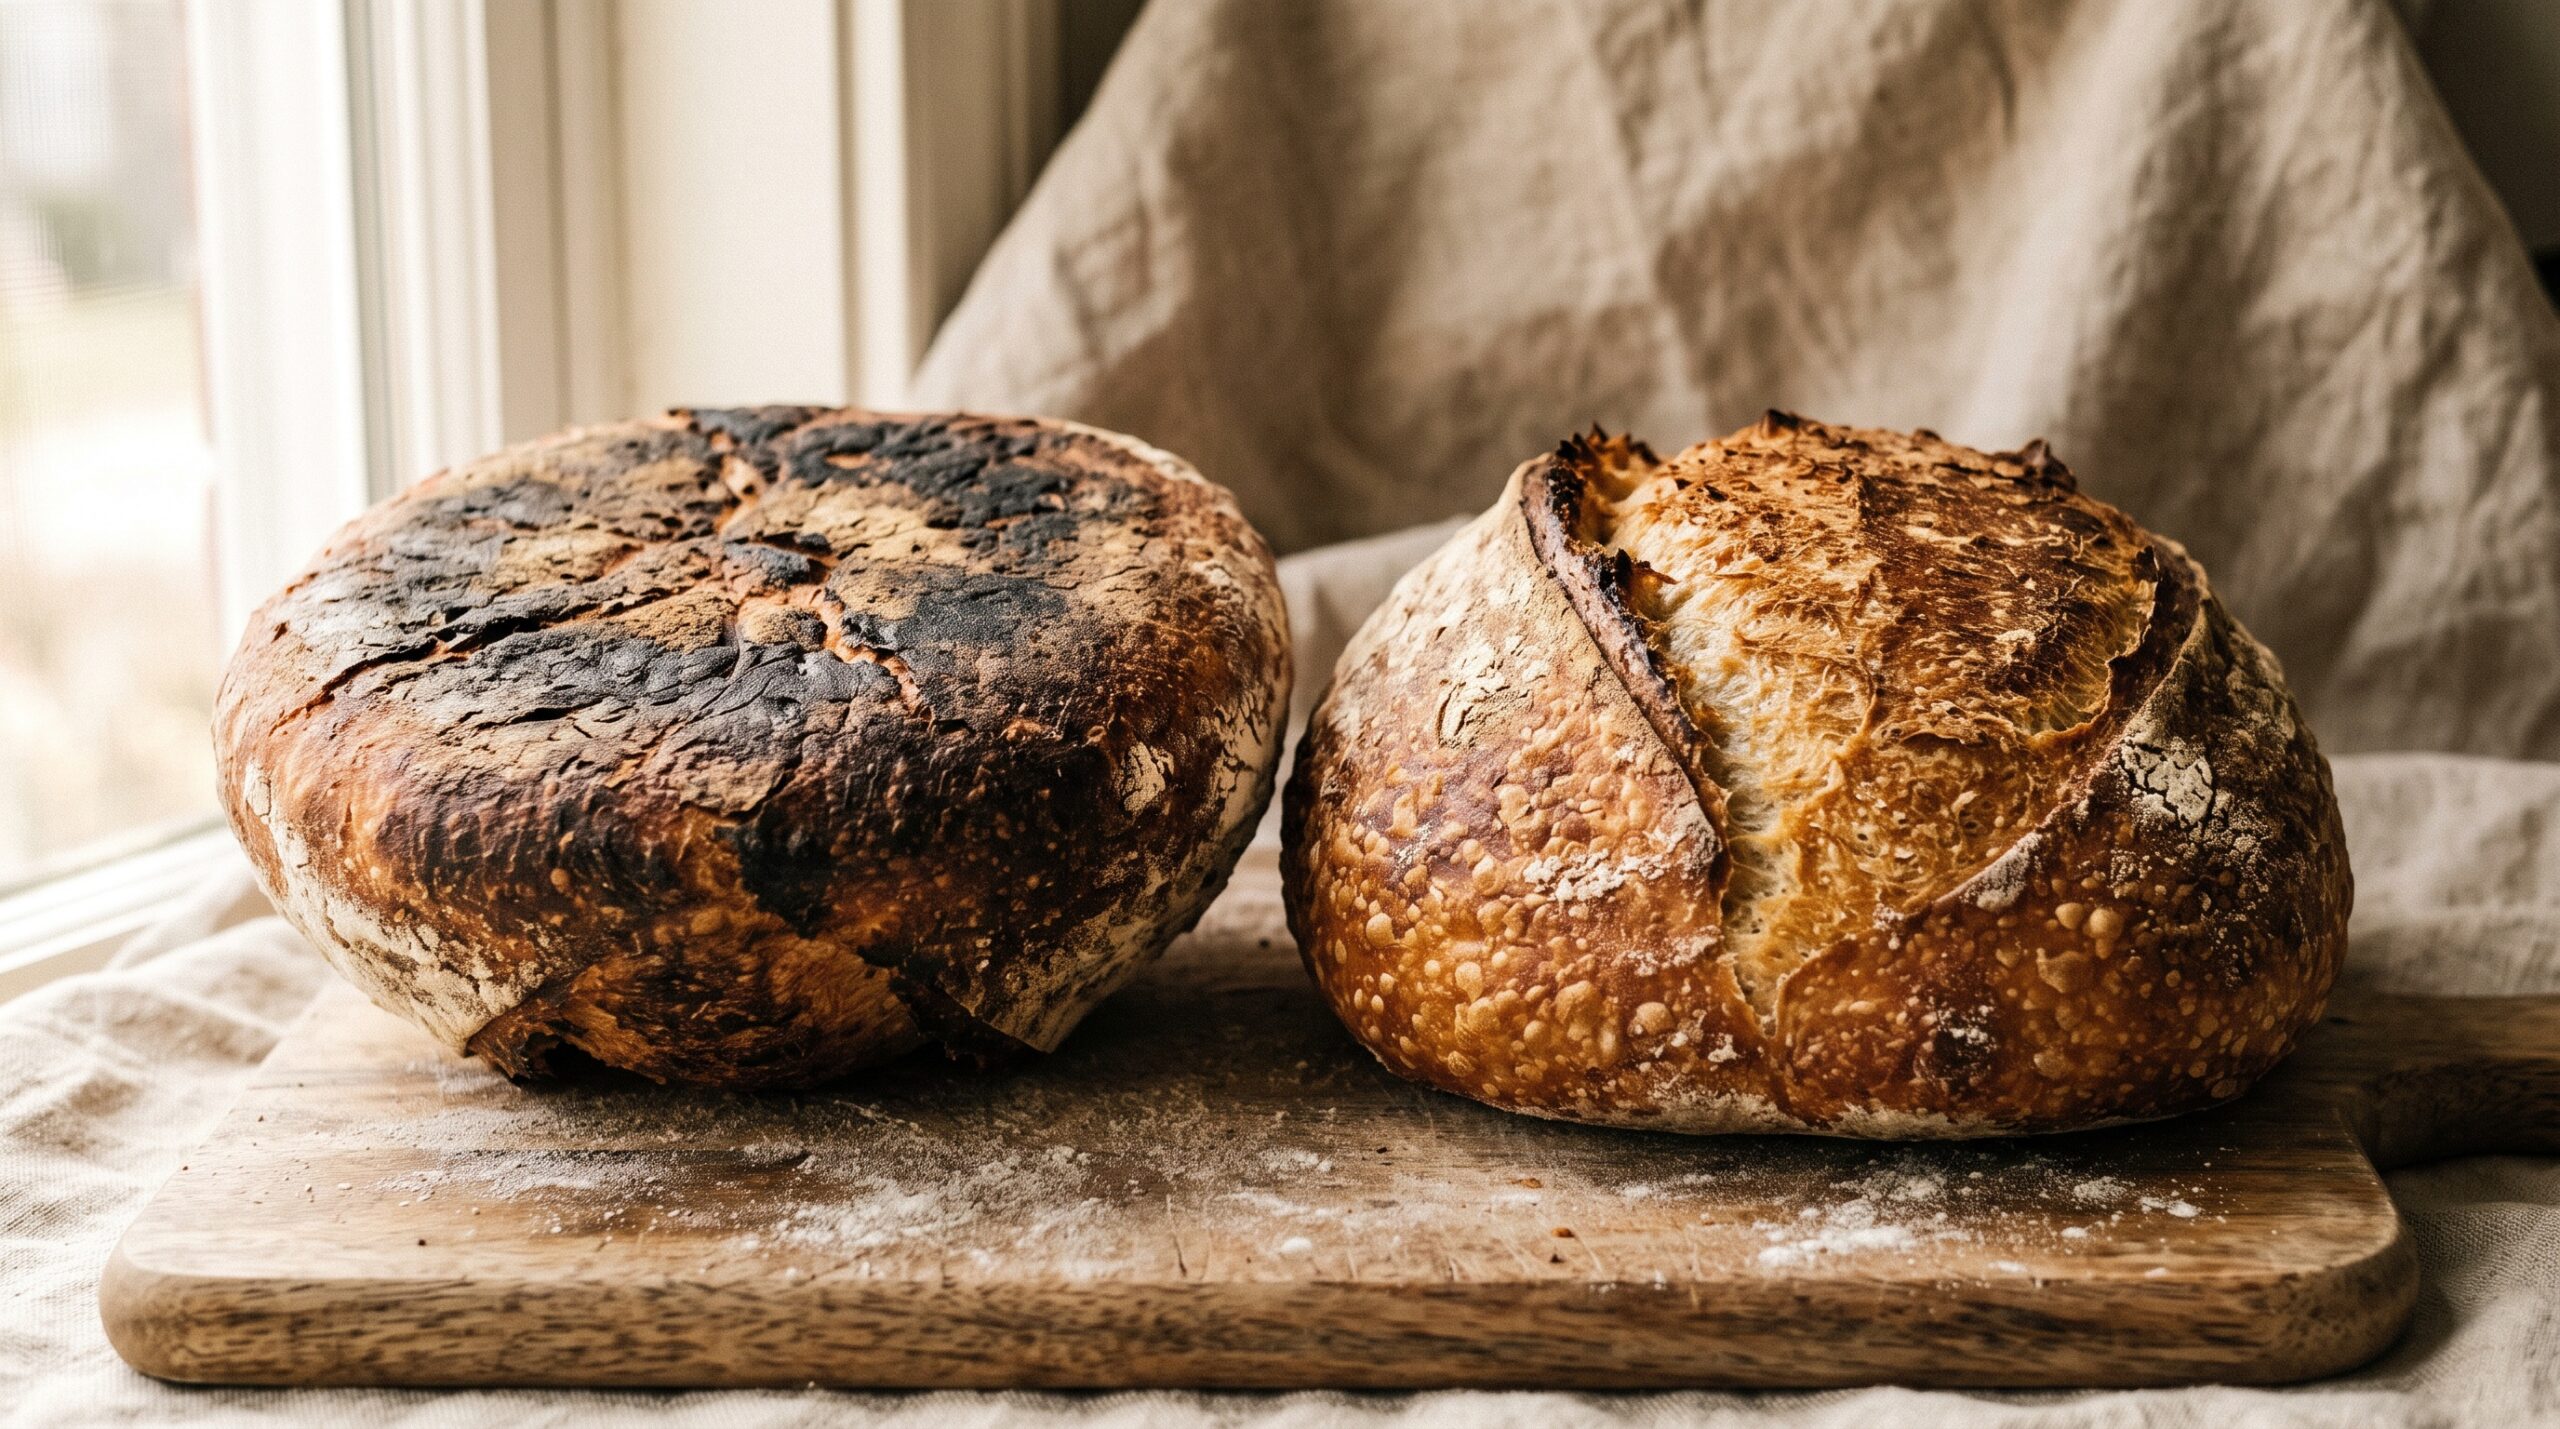
Sourdough Burnt Bottom: Why the Base Scorches and How to Stop It
Golden top, blackened base? A burnt sourdough bottom is a heat problem, not a you problem. Here’s why the base scorches while the rest bakes perfectly, and exactly how to fix it. Read
-
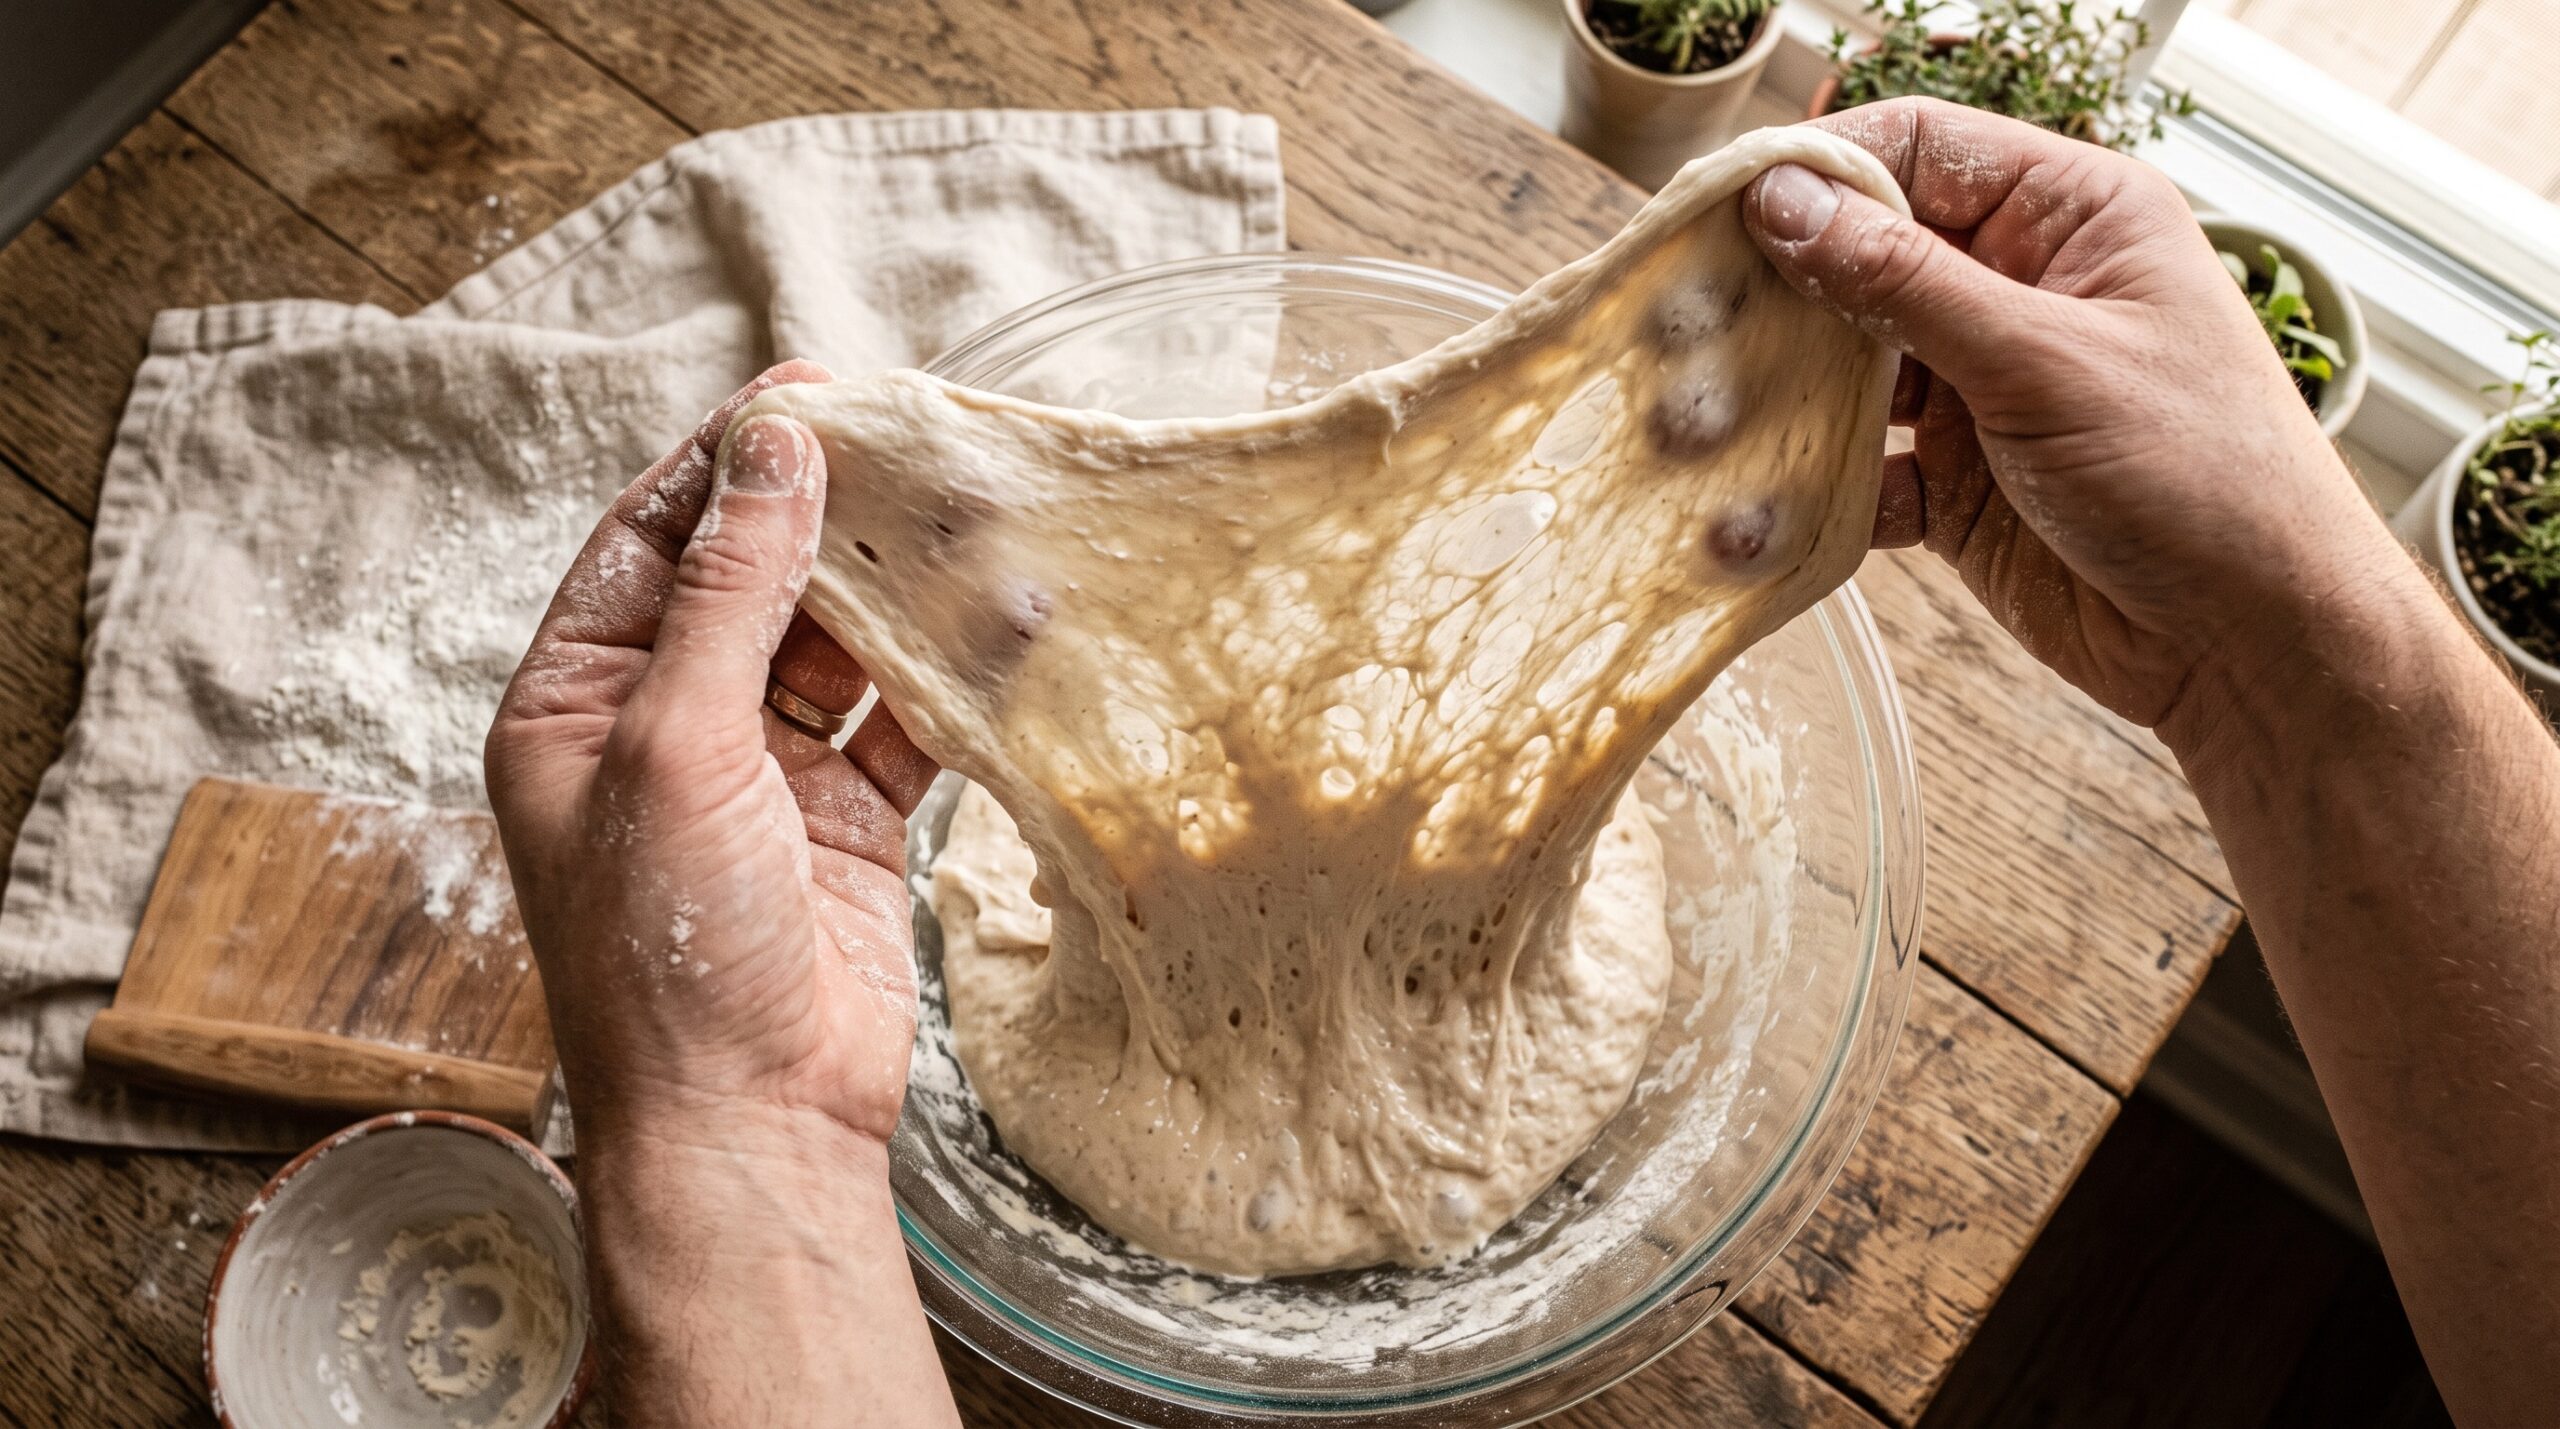
Stretch and Folds: How and When to Strengthen Your Sourdough Without Kneading
If your loaf keeps spreading flat or the crumb collapses, weak dough structure is usually the culprit, and stretch and folds are the fix. Here’s exactly how to do them, how many you need, and when to stop. Read
-
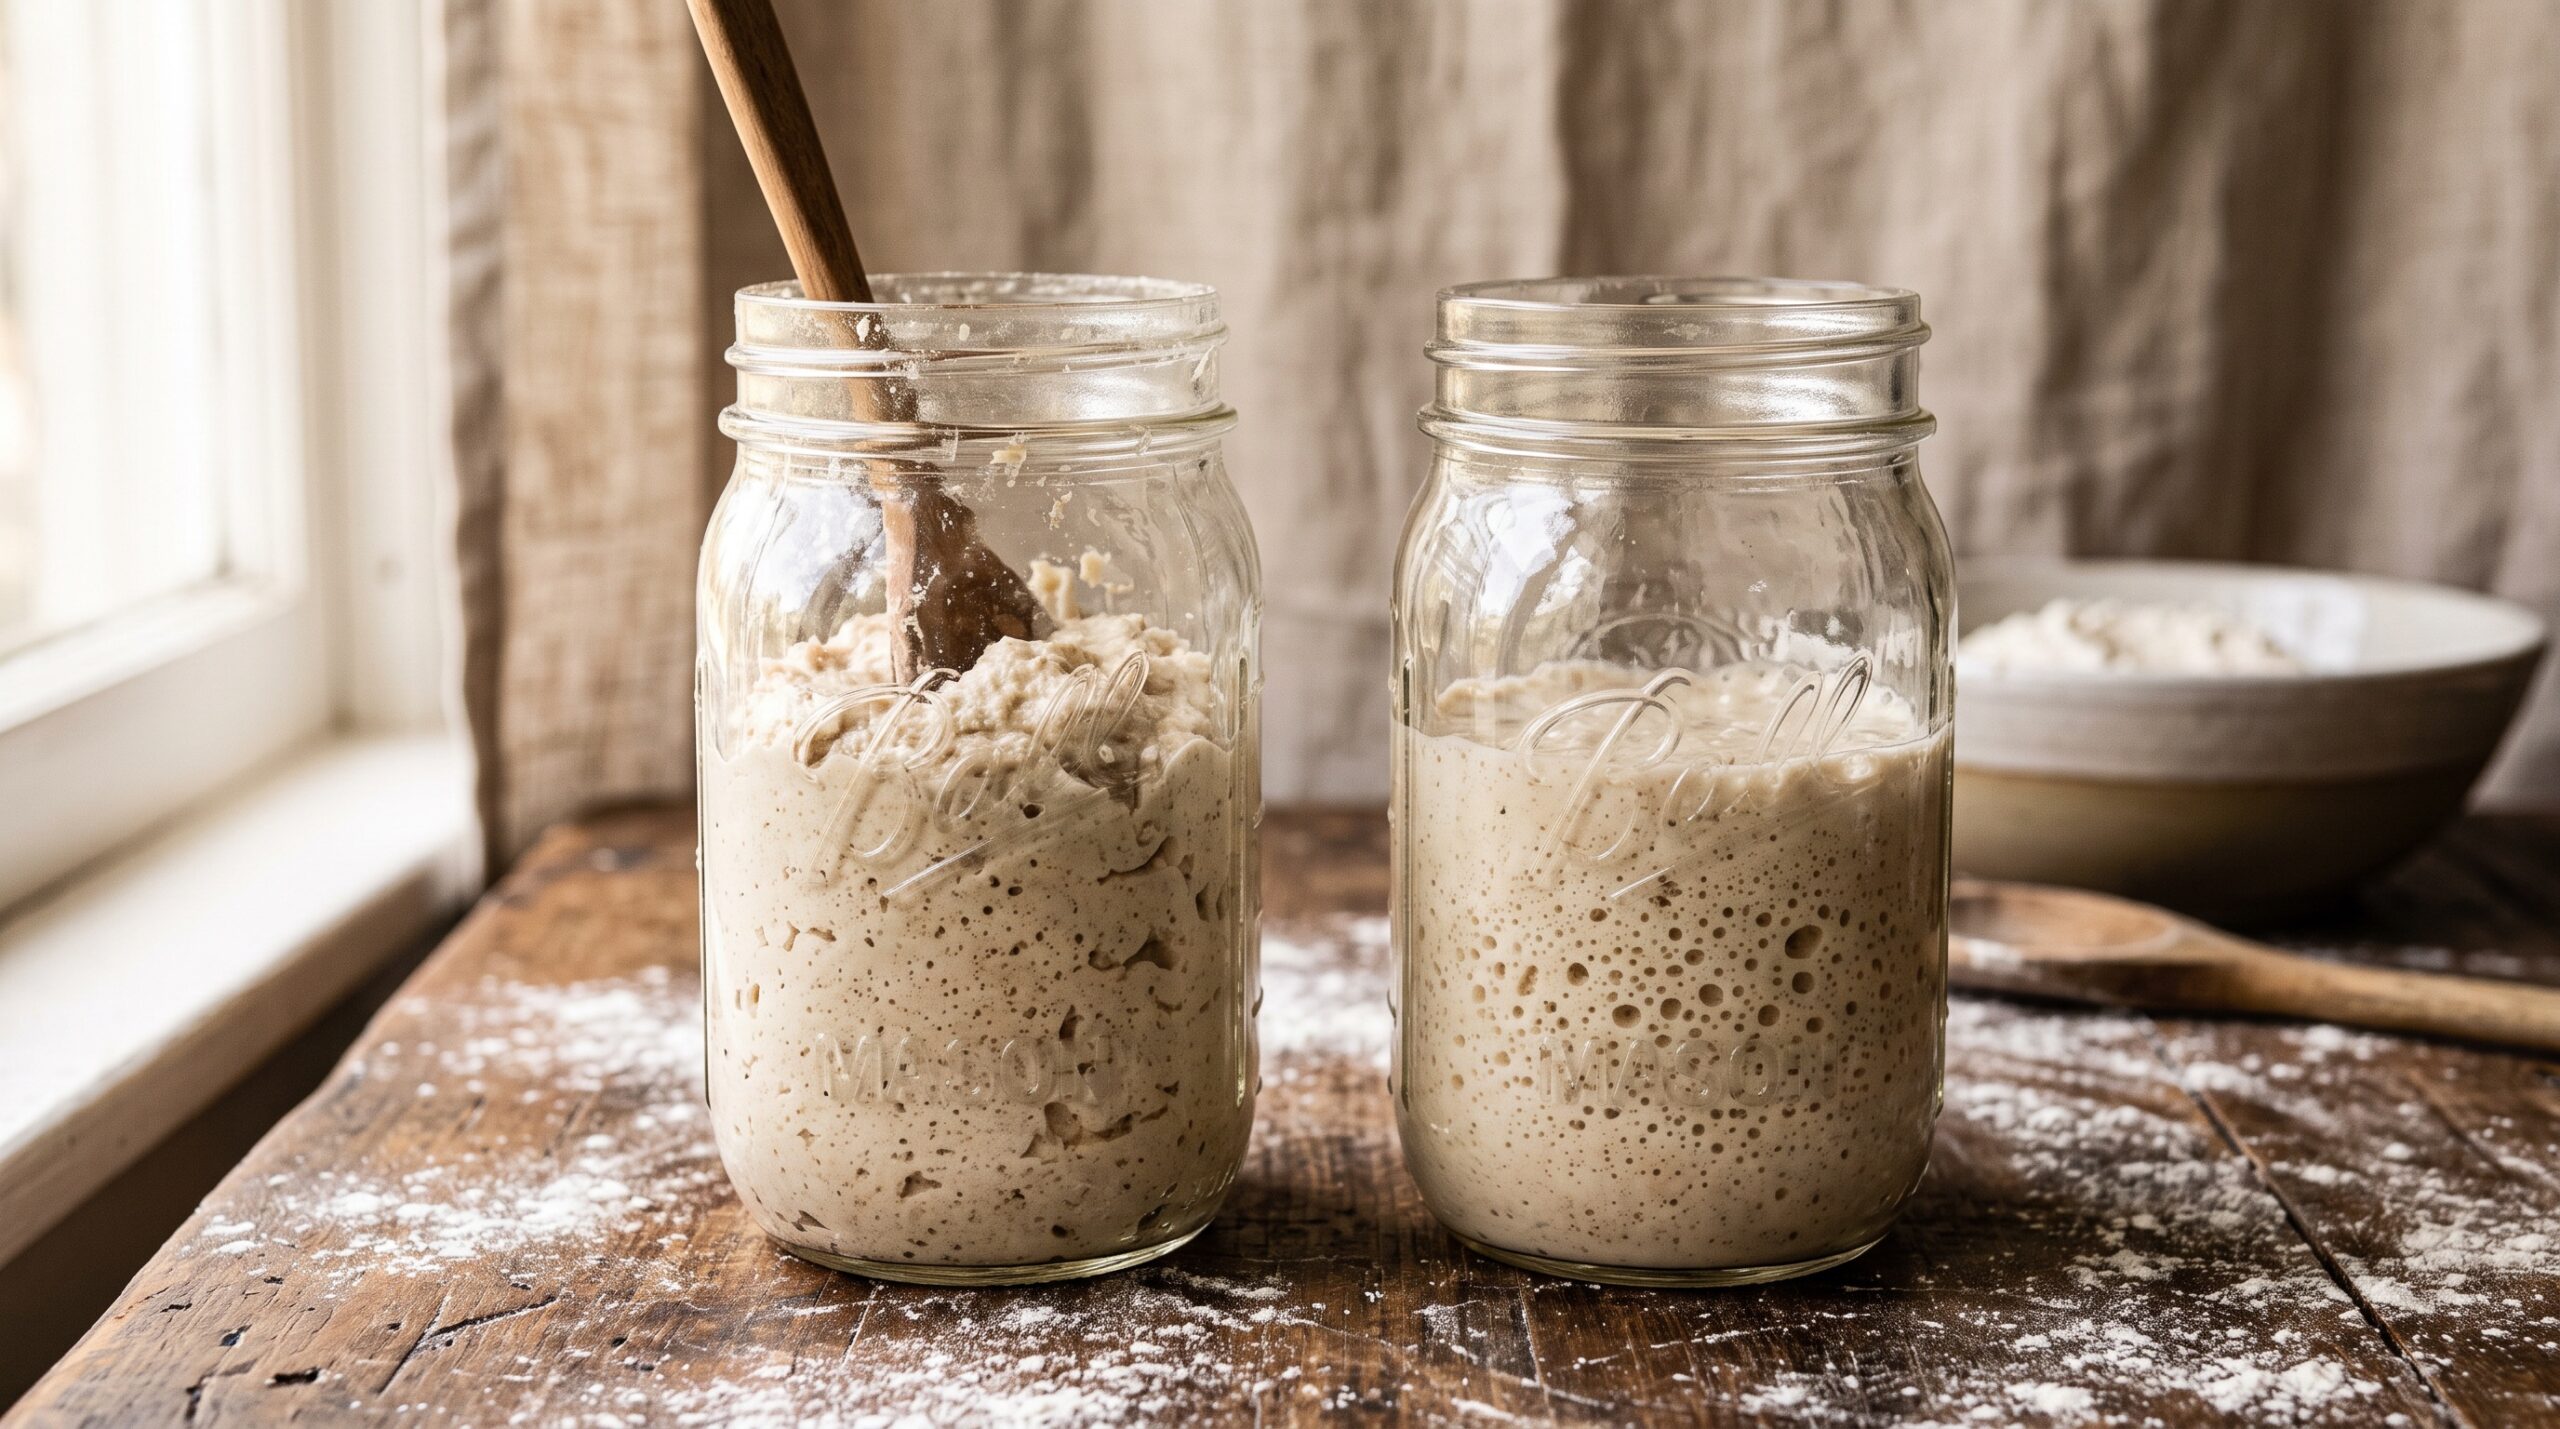
Stiff Starter vs Liquid Starter: Which Should You Keep, and Why?
A stiff starter and a 100% hydration starter aren’t better or worse than each other, they behave differently. Here’s exactly how each one acts, which problems each one solves, and how to choose the one that fits your kitchen. Read
-
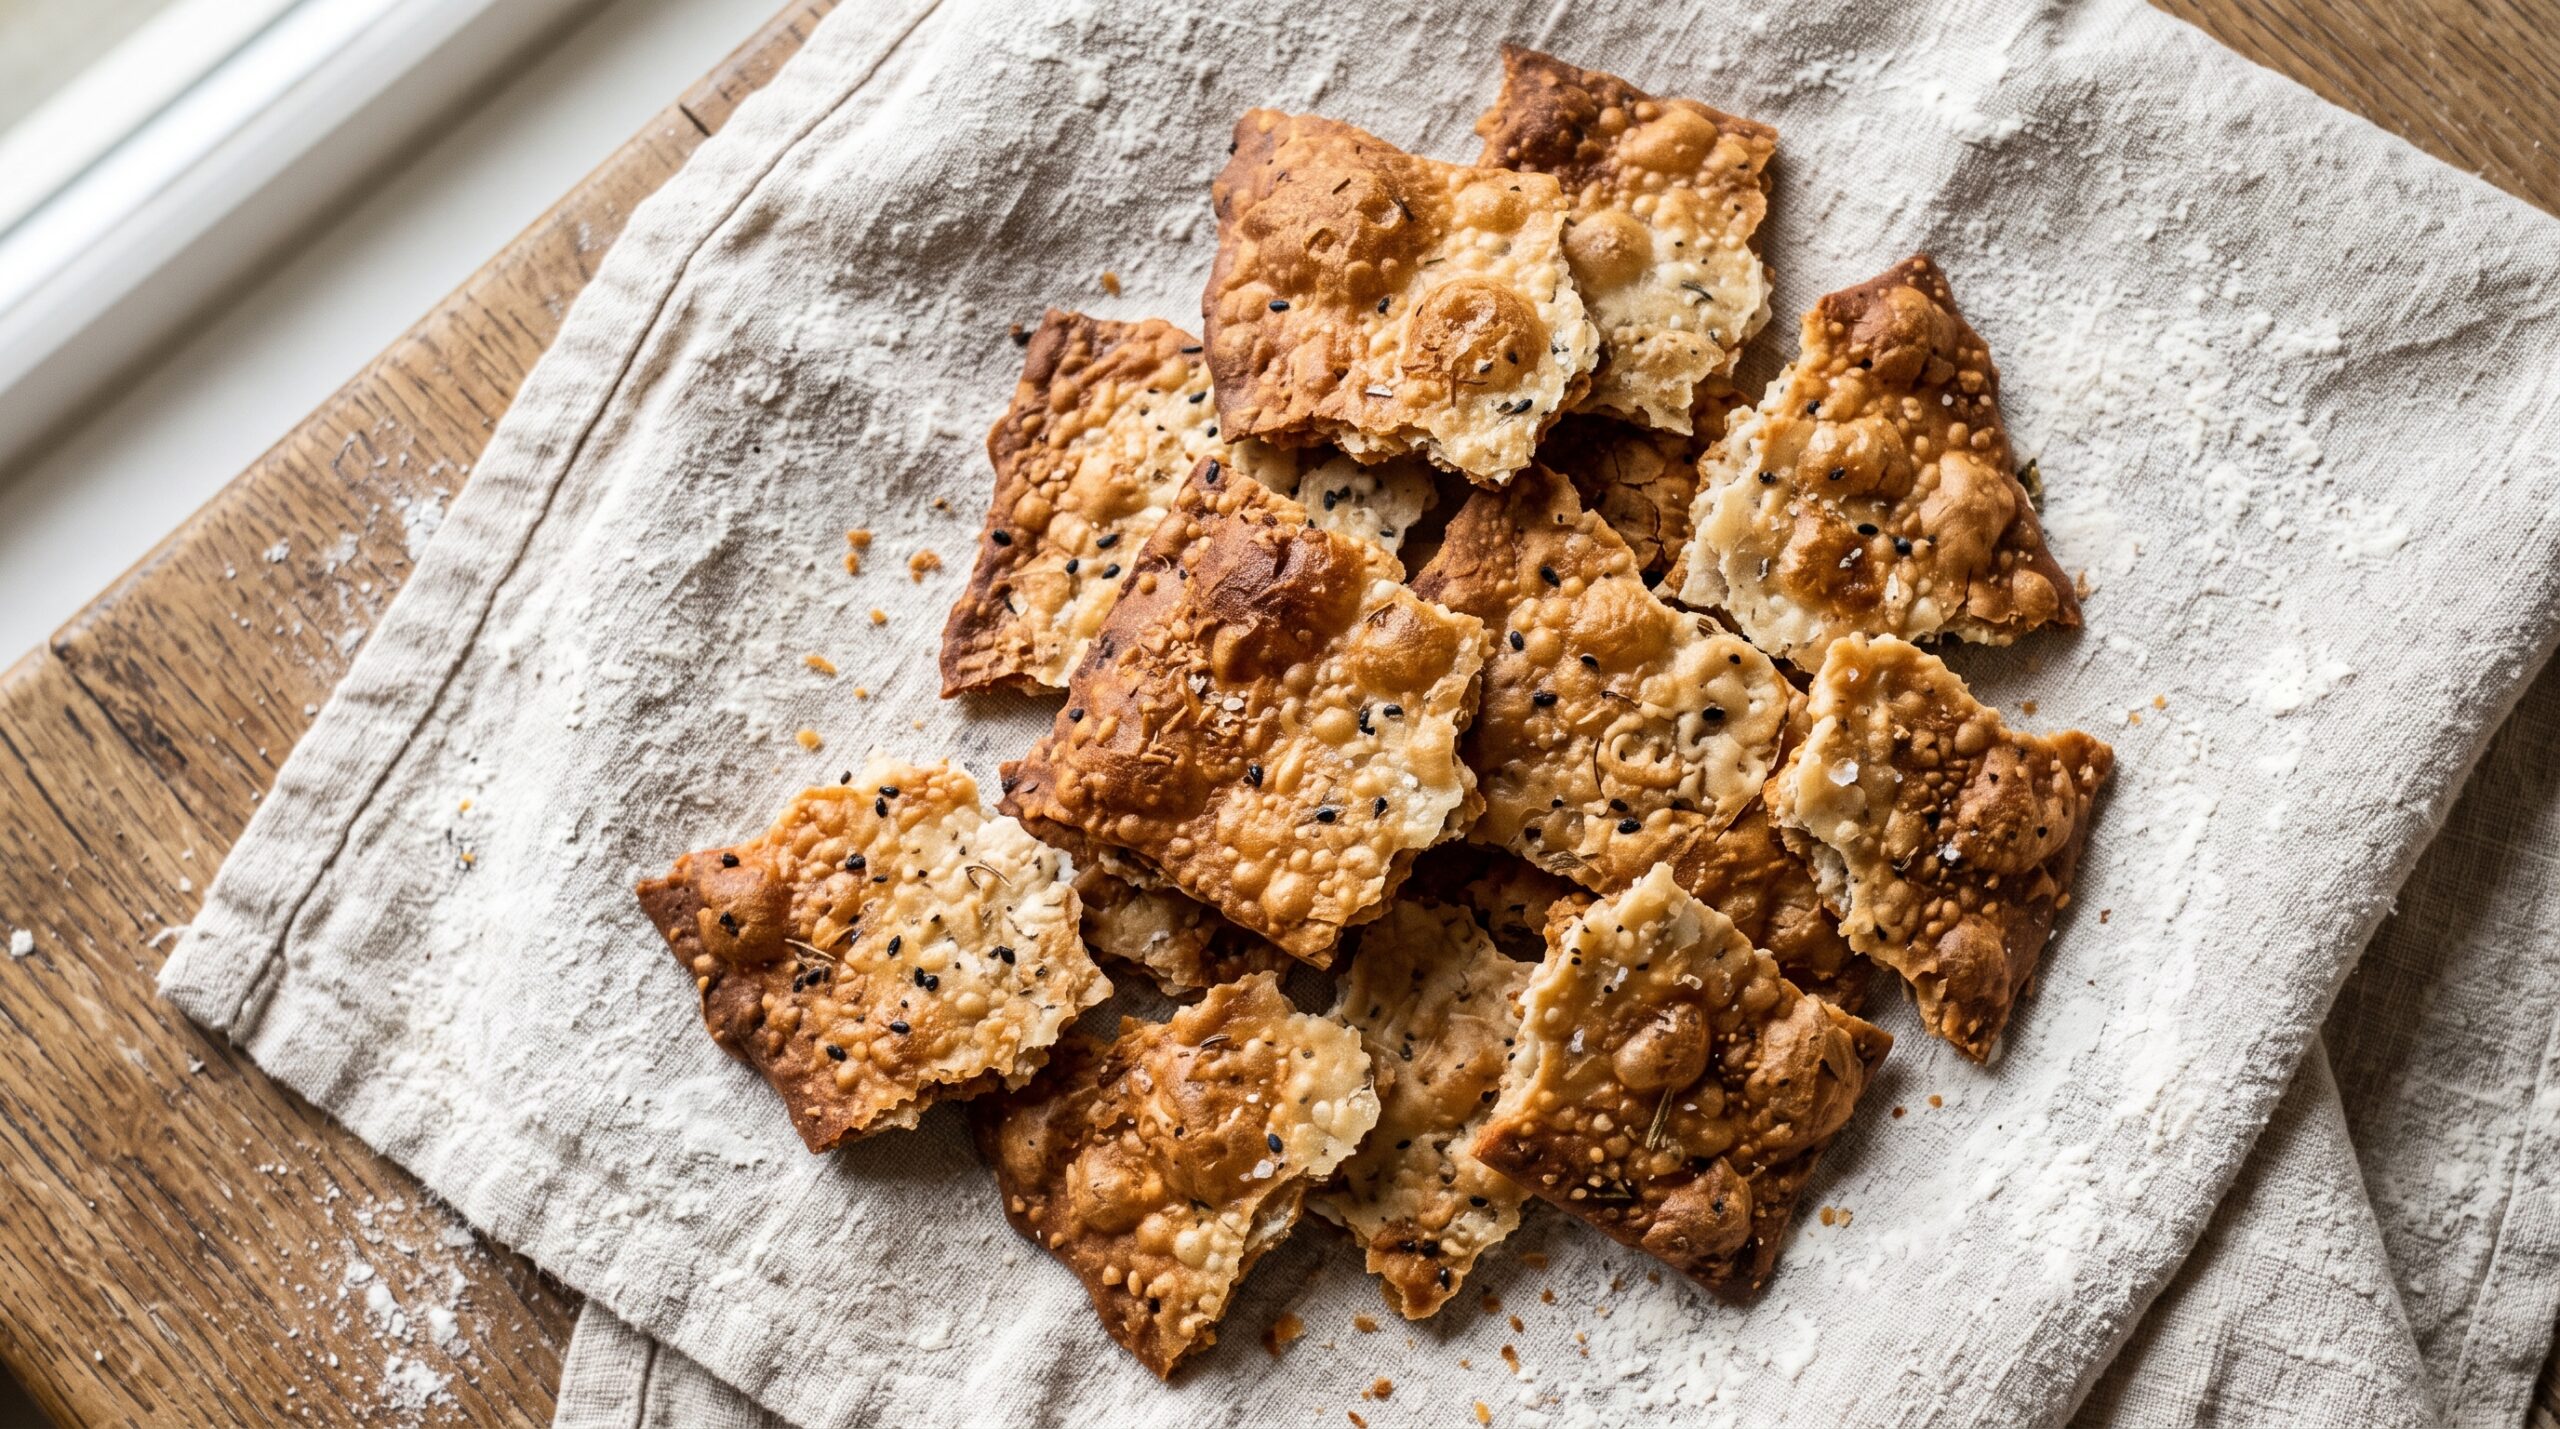
Sourdough Discard Crackers: Crispy, Snappy, and Ready in Under an Hour
That jar of discard in your fridge does not have to be a guilt trip. These crackers turn it into something crisp, snappy, and gone by dinner, with about ten minutes of hands-on work. Read
-
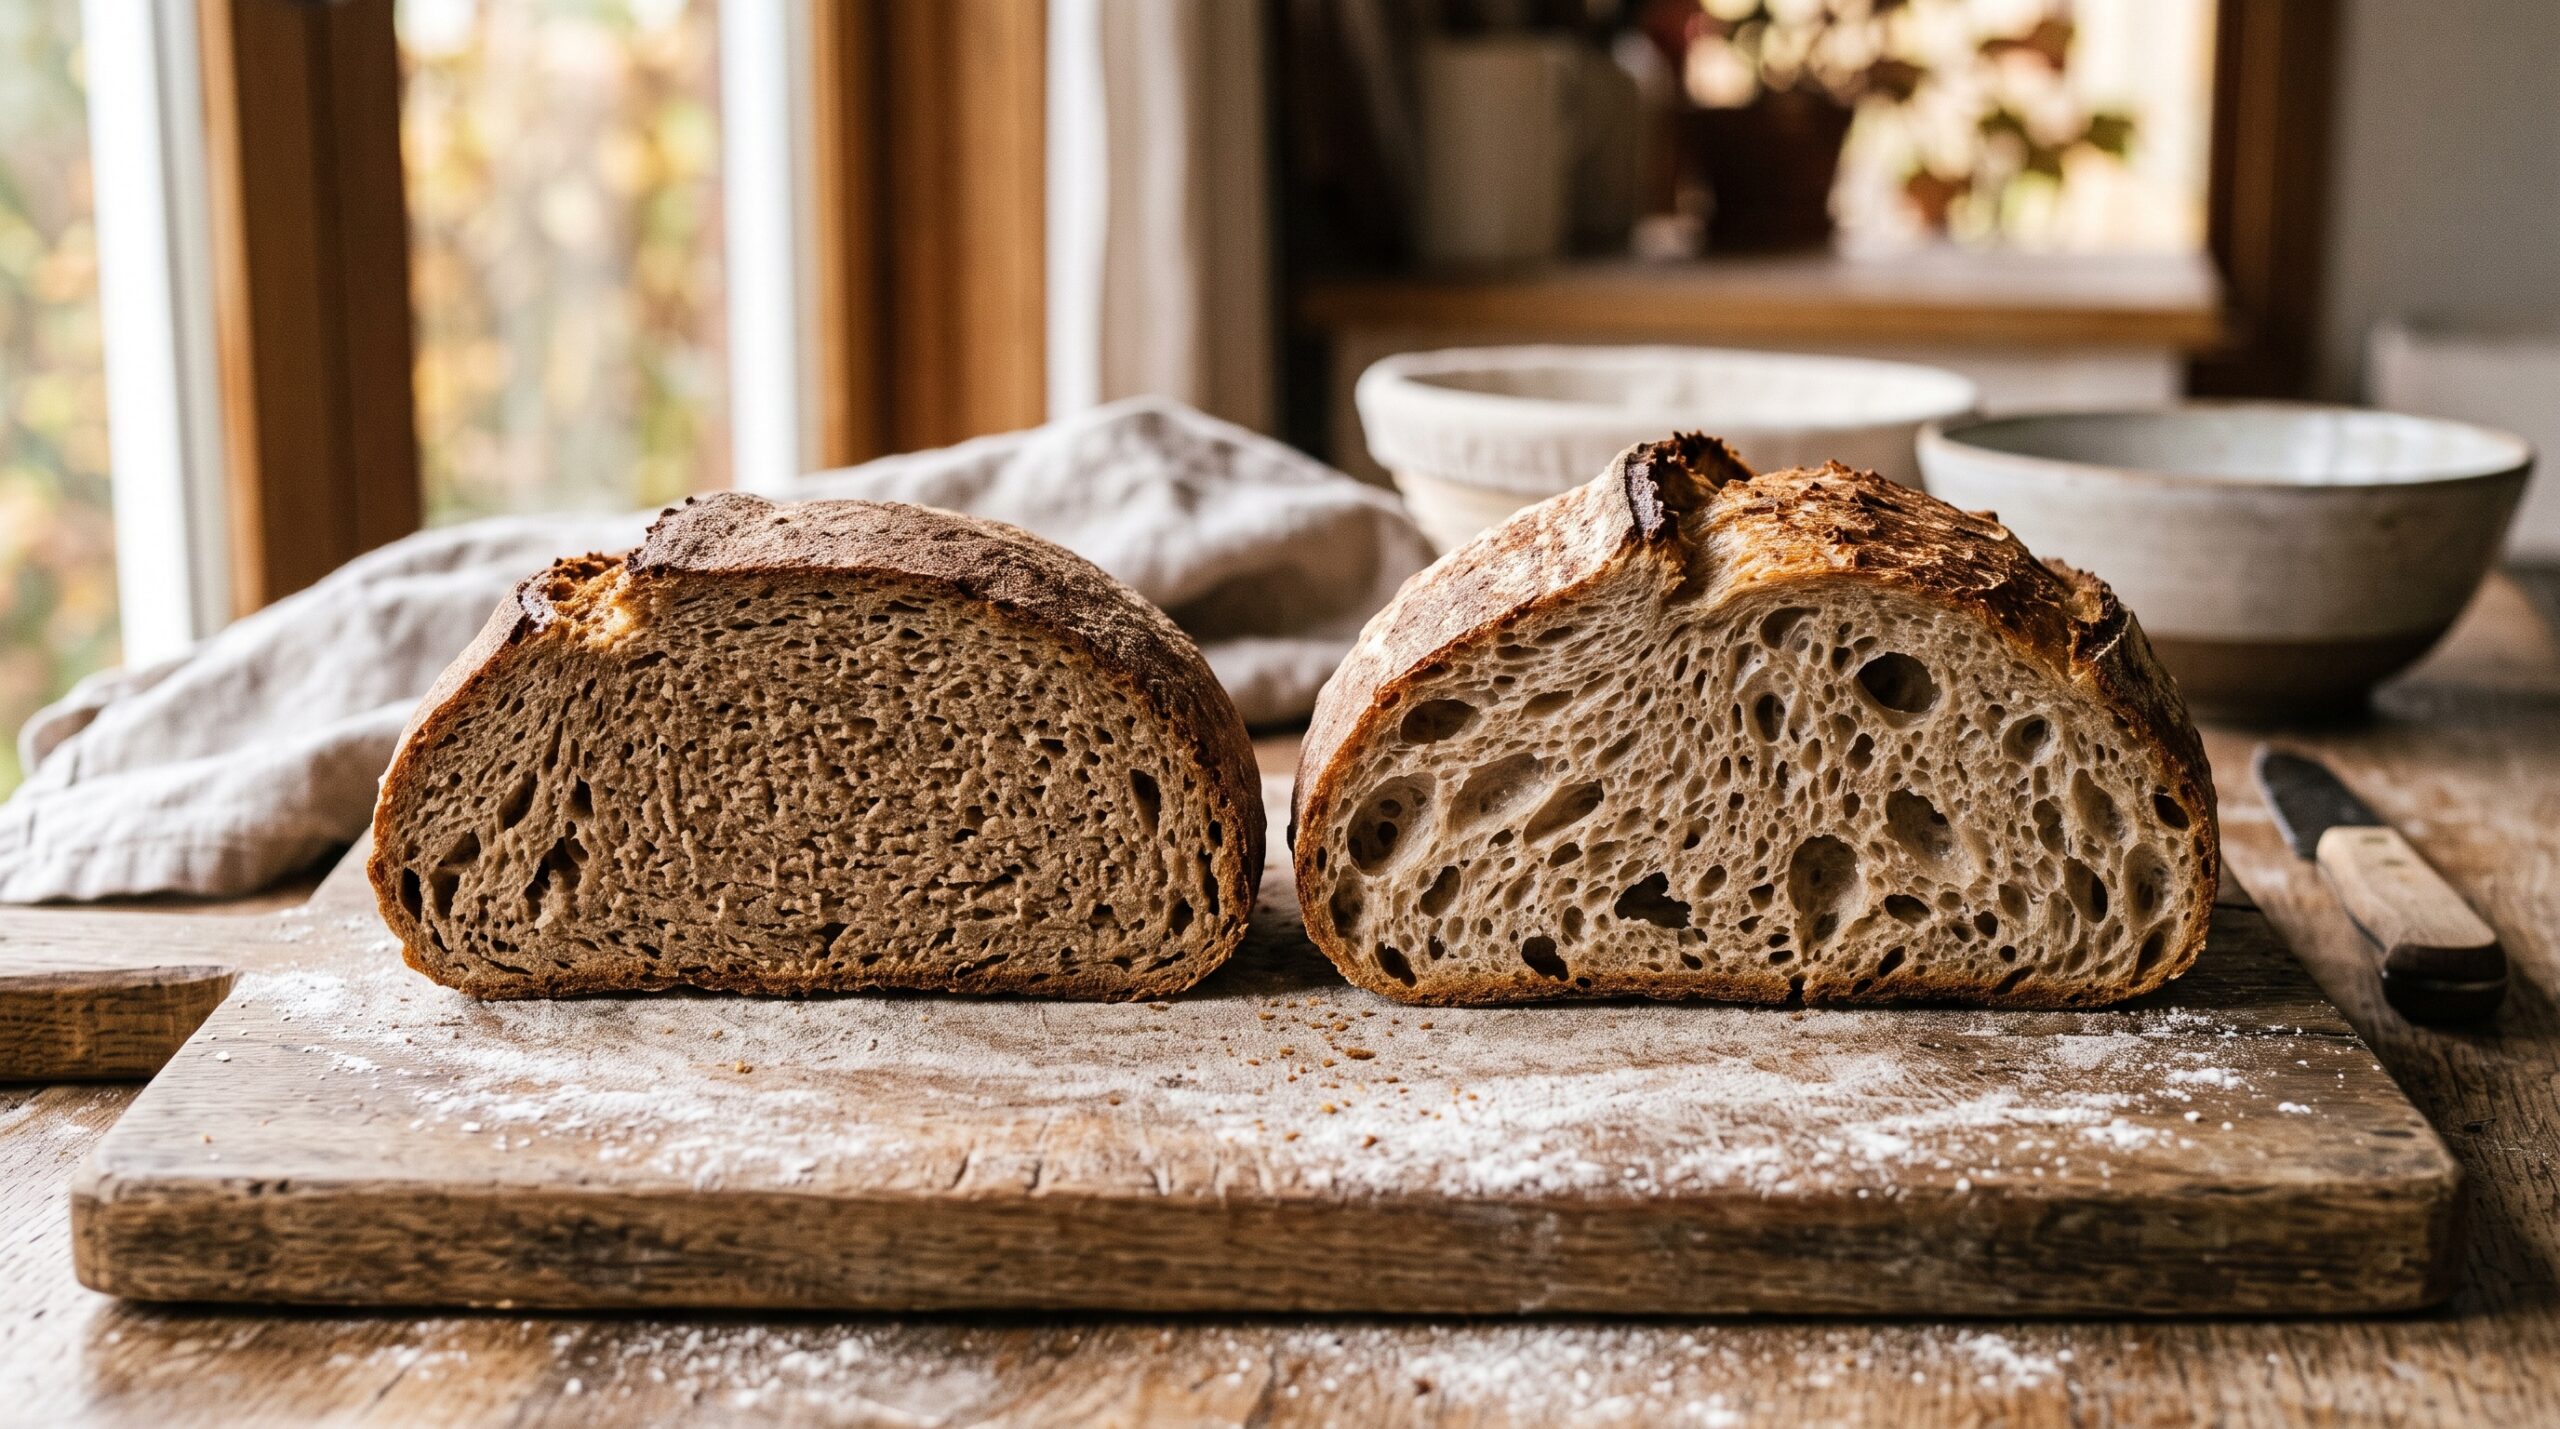
Why Is My Whole Wheat Sourdough So Dense? Baking With Whole Grain Without a Brick
Whole wheat sourdough has a reputation for coming out heavy, tight, and brick-like. It doesn’t have to. Here’s what the bran is really doing to your dough – and the four fixes that turn a doorstop into a light, nutty loaf. Read
-
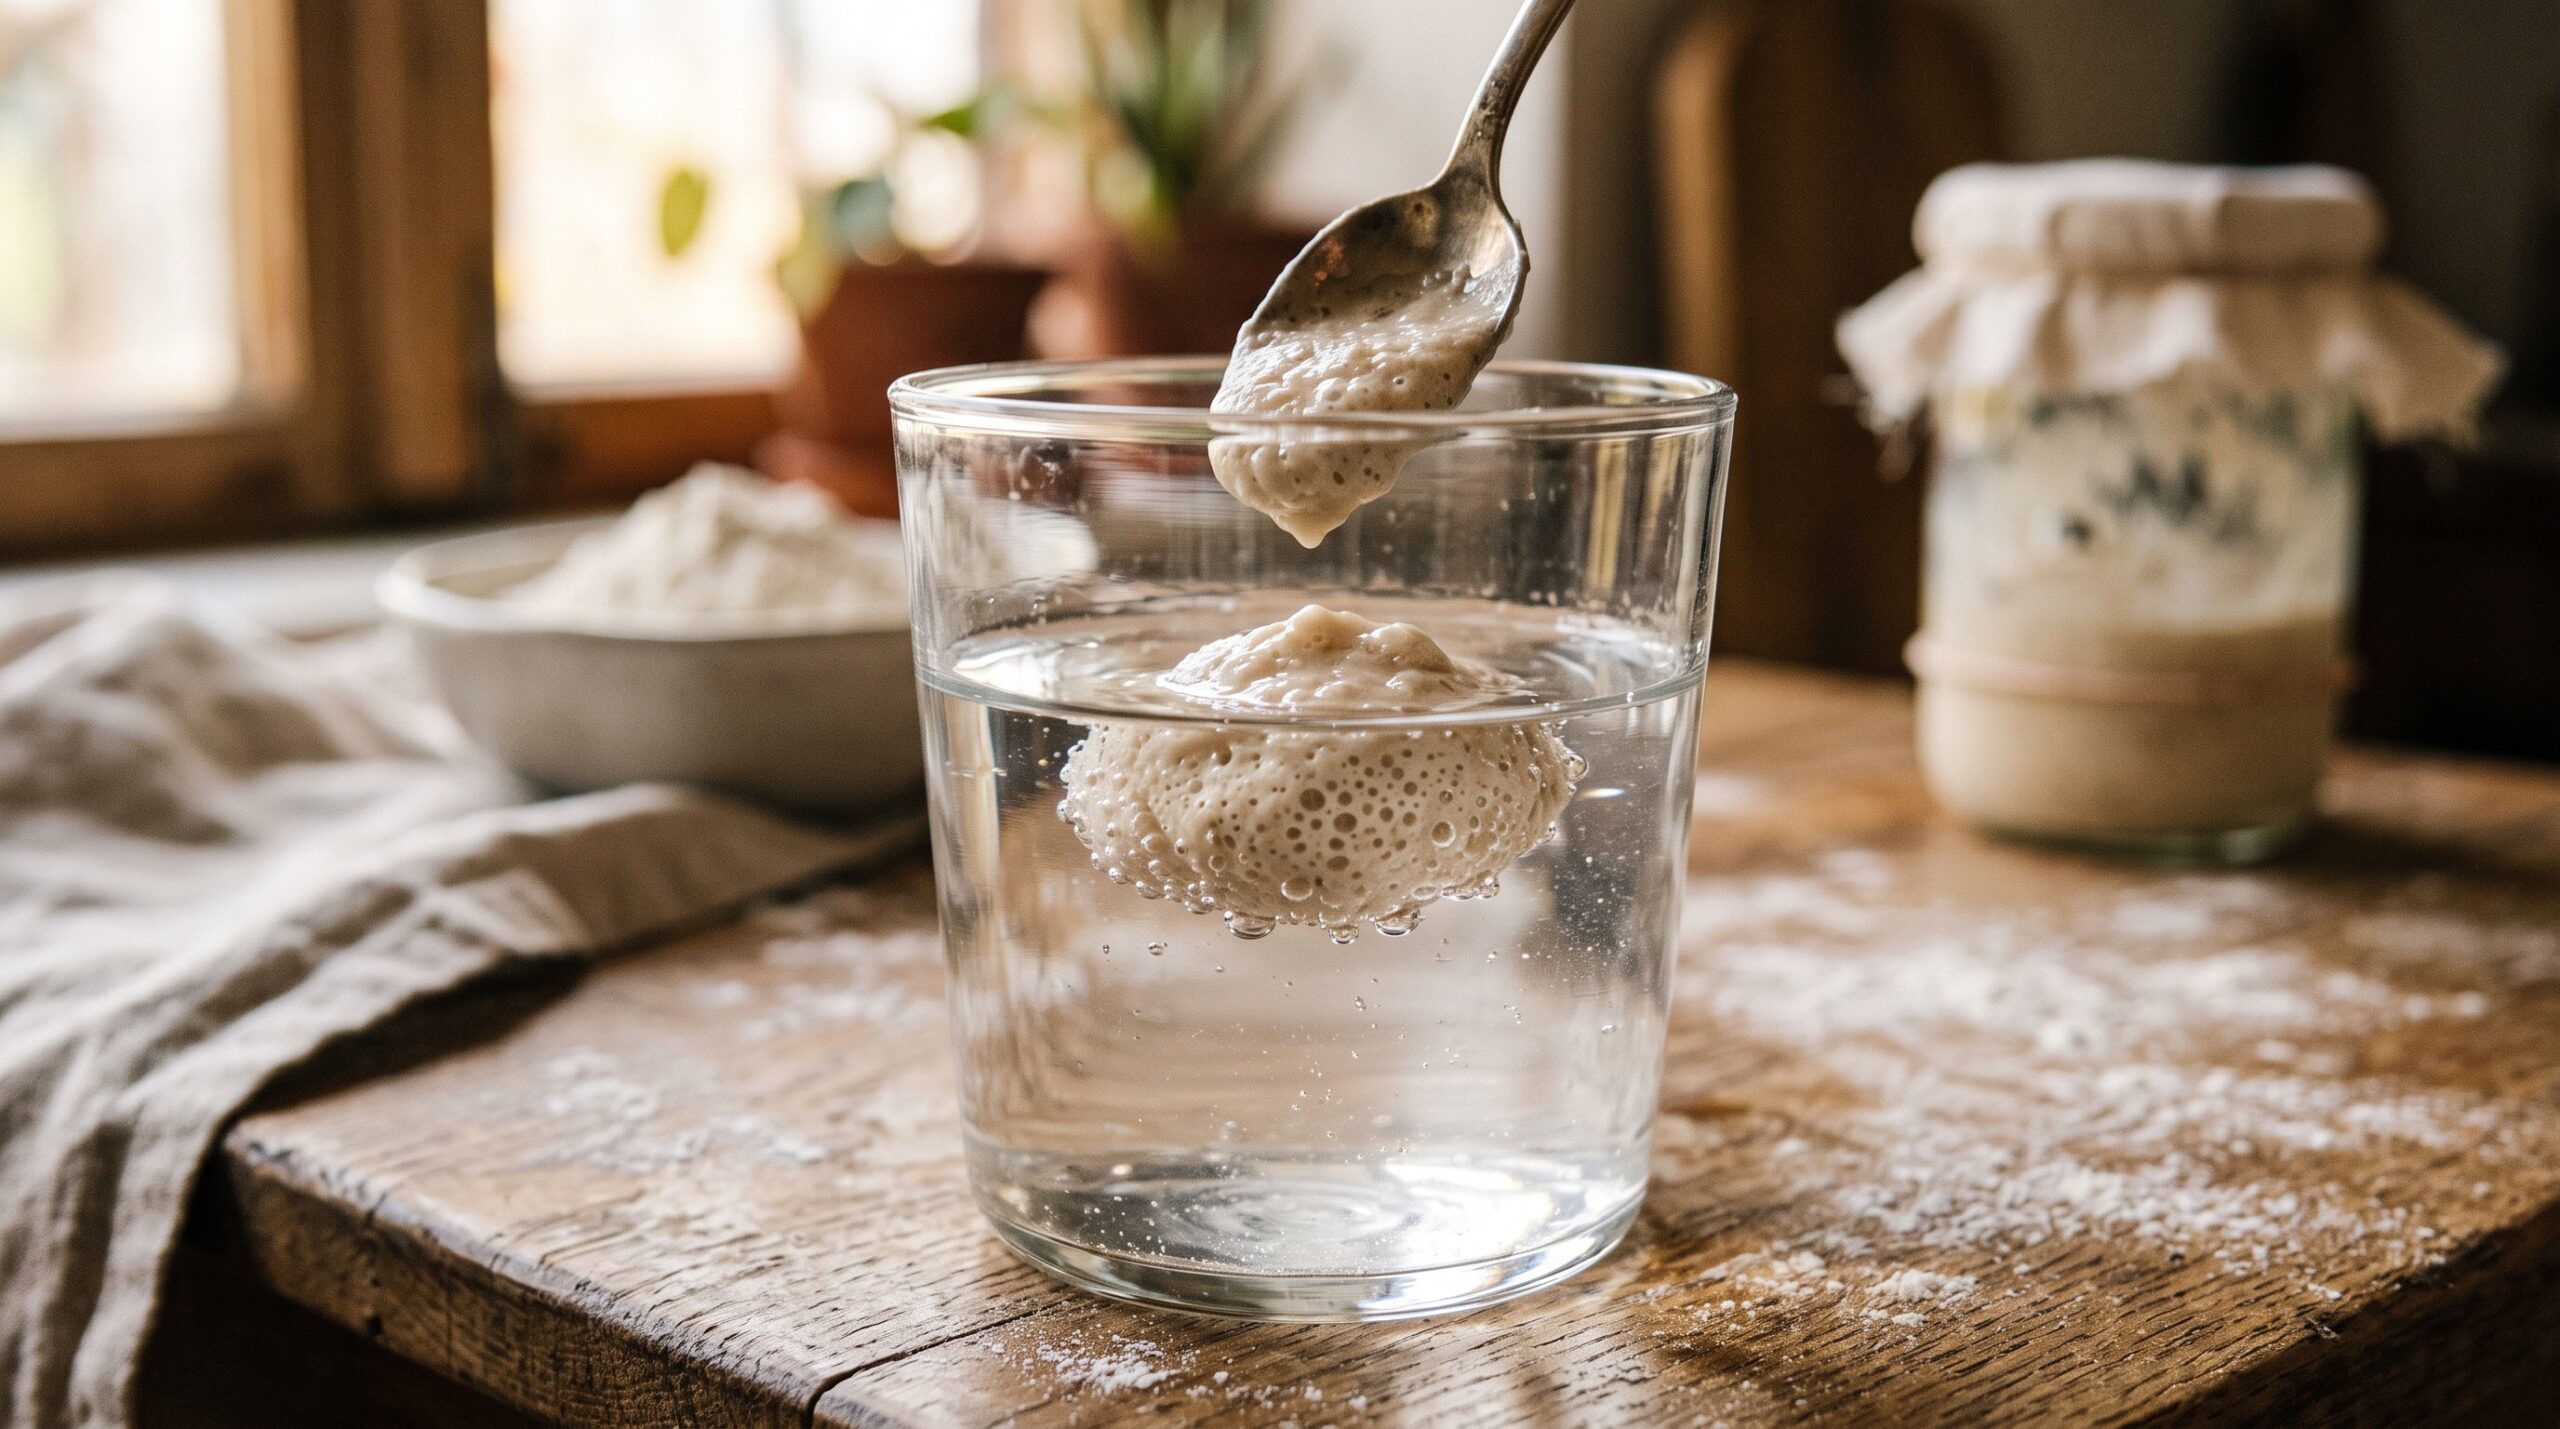
Sourdough Starter Float Test: Does It Really Work — and Better Ways to Tell It’s Ready to Bake
Drop a spoonful of starter in water and if it floats, it’s ready — right? Not always. Here’s what the float test really measures, why it fails as often as it works, and the reliable signs that tell you your starter is at peak and ready to bake. Read
-
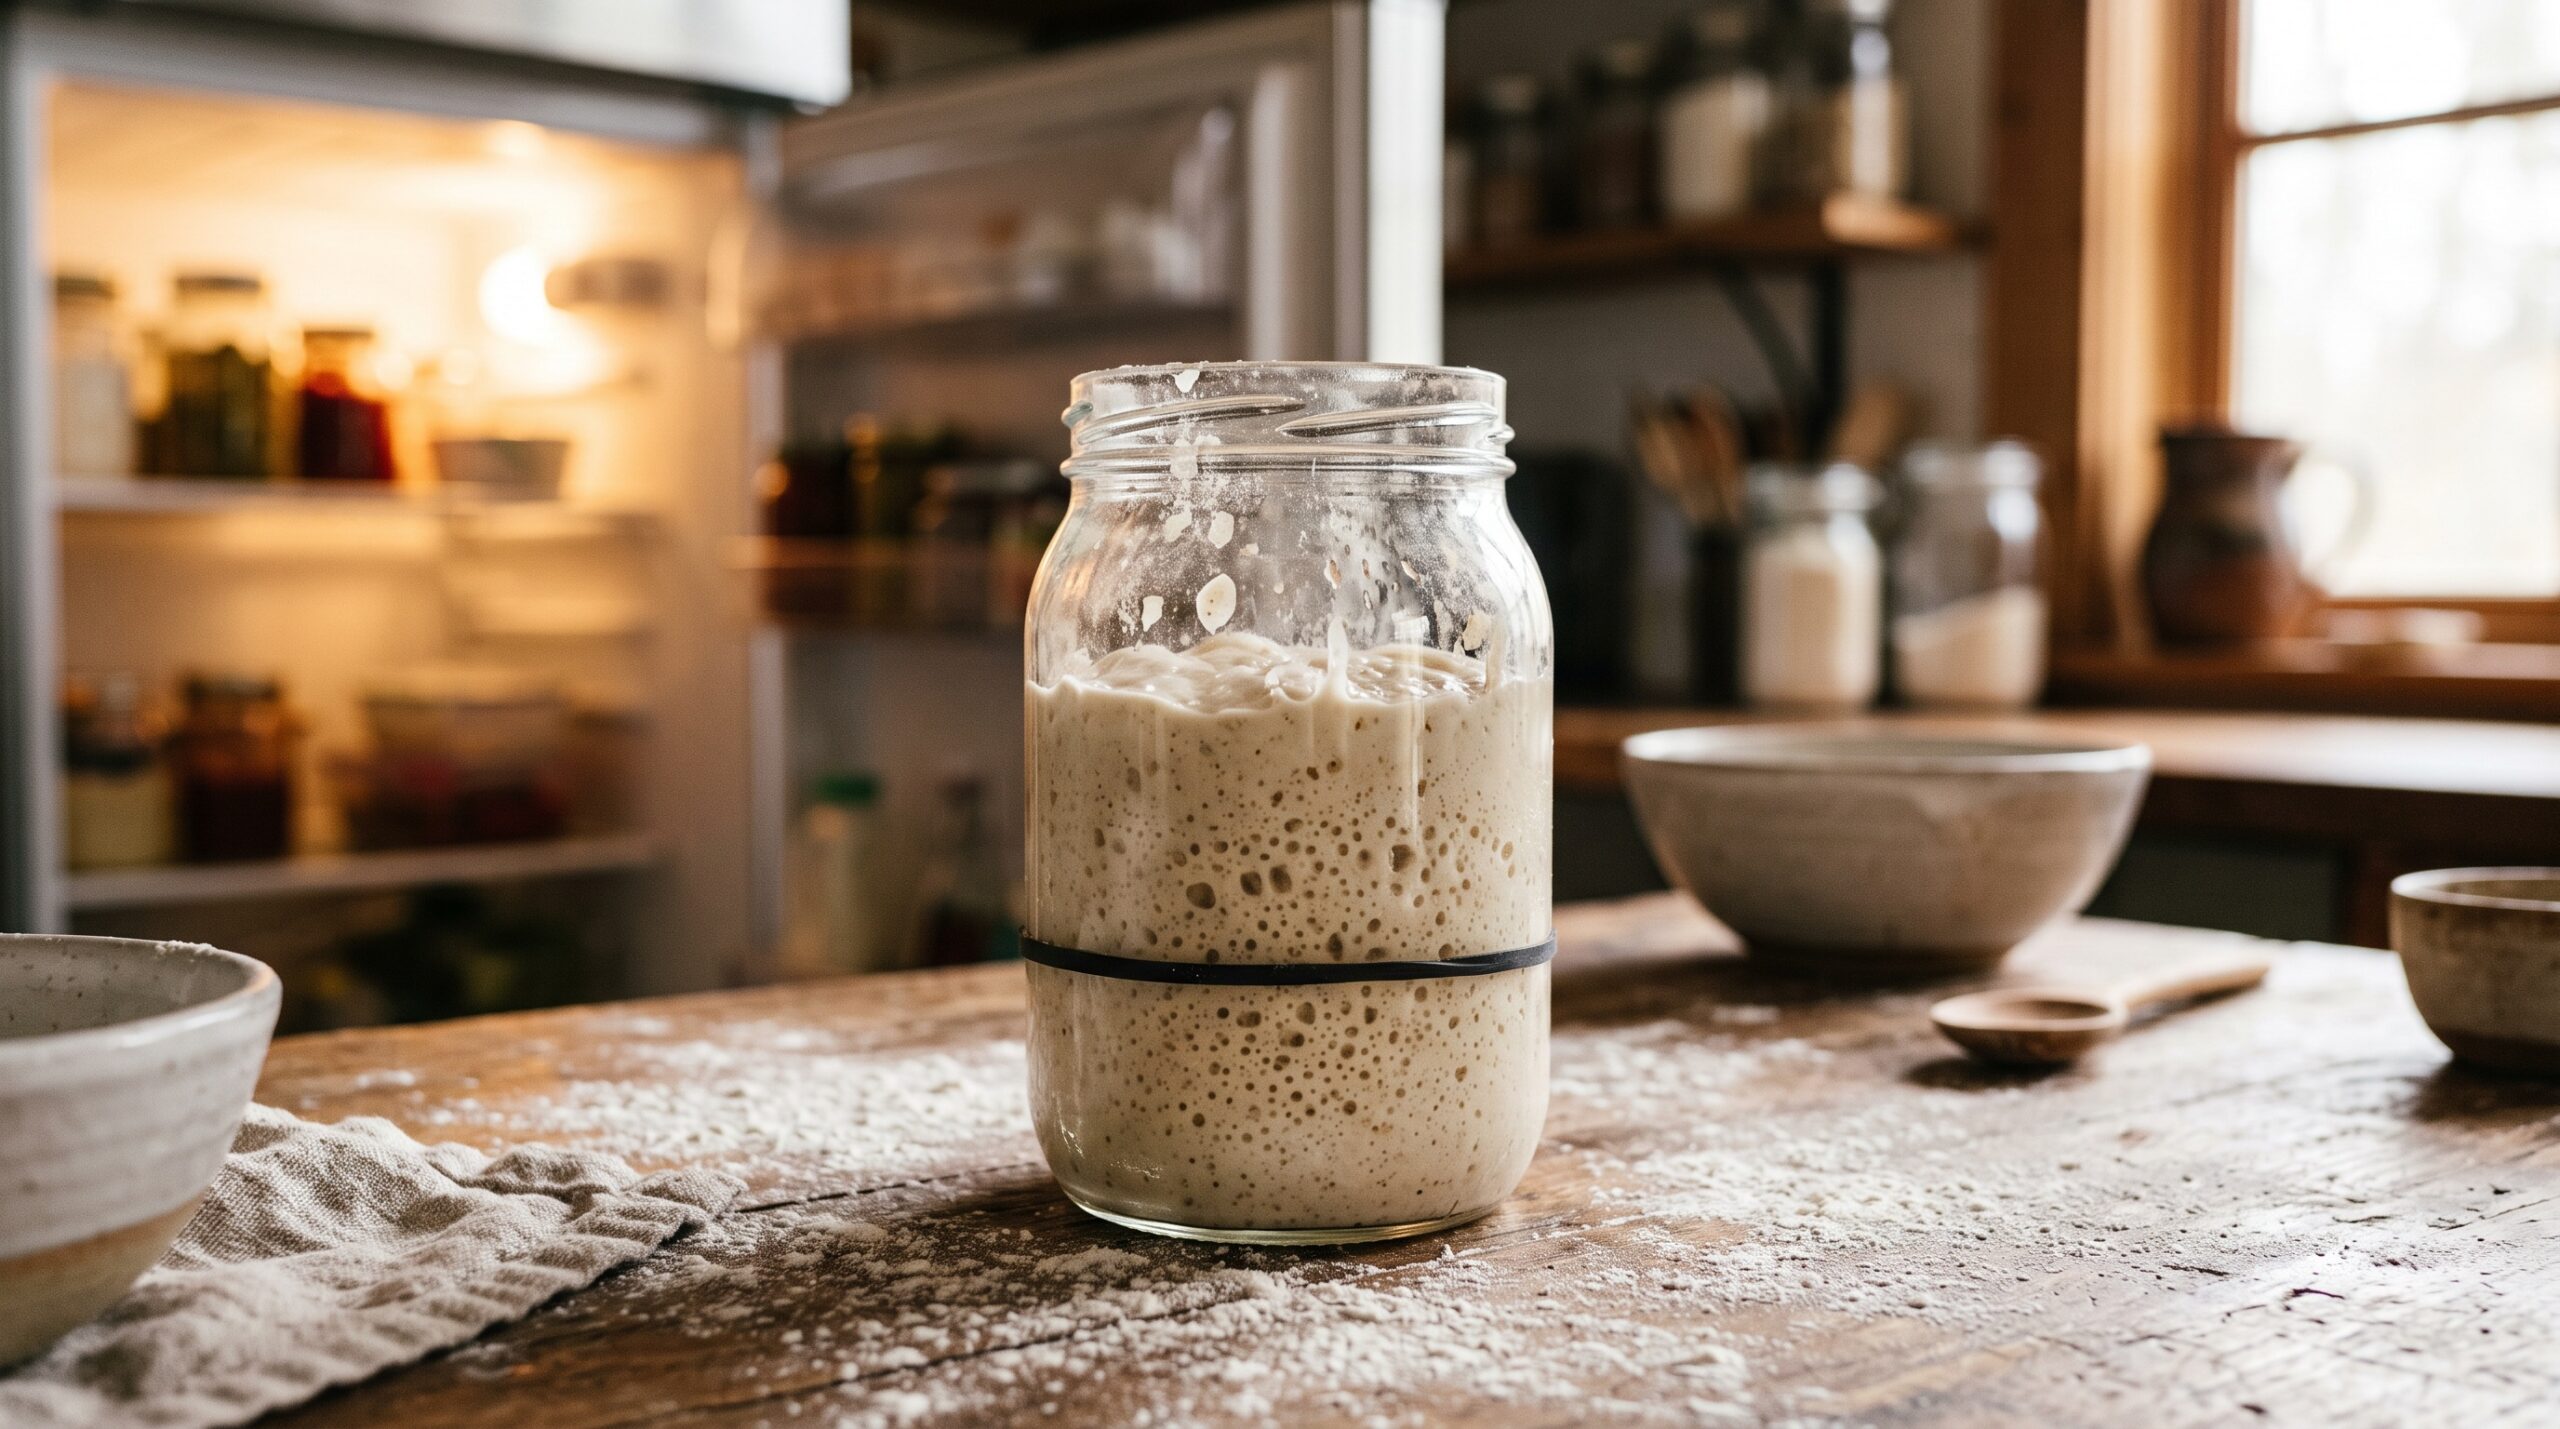
How to Store Your Sourdough Starter: Fridge, Long Breaks, and Vacations
You don’t have to feed your sourdough starter every single day. Here’s exactly how to store it in the fridge, park it for a couple of weeks, or safely pause it for a month or more — and how to wake it back up when you’re ready to bake. Read
-
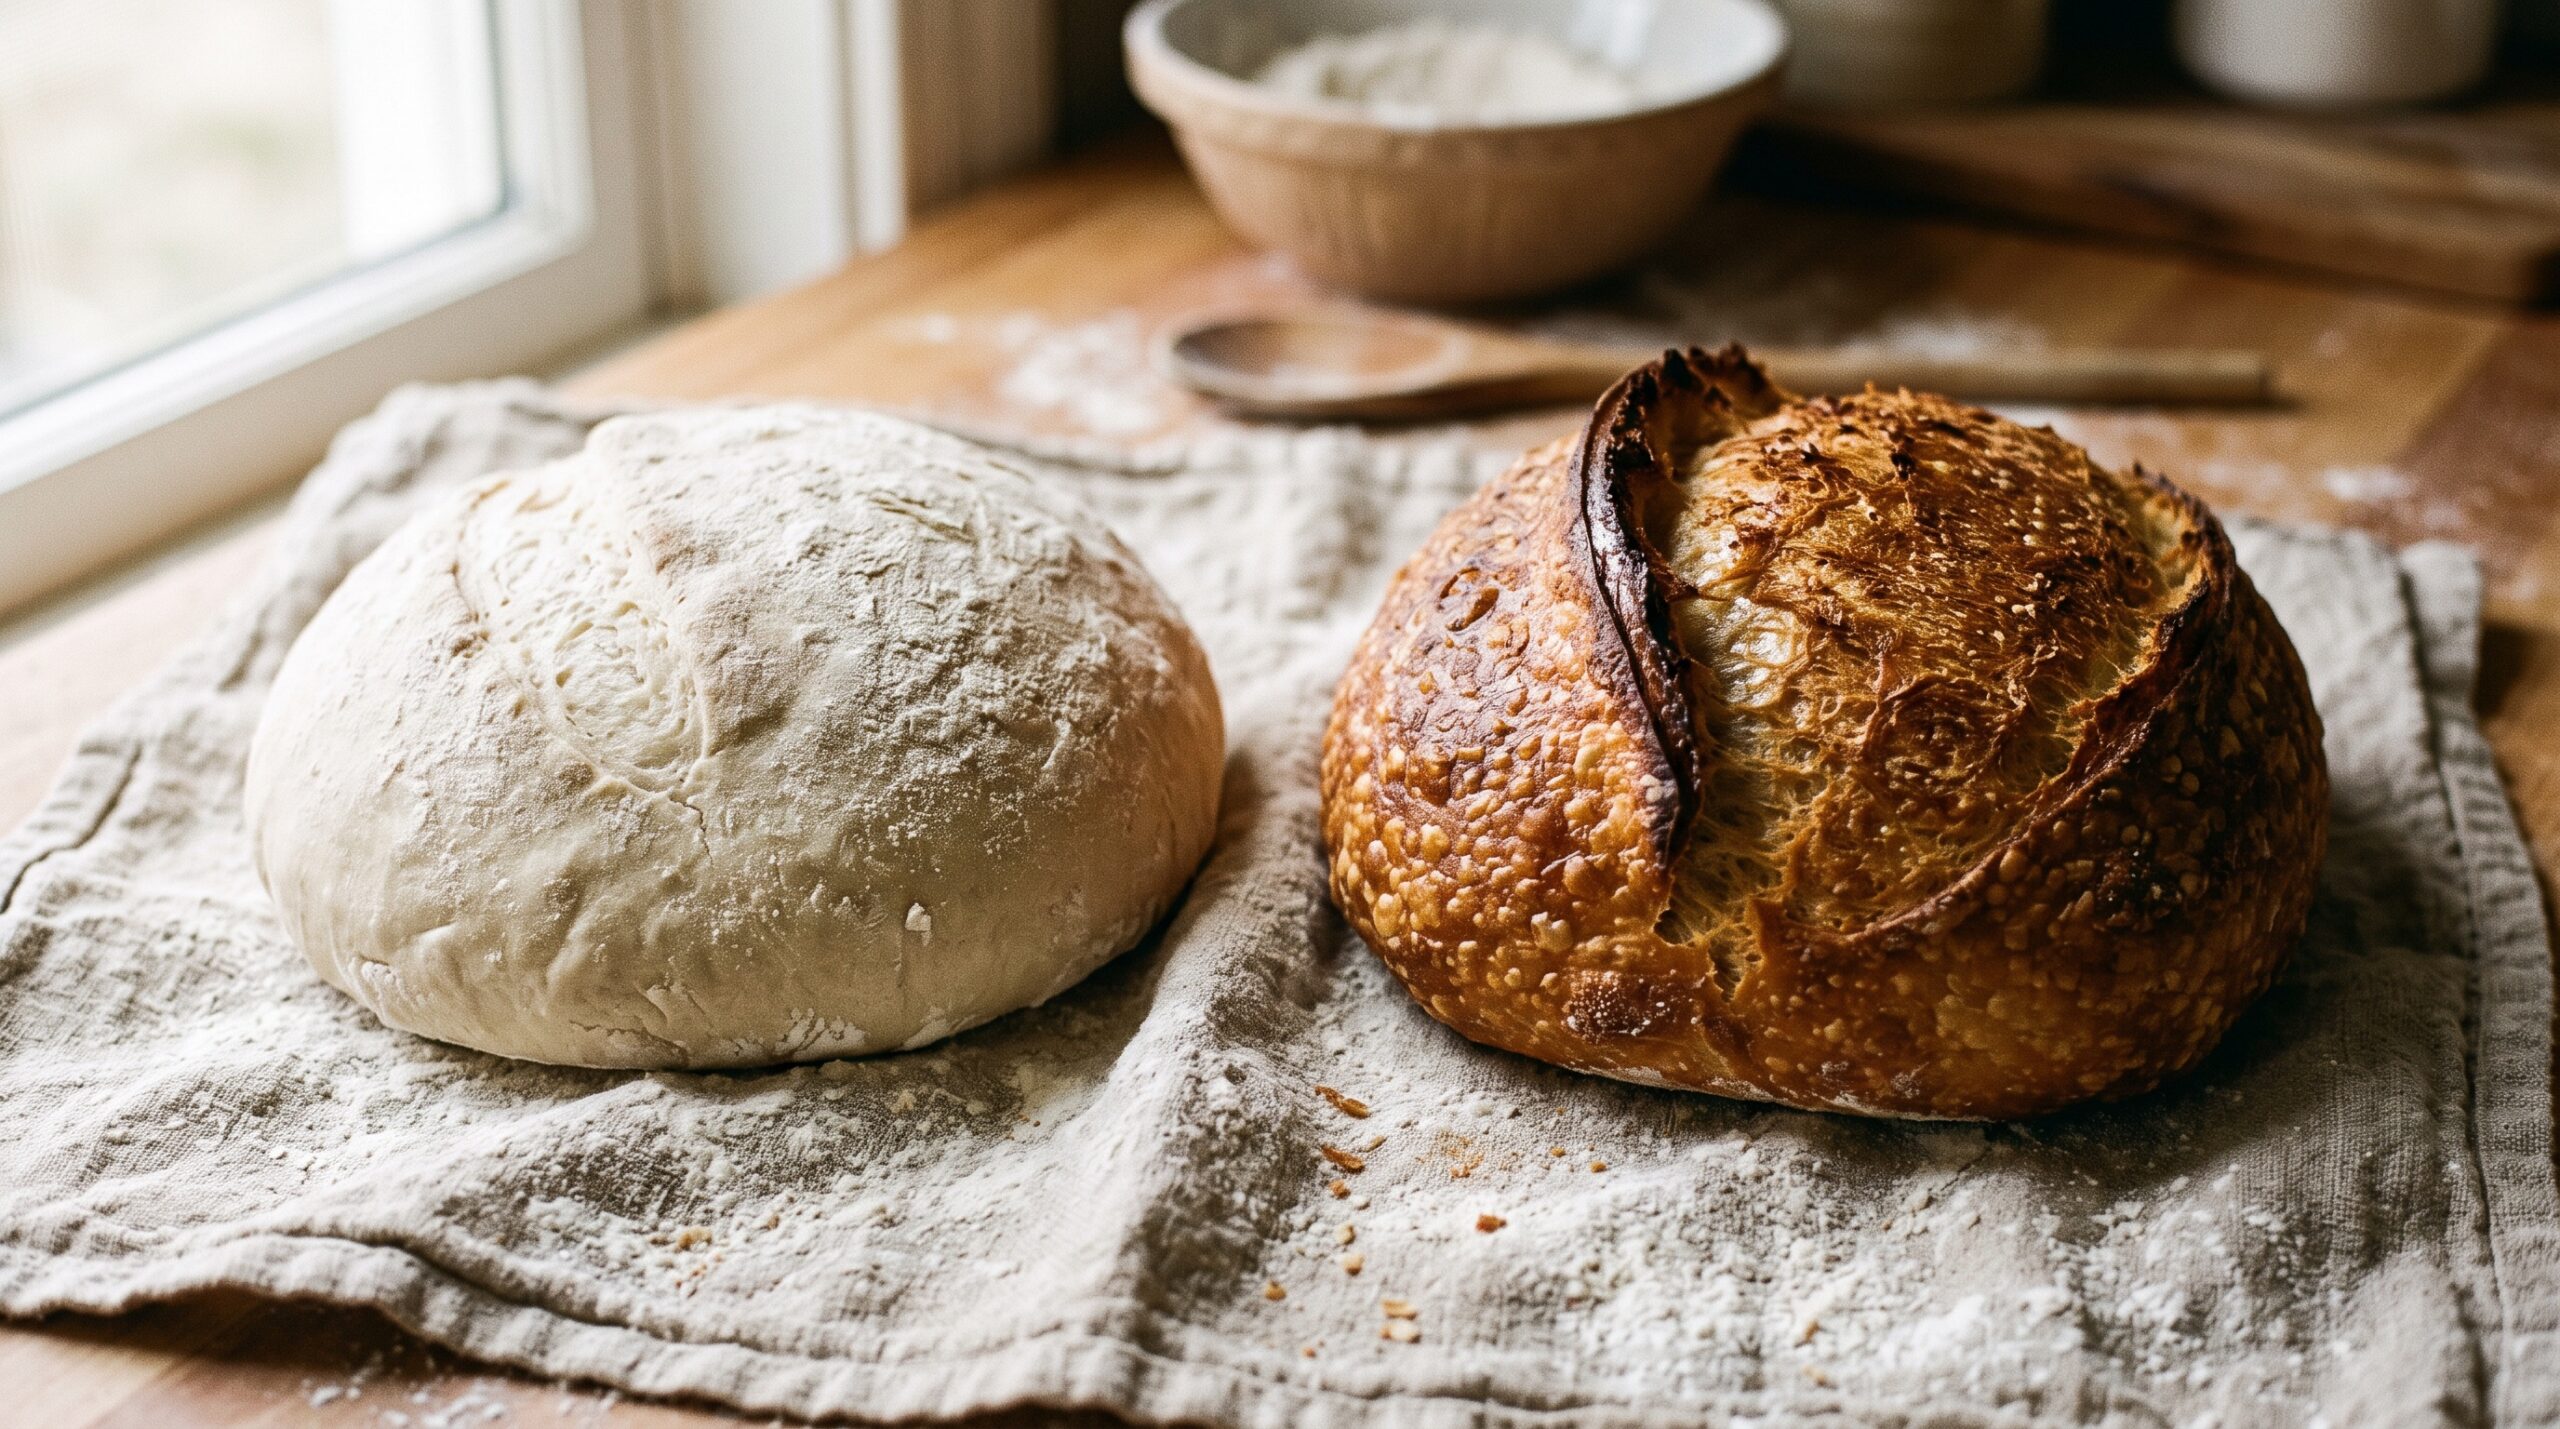
Why Won’t My Sourdough Brown? Fixing a Pale, Anemic Crust
Your loaf rose and tastes fine, but the crust came out pale, matte, and anemic instead of deep golden-brown. Here’s what actually stops a sourdough crust from browning — and the specific fixes for real color. Read
-
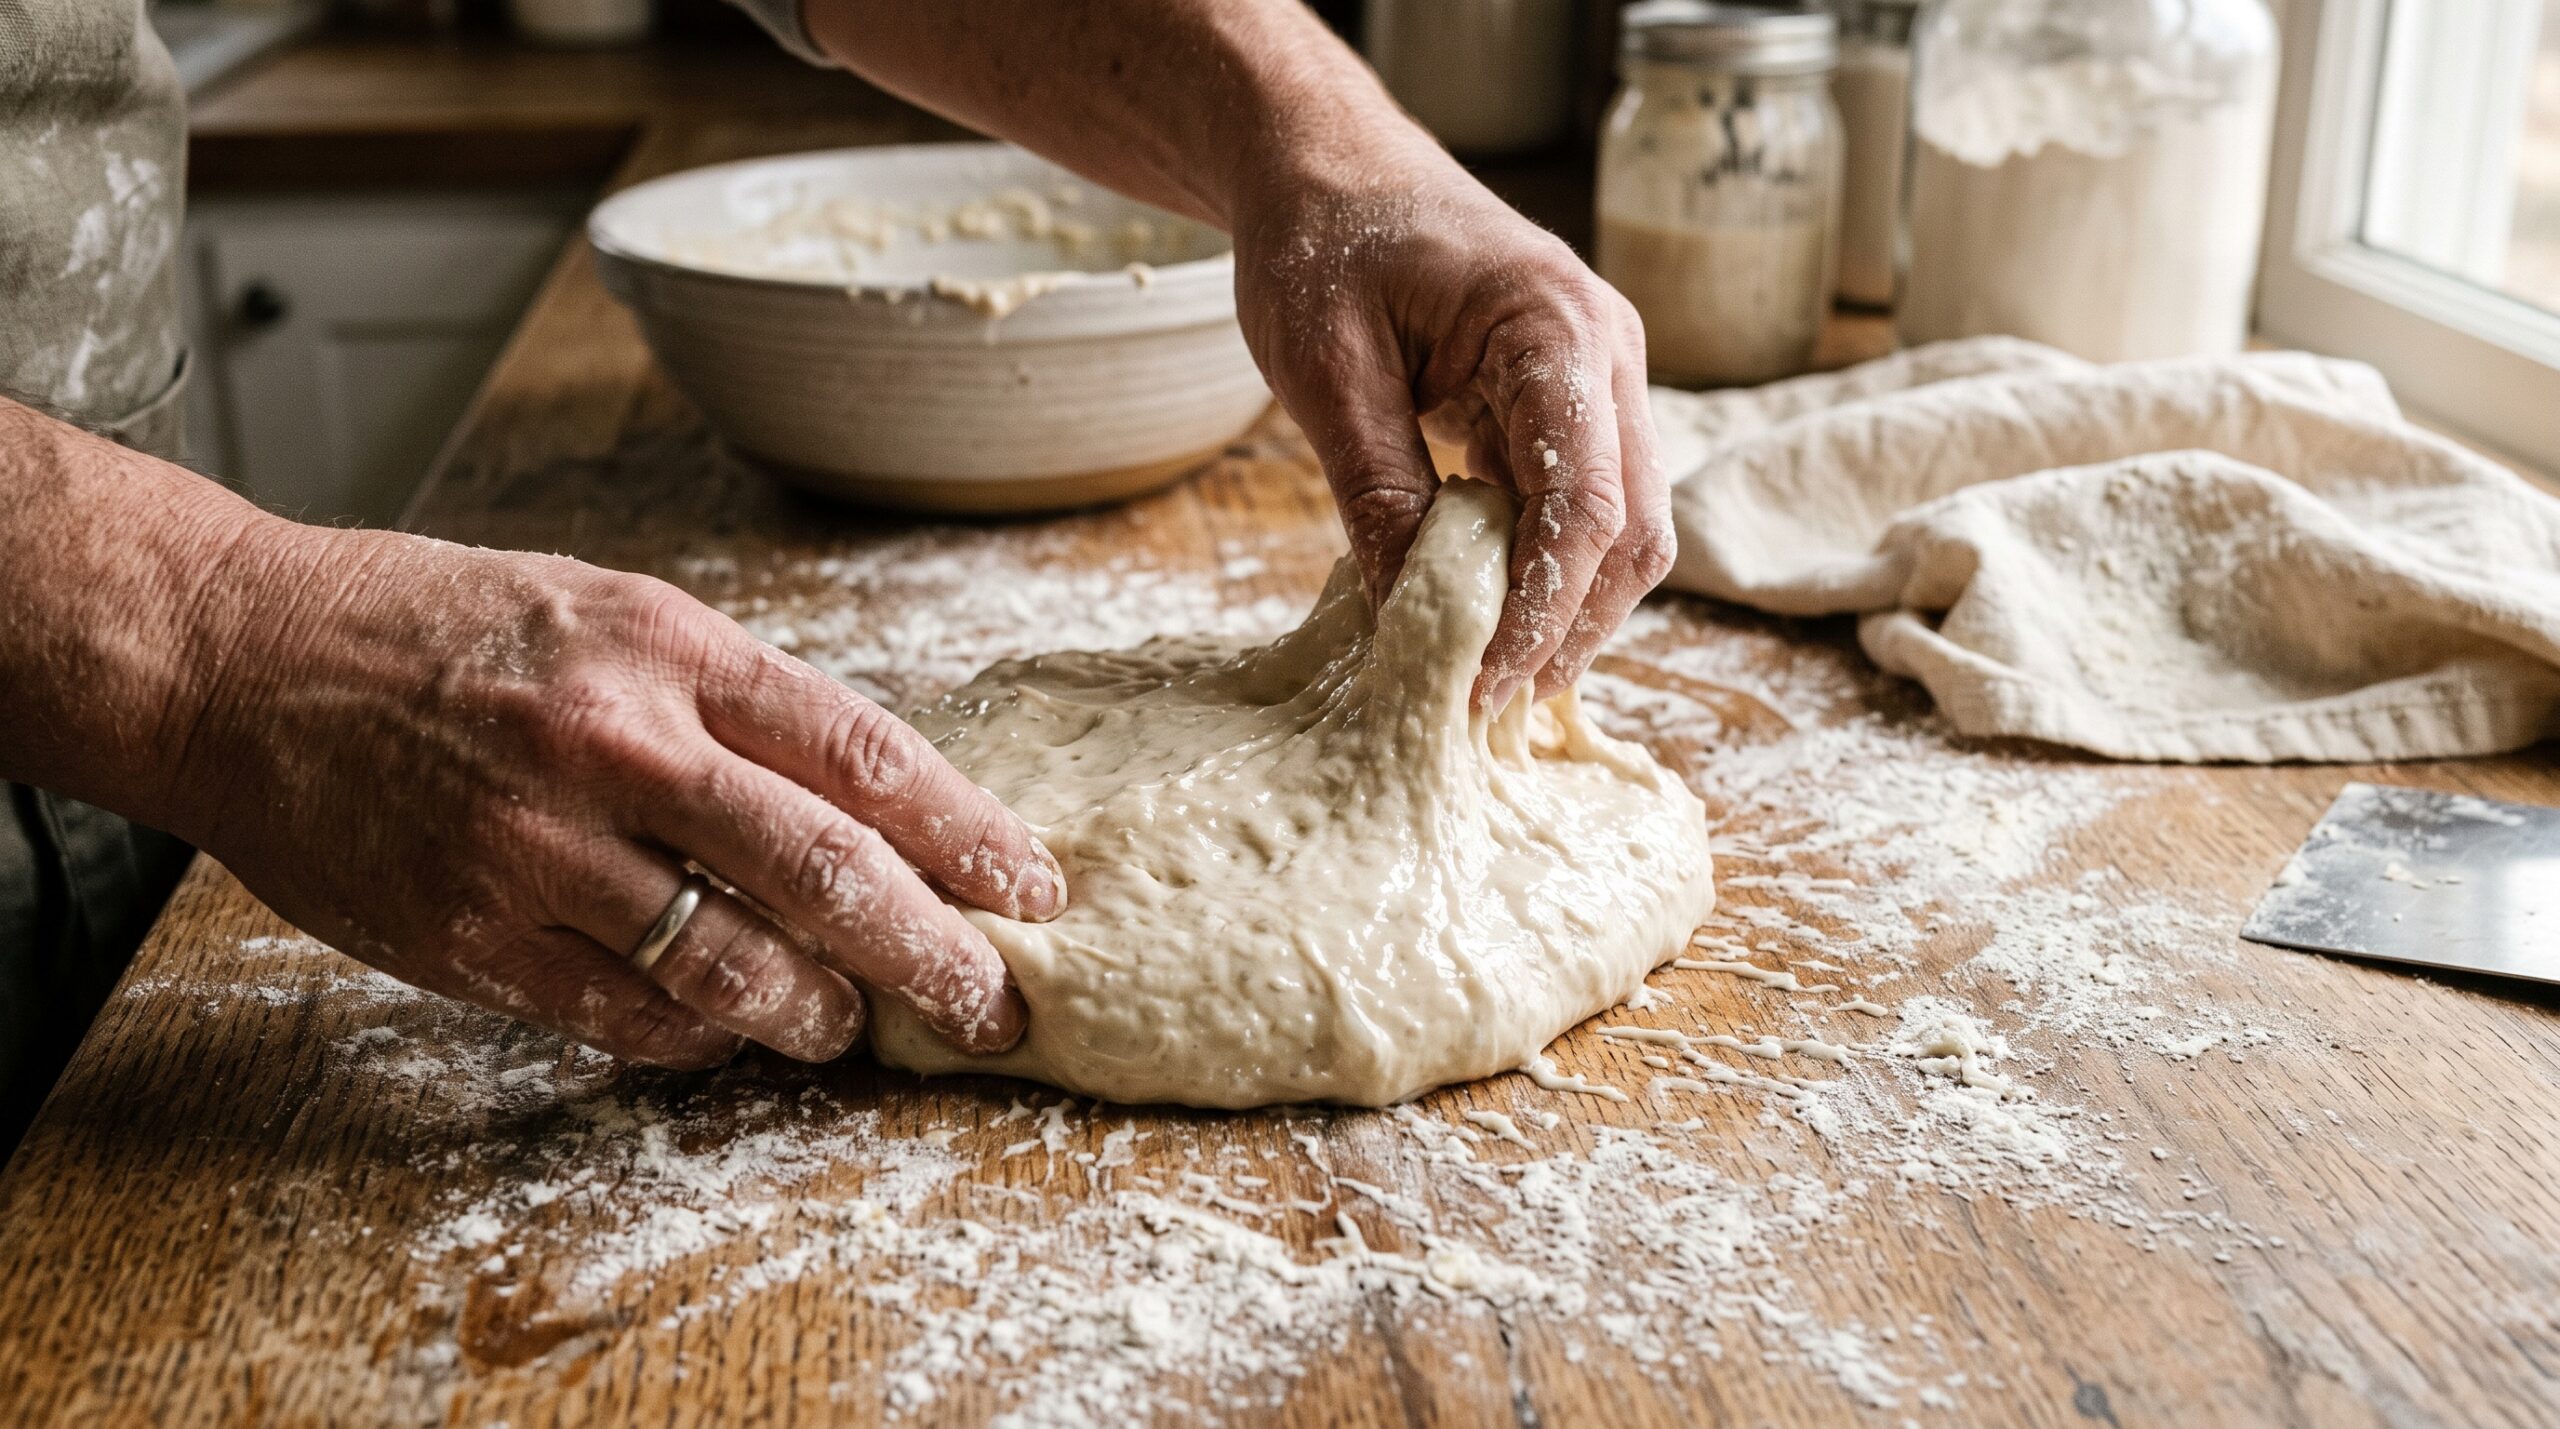
Sticky Dough, Sorted: How to Handle High-Hydration Sourdough Without the Mess
If your high-hydration dough glues itself to your hands, the bench, and your last nerve, you’re not doing it wrong – you’re handling it wrong. Here’s how to work wet sourdough calmly, with the crumb it promises and none of the mess. Read
-
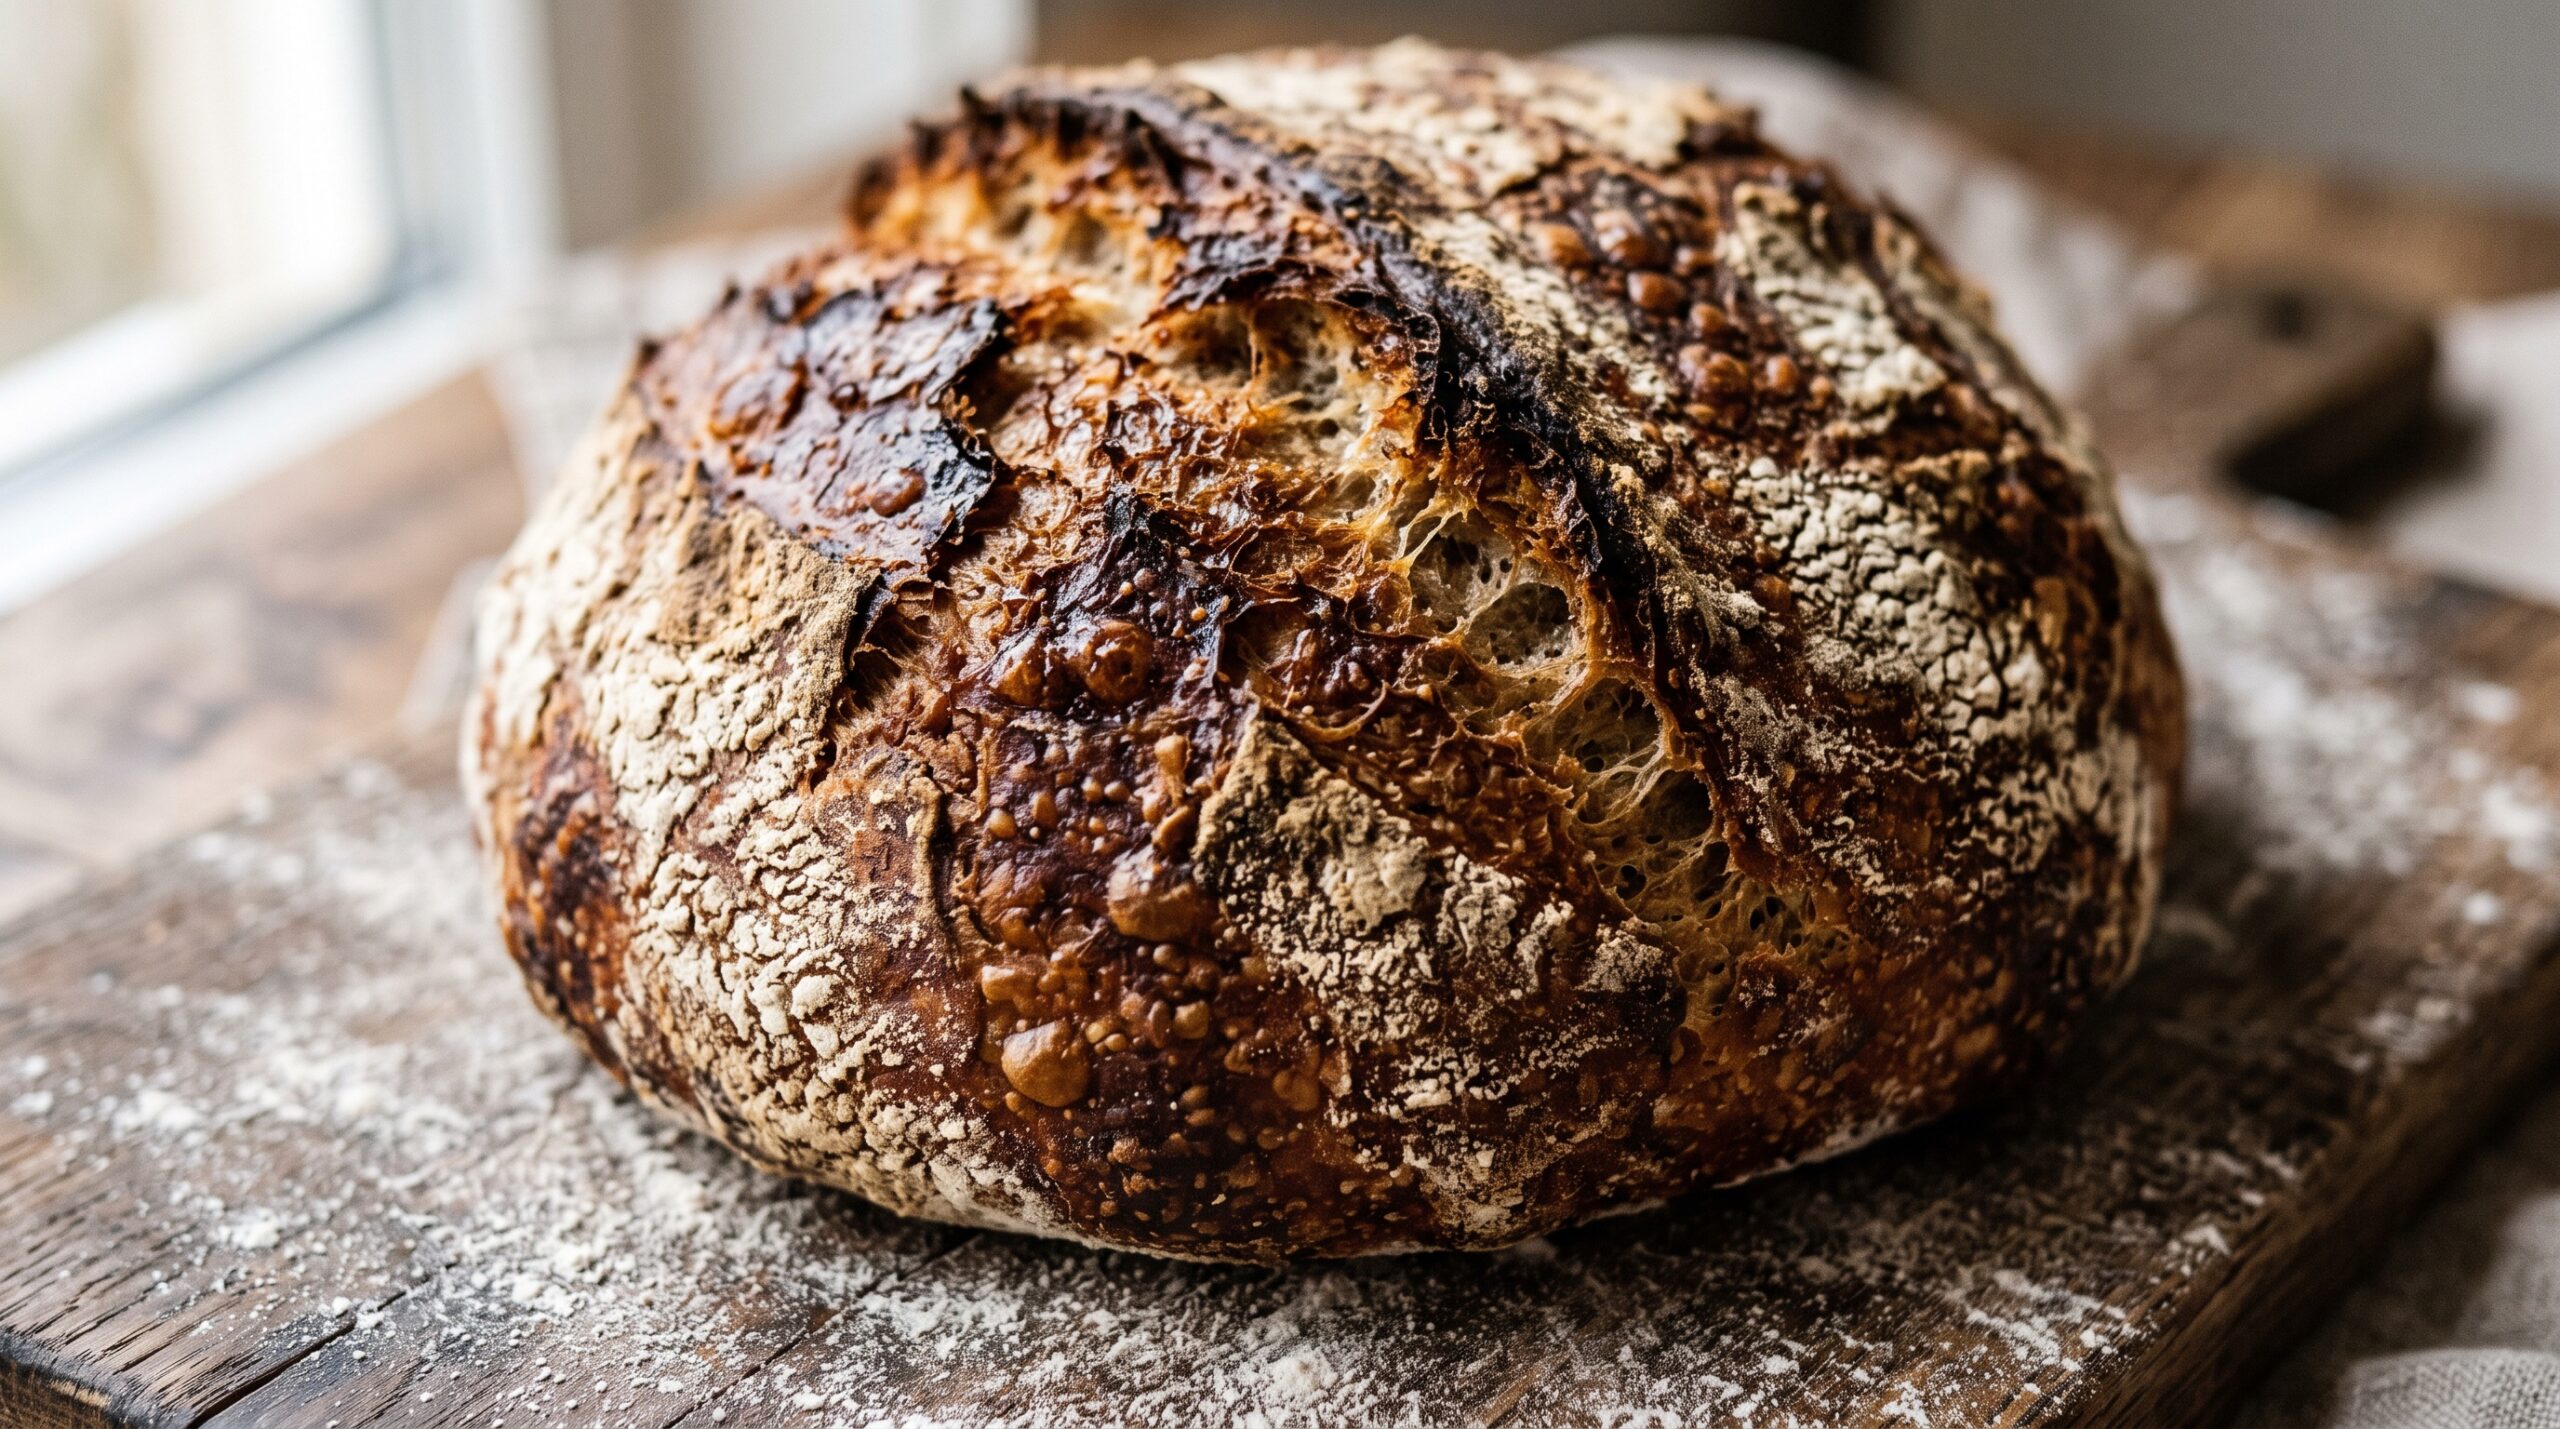
Why Is My Sourdough Crust So Hard? How to Get a Crisp Crust You Can Actually Bite Through
The flavor is great but the crust is so hard it hurts to eat and shatters everywhere. Here’s what actually makes a sourdough crust tough — and the specific fixes for a crisp crust you can bite through. Read
-
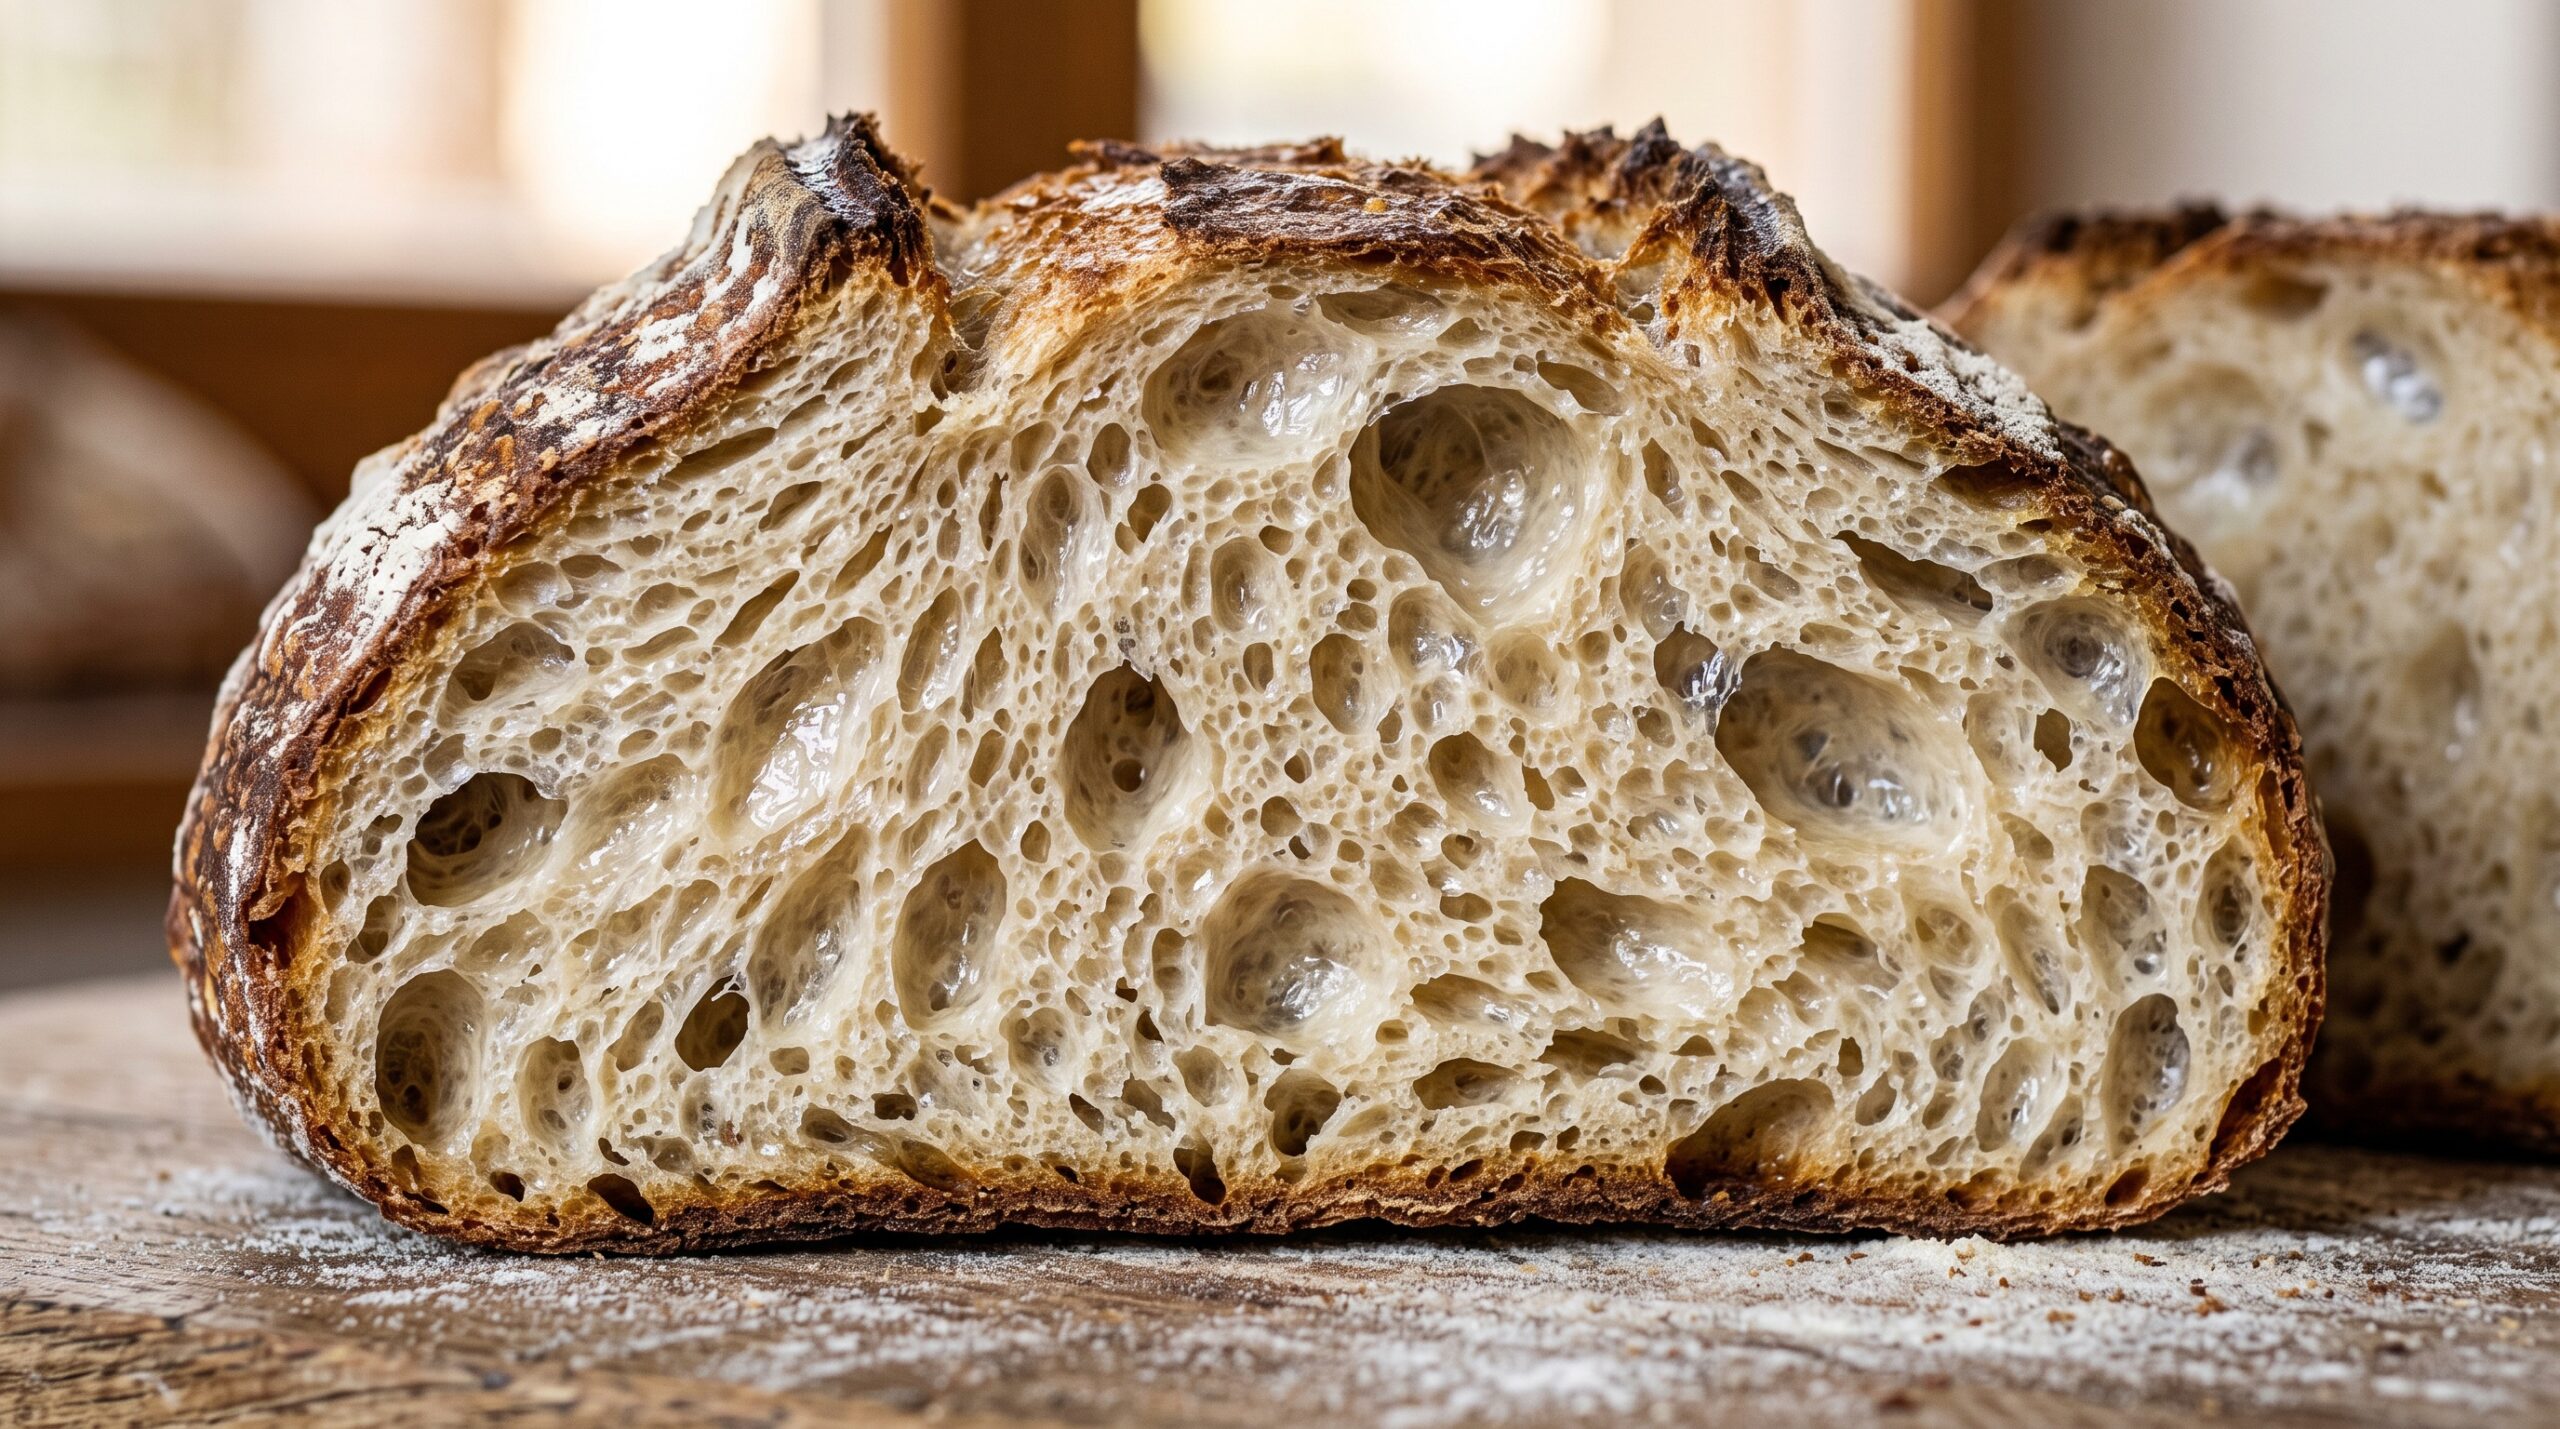
How to Get an Open Crumb in Sourdough: Why Your Holes Are Small and How to Fix It
Your loaf tastes great but the inside is tight and cakey, not the airy, hole-riddled crumb you see online. Here’s what actually creates an open crumb — and the specific fixes that get you bigger holes. Read